
How to Add a Stripe Free Trial Subscription in WordPress
Last updated on

Do you want to offer a free trial subscription on your WordPress website? You don’t have to be a juggernaut like Netflix to start offering it. With WP Simple Pay, anyone can offer a free trial payment plan. The only requirement is that you need to know how to point and click with a mouse!
In this article, we’ll show you how to add a free trial subscription offer on your WordPress site with Stripe.
Offering Free Trials With Stripe
The easiest way to offer free trial services on your WordPress site is with WP Simple Pay.
WP Simple Pay is is hands down the best Stripe payment plugin for WordPress that offers a lot of features like Buy Now, Pay Later payments, recurring payments, accepting payments through digital wallets like Google Pay and Apple Pay, and more.
Before we begin, keep in mind that Stripe requires your site to use SSL/HTTPS encryption on your site to accept payments. Don’t worry if you don’t have an SSL certificate yet, please see the step-by-step guide on how to add SSL in WordPress.
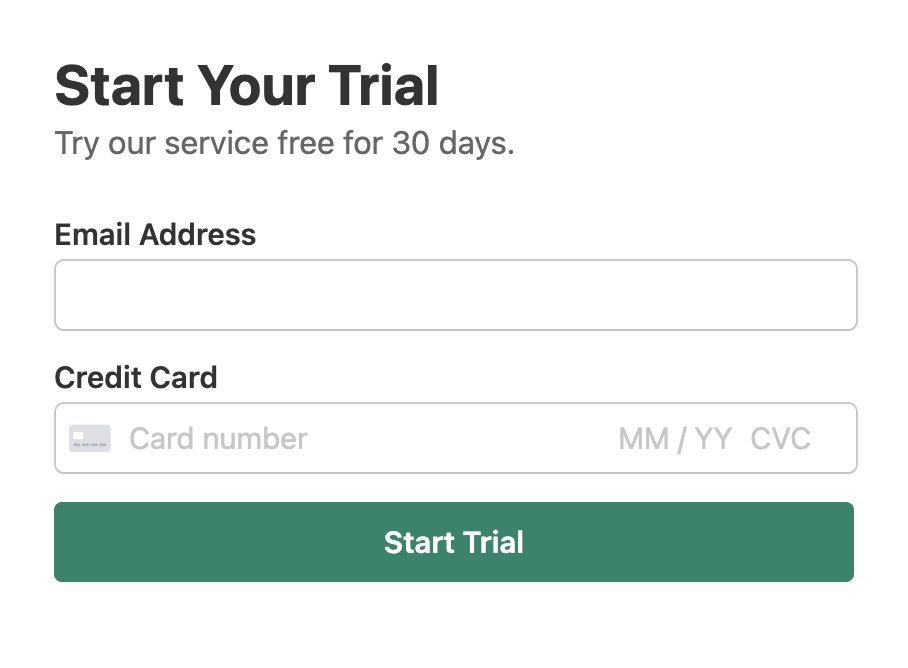
Here’s what the free trial form will look like:
Step 1: Install WP Simple Pay to Set Up Free Trial in WordPress
To set up a free trial subscription on your WordPress site, the first thing you’ll need to do is to install and activate the WP Simple Pay plugin.
For more details, see this step-by-step guide on how to install WP Simple Pay.
Remove the additional 3% fee!
Most Stripe plugins charge an additional 3% fee for EVERY transaction
…not WP Simple Pay Pro!

If you didn’t see the setup wizard, simply head over to WP Simple Pay » Settings » Advanced tab and click the Launch Setup Wizard button.
2: Connect WordPress to Stripe
To connect your WordPress site to Stripe, click on Connect with Stripe.

Next up, enter the email address you use for your Stripe account and connect it to your site. If you don’t have a Stripe account, you can easily create one by entering your email address and completing the registration.
Upon completing this process, you’ll be shown a success page that says, “Setup Complete.” Next, click on Create a Payment Form.

Step 3: Create a Free Trial Form in WordPress
After connecting your Stripe account to WordPress, you can go ahead and create a payment form that accepts a free trial subscription.
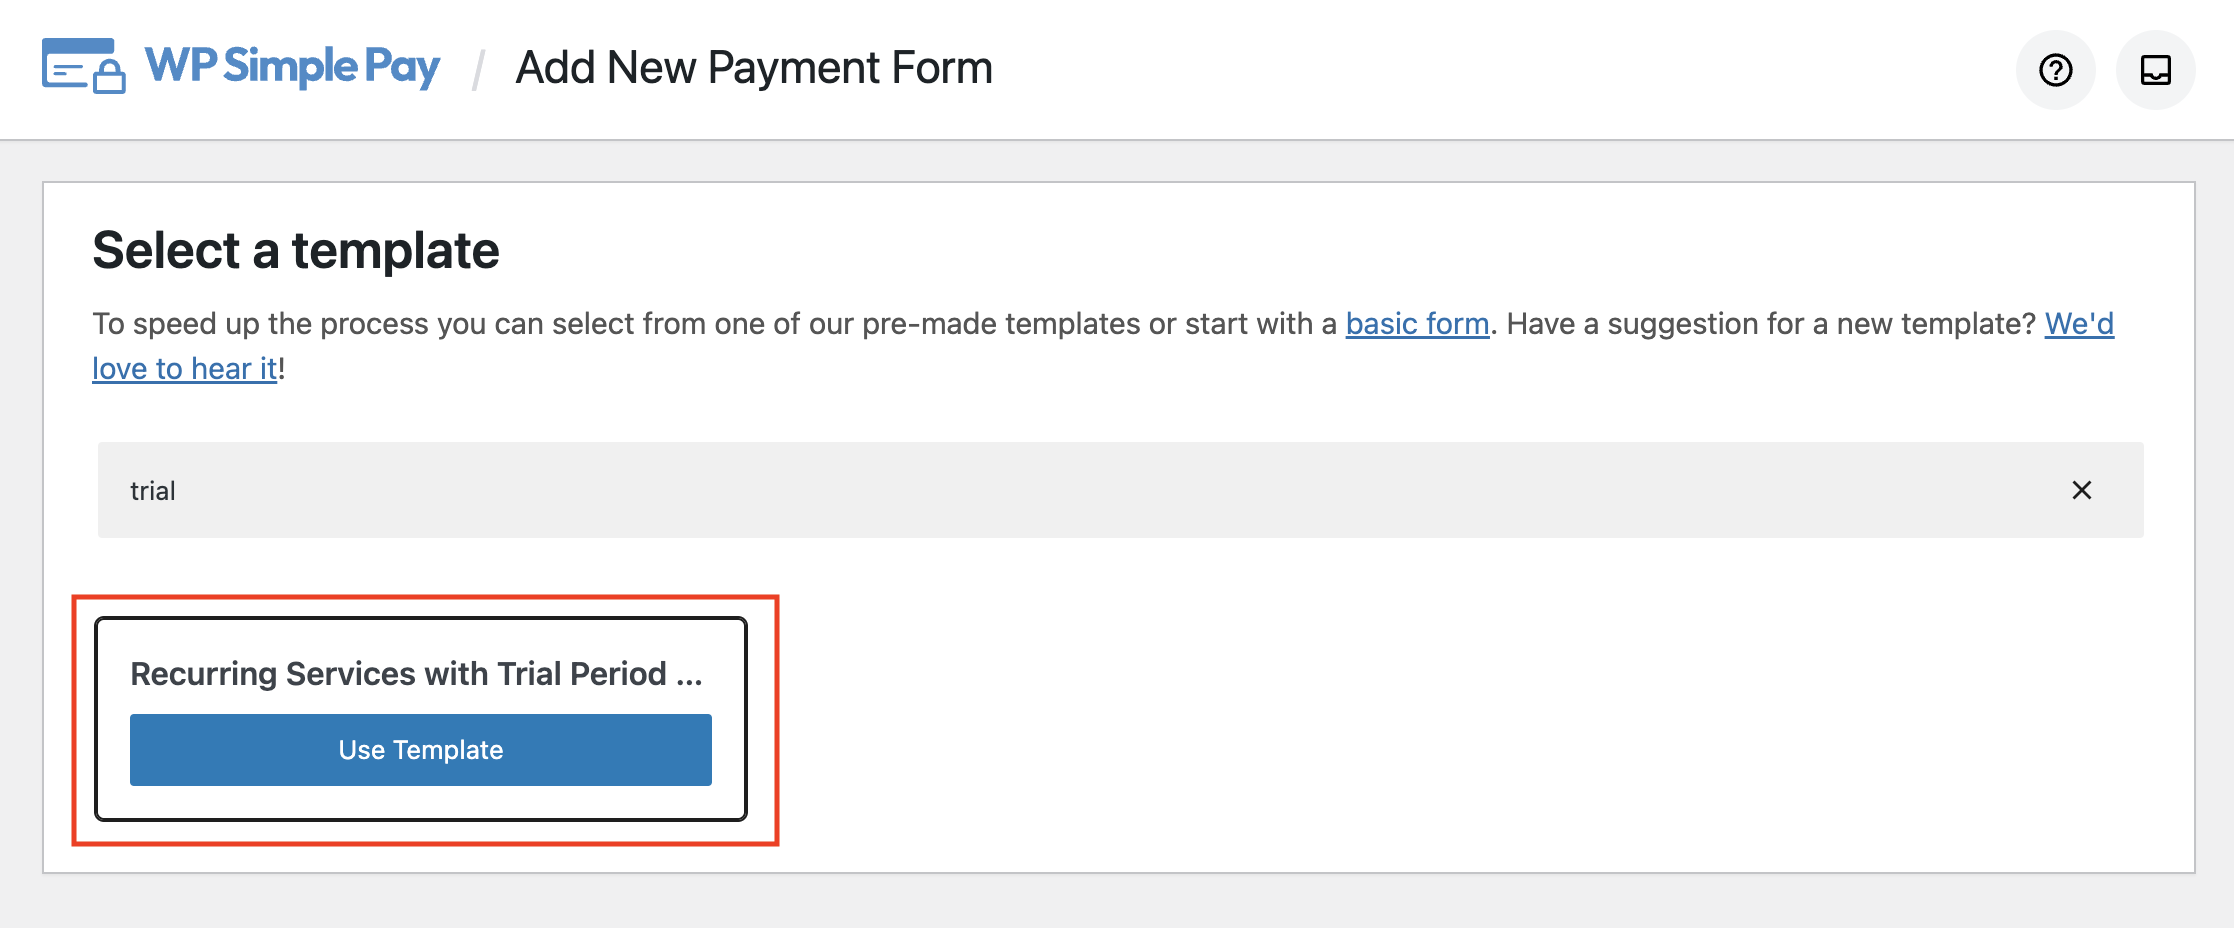
WP Simple Pay comes with loads of different templates that are custom tailored to your unique needs. For the free trial template, simply search for trial in the search bar and choose the template called Recurring Services with Trial Period Form.
If you’re not on this page yet, you can navigate to WP Simple Pay » Add New to start creating a free trial payment form.
After clicking the template, you’ll be directed to the General tab of your free trial form. Feel free to tweak the title, description, and a few other elements of your form.
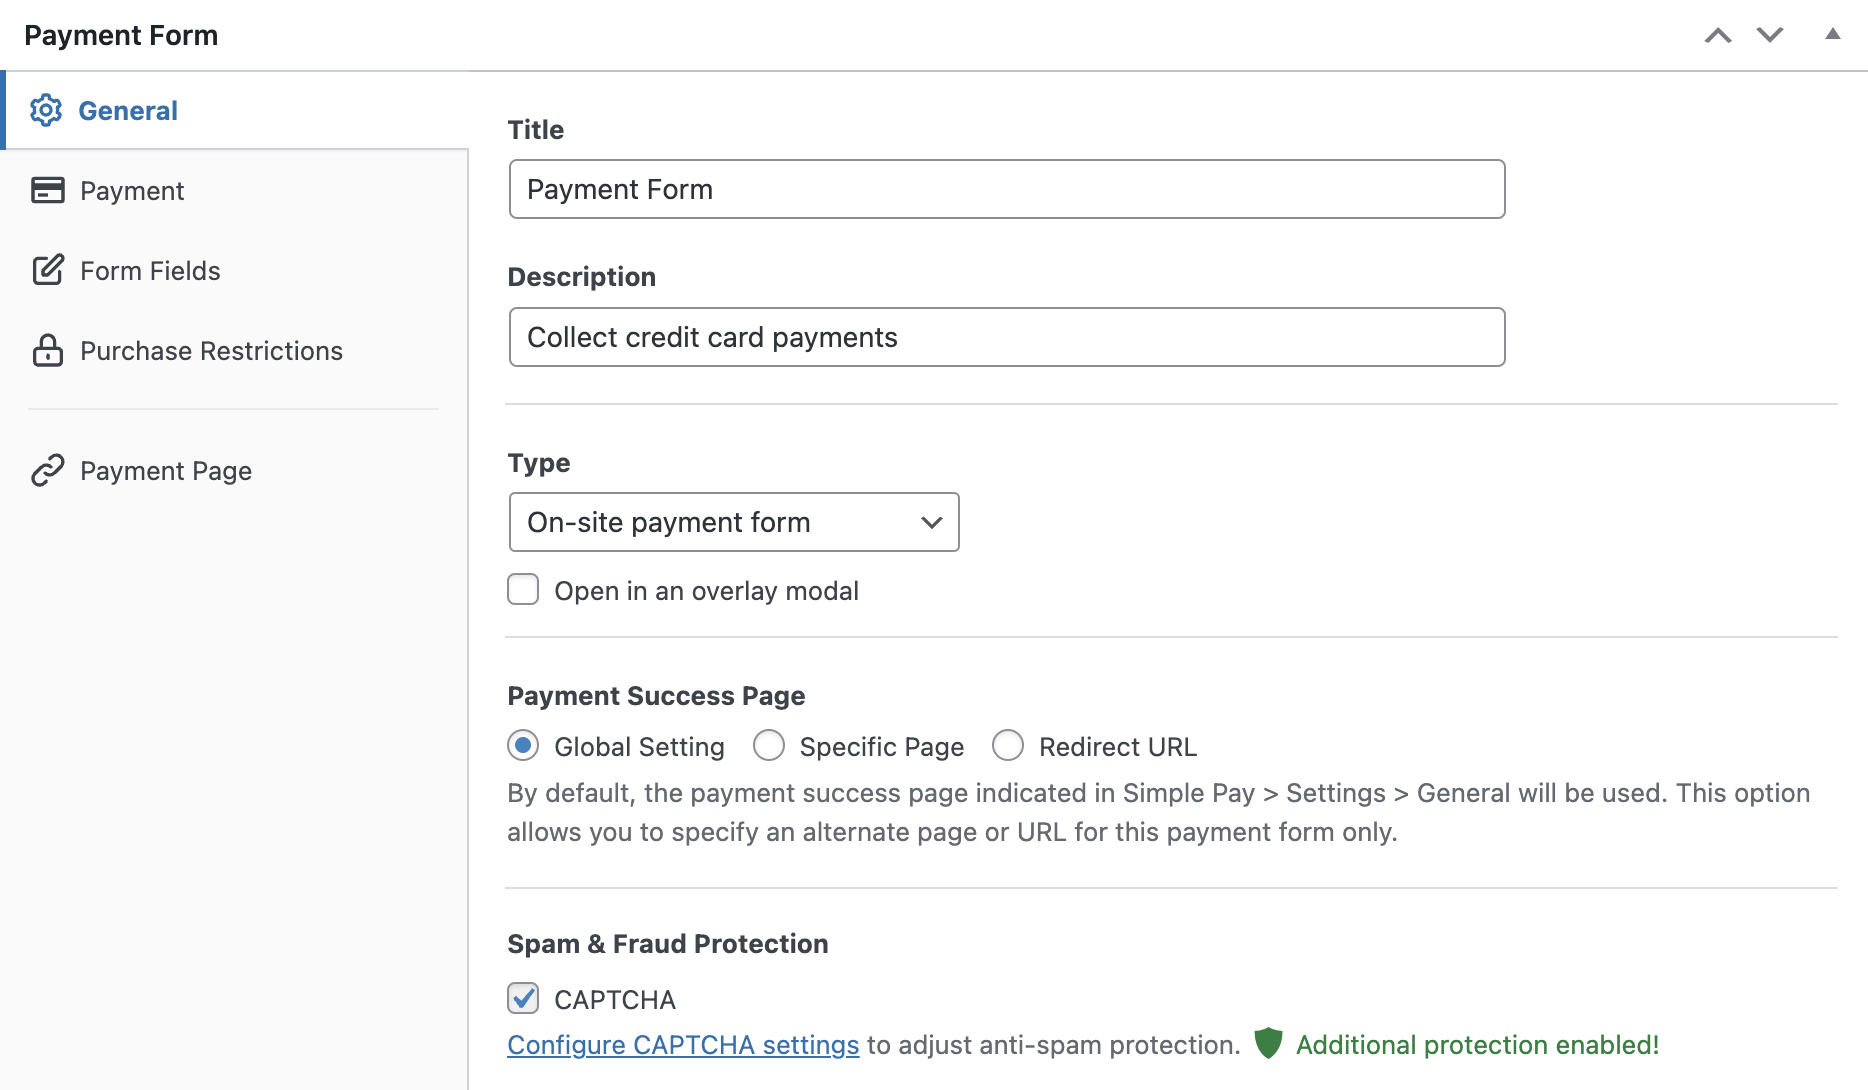
By default, On-site payment form is chosen as your payment type. You can even configure it to open the form in an overlay method, which is the best option if you want to display a button on your page instead of a complete form. That way when you click on the button, the popup will be triggered.
Alternatively, if you want to host the payment form on Stripe’s site, you can choose off-site payment form as your Type.
Now let’s take a look at how to choose the right Payment Success Page option. The default success page (Global setting) will be shown upon completing the checkout, which you can customize under WP Simple Pay » Settings.
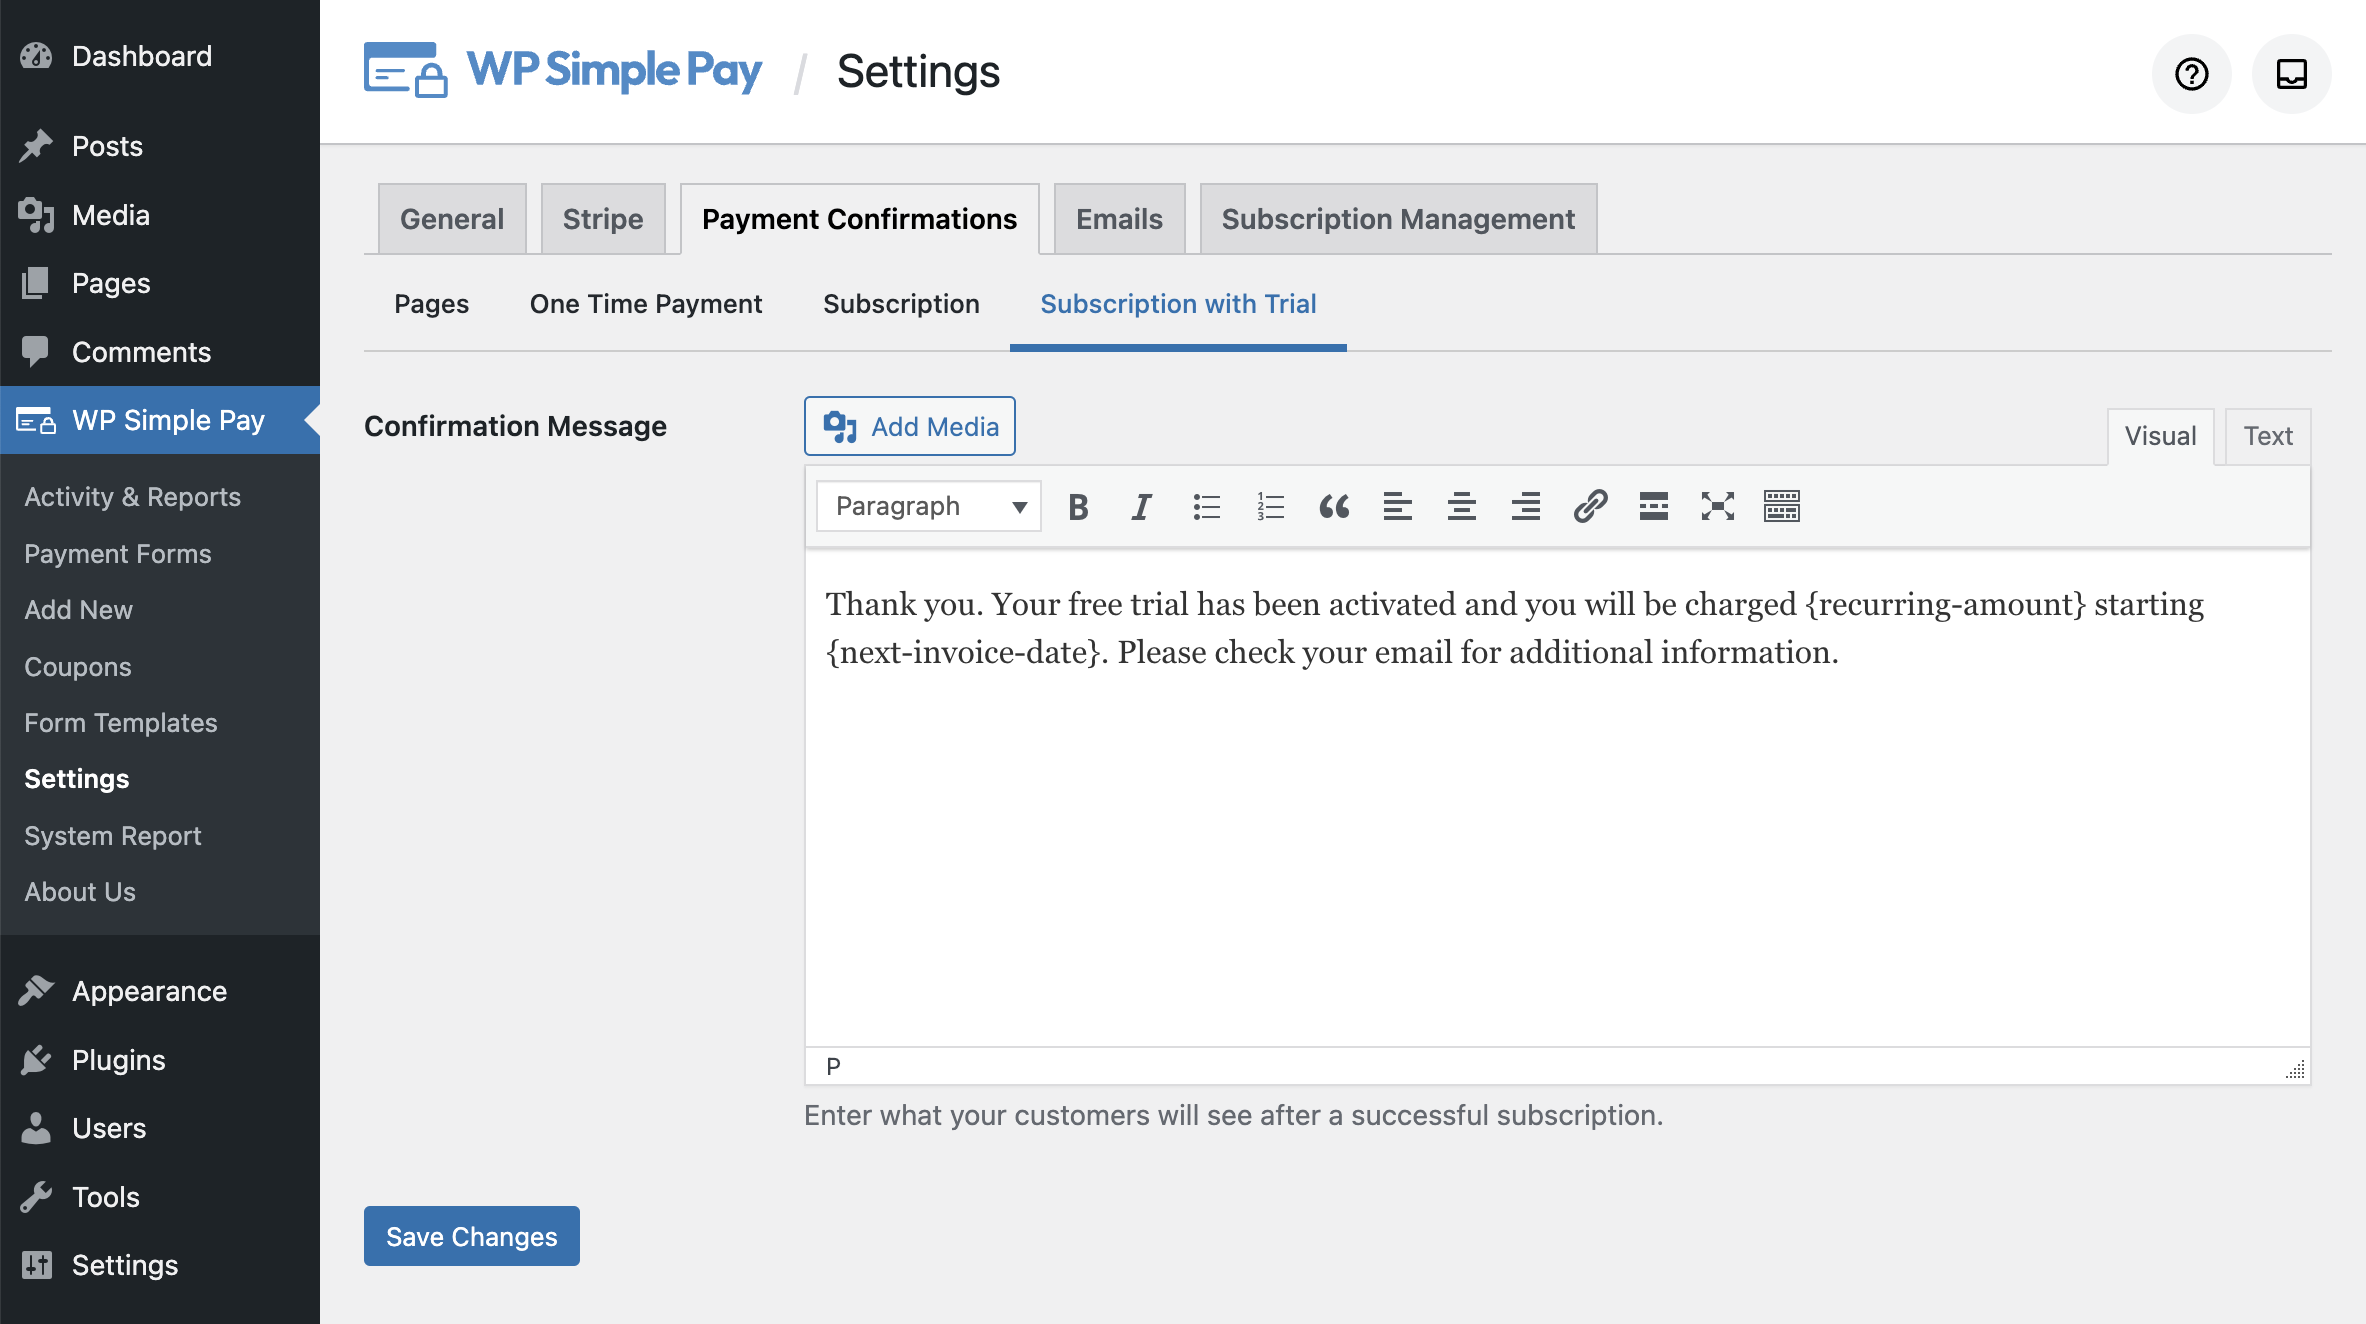
While you can always customize your default success page with smart tags, WP Simple Pay also allows you to choose a Specific Page for this specific form. Or if you want to redirect users to an external site, choose Redirect URL.
The next thing you’ll have to do is to choose the Payment option on the left. Once selected, you can find an option to change the default price, add a new amount, choose a currency, and more.
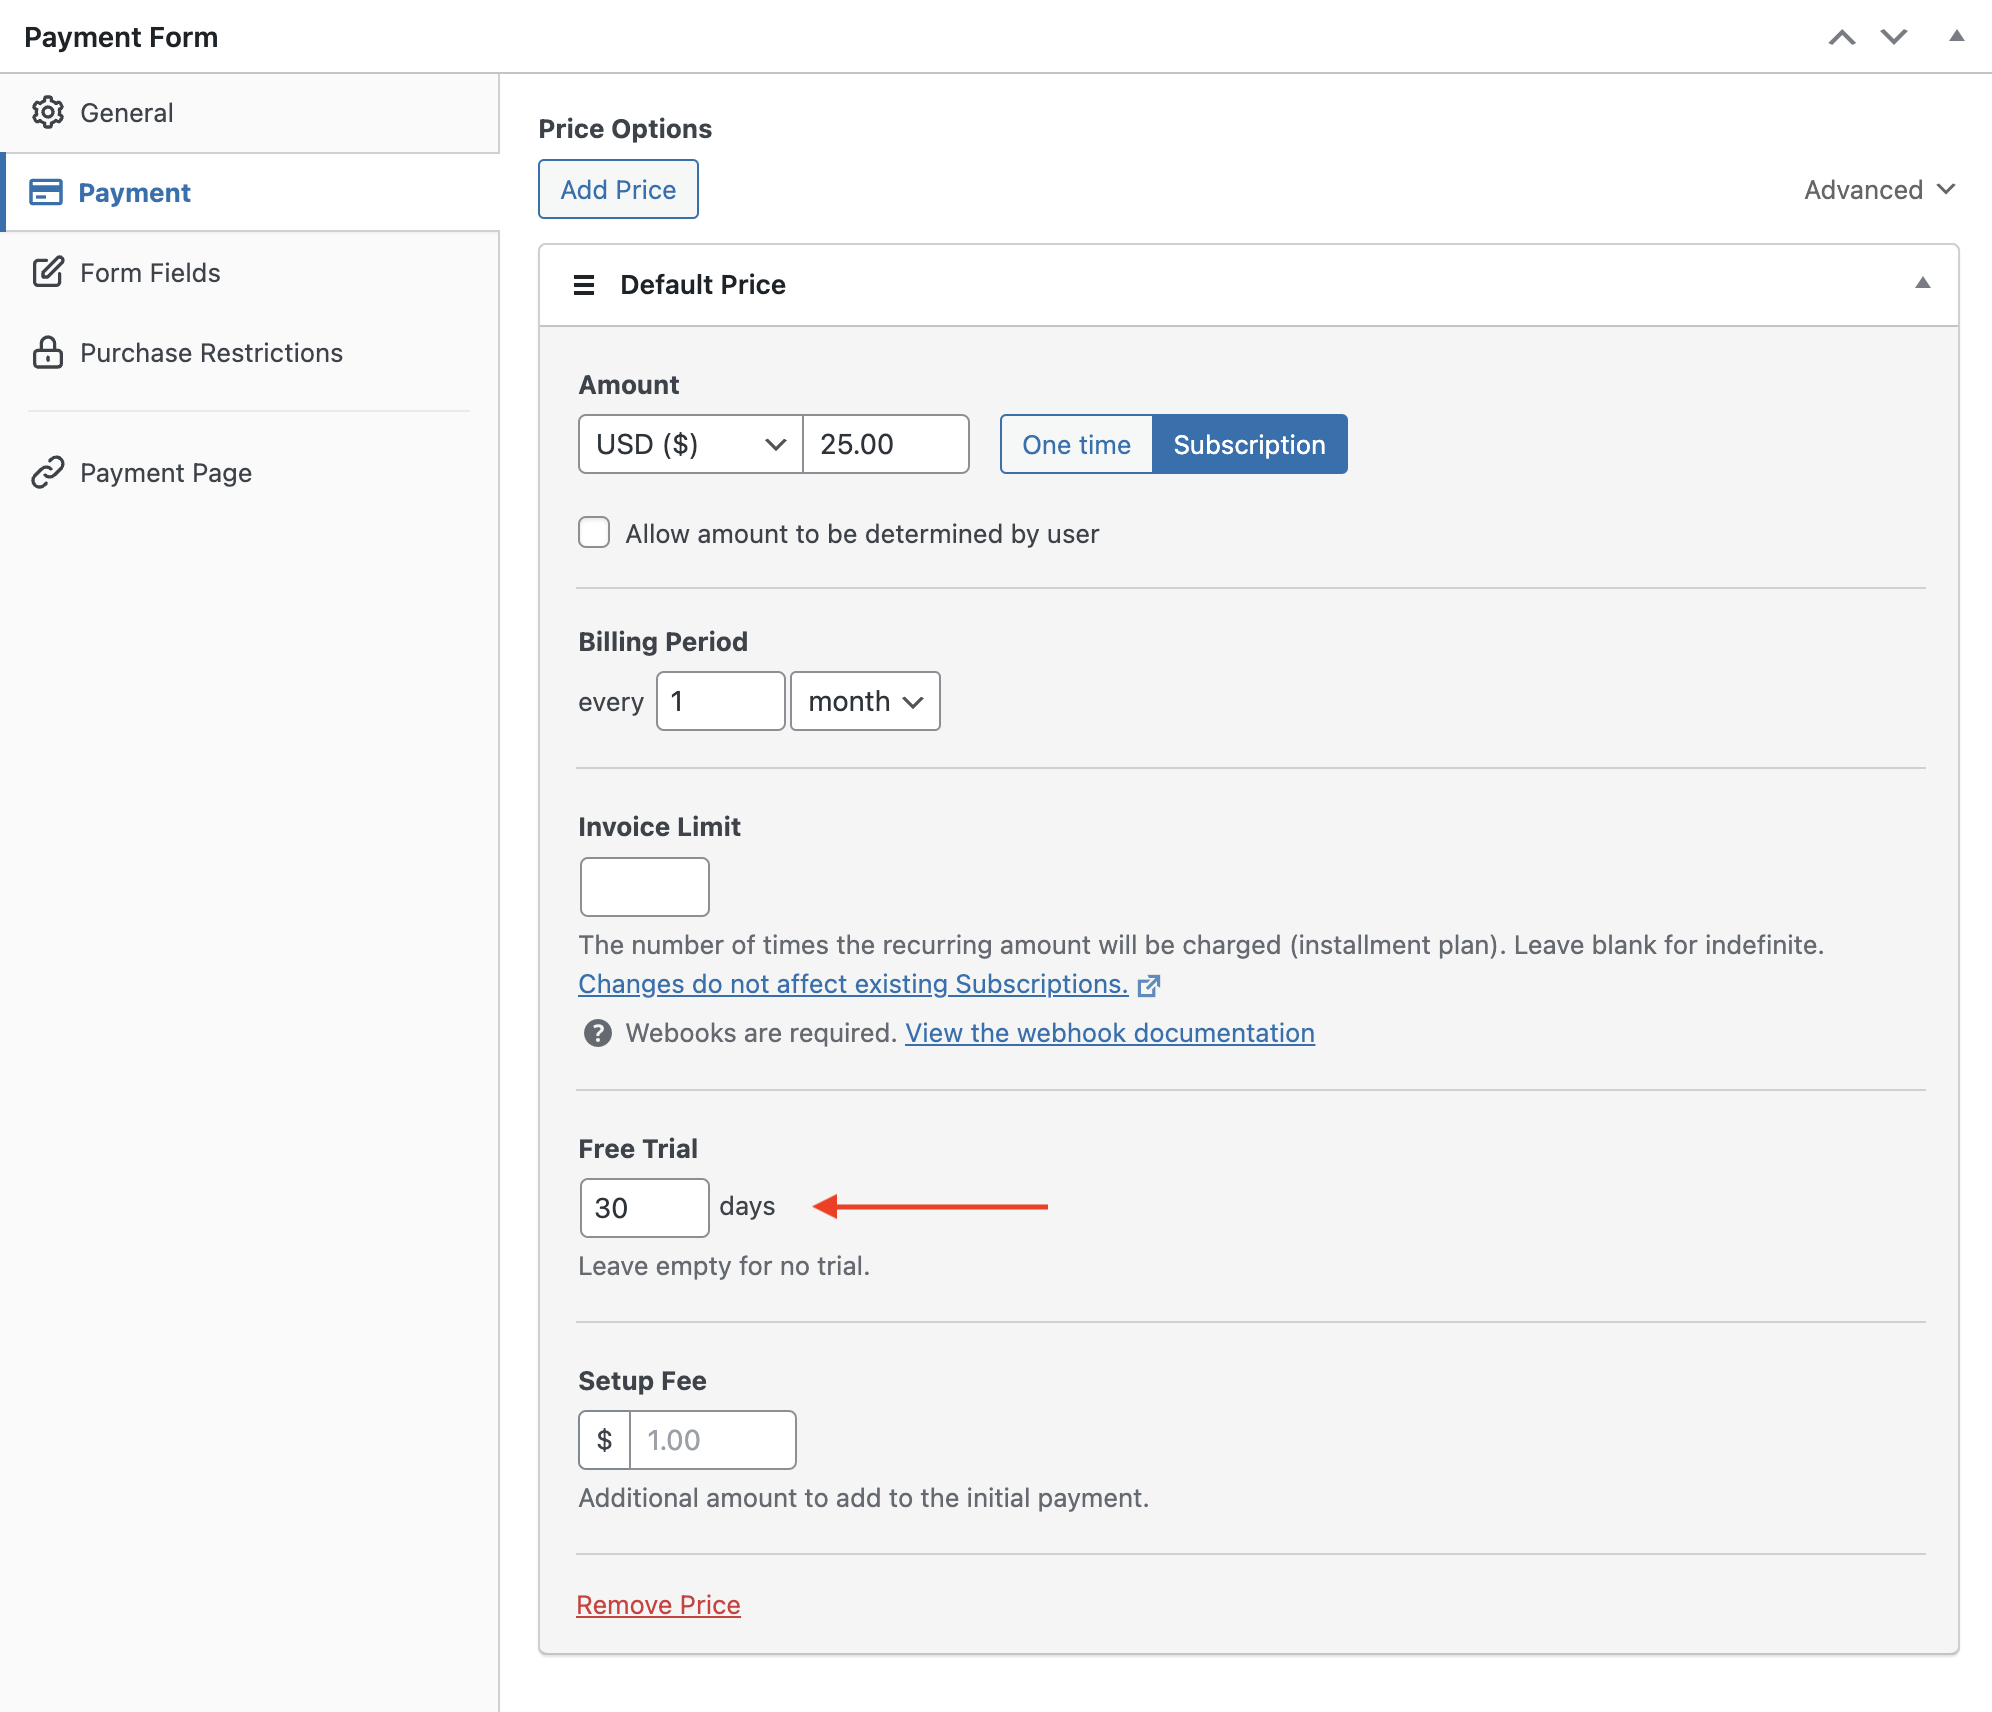
Keep in mind that by default, 30 days is set as your free trial period. Feel free to change it per your needs.
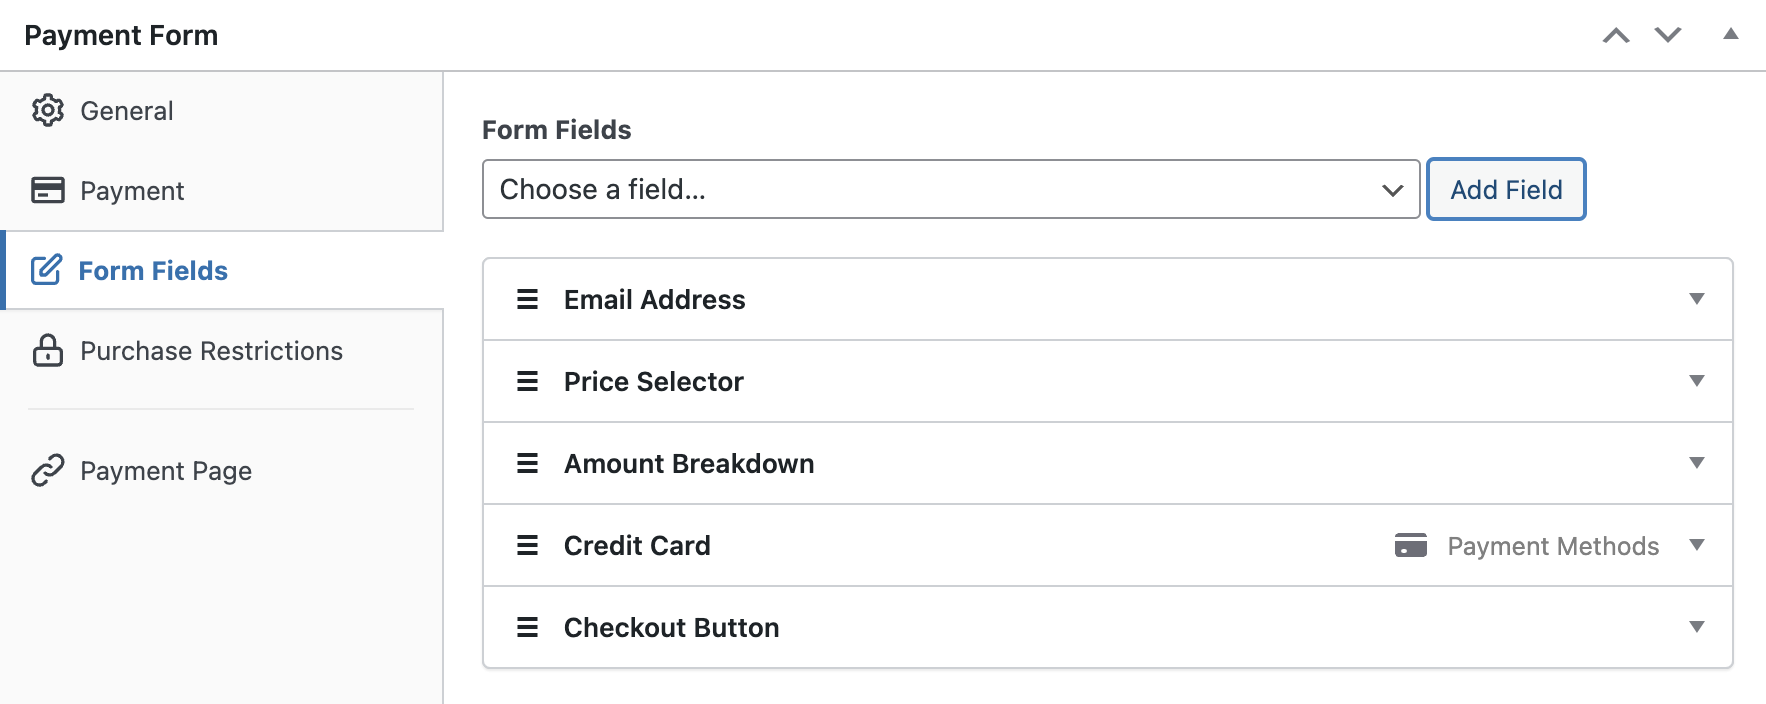
In the Form Fields option, you can even add or customize any existing form fields.
If you want to create a distraction-free payment page on your site, click on the Payment page option on the left and enable the page. For more details, check out how to create a distraction-free payment page on your site.
Step 4: Publish Your Free Trial Form
By now, you’re all set to test your free trial form and then publish it on your live page. Go ahead and test your form with the test credit card details. If your form is functioning the way you want, you can switch the payment mode from Test to Live and then embed it on your live site.
To embed the form, go to the post or page where you want to publish it. Then click on the + icon to add the WP Simple Pay block. Then choose a form you just created. And then, click Publish or Update.

That’s it!
We hope this article helped you learn how to add a Stripe free trial subscription in WordPress.
Remove the additional 3% fee!
Most Stripe plugins charge an additional 3% fee for EVERY transaction
…not WP Simple Pay Pro!
If you liked this article, you might also want to check out how to enable buy now pay later payment plans in WordPress
To read more articles like this, follow us on Facebook and Twitter.
Disclosure: Our content is reader-supported. This means if you click on some of our links, then we may earn a commission. We only recommend products that we believe will add value to our readers.


Leave a Reply