
How to Sell Limited Edition Products in WordPress (Easy Way)
Last updated on

Are you looking for a way to sell limited edition products on your WordPress site?
Keeping your inventory accurate at all times on your site is key to ensuring that you don’t accept orders or receive payments for out-of-stock inventory.
In this article, we’ll show you how to EASILY sell limited edition products in WordPress without setting up a shopping cart (step by step).
Selling Limited Edition Products on WordPress
Selling limited edition products on your site is a perfect way to drive interest in your items and create a higher demand for what you are offering. It’s also a perfect solution for independent creators and small businesses that sell exclusive or custom pieces in lower quantities.
When selling items with limited availability online, it’s crucial that you choose a WordPress payments plugin that allows you to hide payment forms as soon as the item goes out of stock. Collecting payments for inventory that you no longer have will result in refunds and disappointed customers.
WP Simple Pay Pro is the best Stripe payments plugin for selling limited edition products on WordPress. It lets you set up purchase restrictions and inventory limits so you can avoid overselling on your site by specifying a certain number of items or a specific date range. It also comes with several pre-built payment form templates that are ideal for a variety of products and services.
In addition to the features mentioned above, WP Simple Pay Pro comes with bundled tools that are best suited for selling limited edition products:
- On-Site Stripe Payment Forms: Allows your customers to complete their transactions without ever leaving your site.
- Supports Multiple Payment Methods: Gives your customers several forms of payment options, including all major debit and credit cards, Apple Pay/Google Pay, and ACH direct debits.
- Form Scheduling: Lets you set up a start or end date to control when and for how long payments are accepted.
Now, let’s take a look at how to sell limited edition products on your WordPress site.
Step 1: Install and Activate WP Simple Pay Pro
To set up purchase restrictions and inventory controls for your limited edition product payment forms, you’ll first need to get the WP Simple Pay Pro plugin.
Once you are finished with the purchase of WP Simple Pay, you can download it from your purchase email receipt or from your WP Simple Pay account.
After it has been downloaded, go to your WordPress dashboard, navigate to Add New under Plugins, and then Upload Plugin. Click Choose File and find the WP Simple Pay .zip file on your computer. Click Install Now. When the installation is complete after a few seconds, press the Activate Plugin button.
Remove the additional 3% fee!
Most Stripe plugins charge an additional 3% fee for EVERY transaction
…not WP Simple Pay Pro!
For more details, see this step-by-step guide on how to install WP Simple Pay.
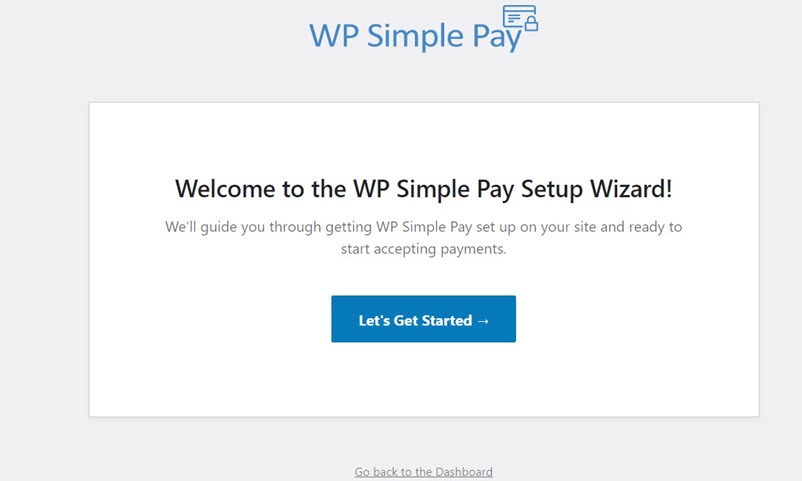
After you have activated the plugin, you’ll be automatically directed to the setup wizard, where you can sign up for a Stripe account and connect it to your site.
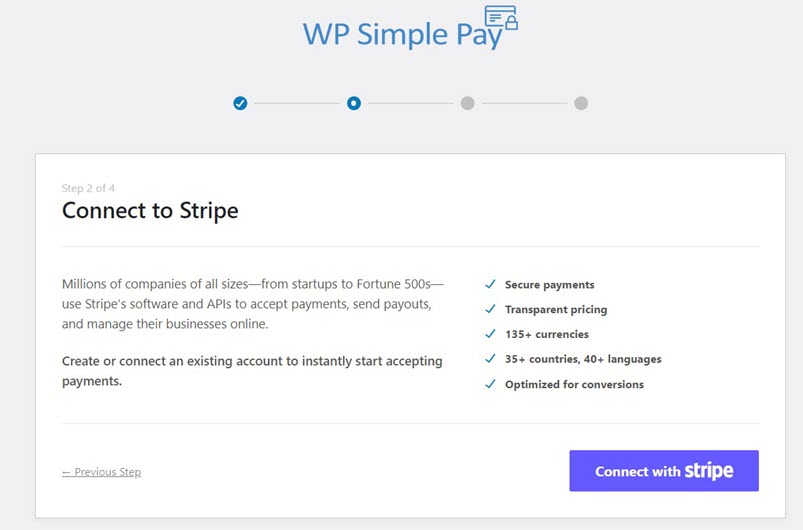
Step 2: Connect WordPress to Stripe
Once you click on Let’s Get Started, the setup wizard walks you through the Stripe integration without having to leave the WordPress dashboard. If you don’t already have a Stripe account, you can easily set one up during this process.
Click Connect with Stripe.
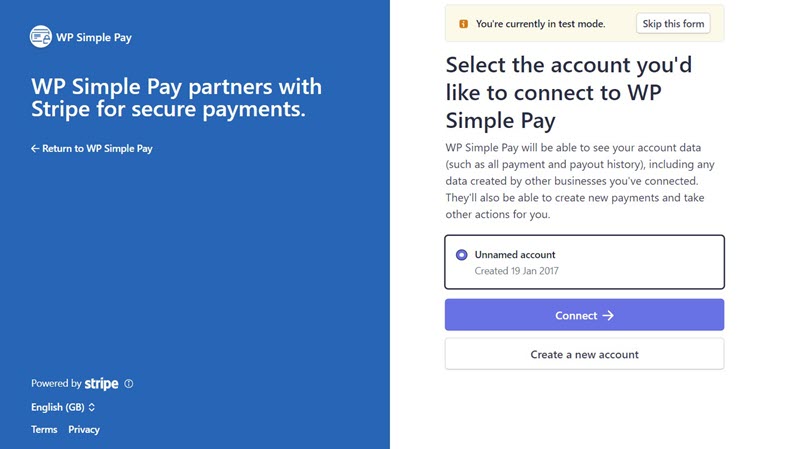
Here is where you can create a Stripe account or link your existing account to your site.
Once you have finished the final step in connecting your Stripe account to your WordPress site, a success page will appear that lets you know the setup is complete.
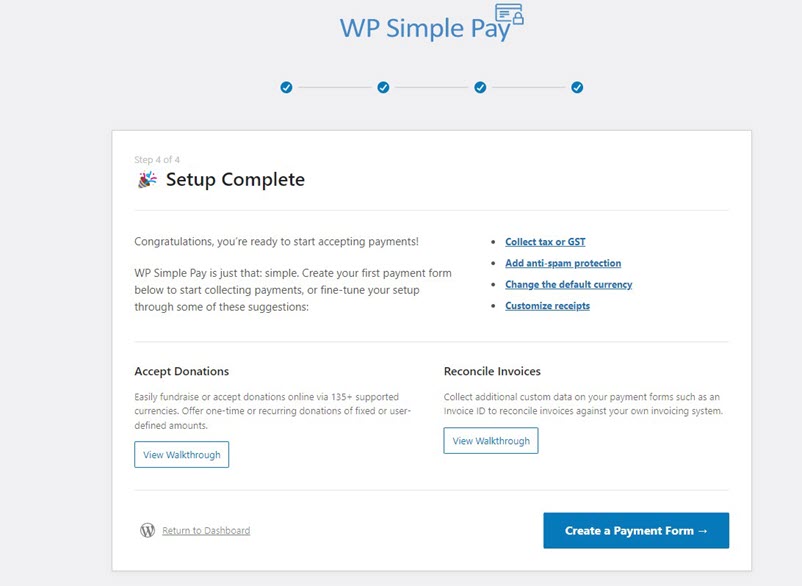
Step 3: Create a Form for Your Limited Edition Product
Now that you’ve installed WP Simple Pay Pro and connected the plugin to your Stripe account, you’re ready to build a payment form for your limited edition products. Click on Create a Payment Form.
Since you are selling a limited edition product, you’ll need to select the Variable Product Form template from the menu of options. This template is pre-made with all of the essential form elements you will need, including purchase restrictions and a schedule option that allows you to hide the form on a specific date.

After choosing the Variable Product Form template, you’ll be taken to a configuration page where you can add the product title and its description. In order to use the purchase restrictions feature, you will need to choose the on-site payment form option in the Type dropdown menu.
You can also set up the price and currency for your product by clicking on Payment in the left column.

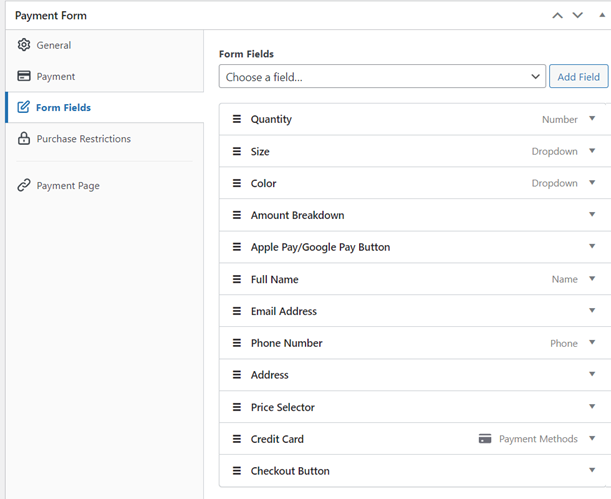
You can customize the form fields with the quantity, size, and colors from the dropdowns in the Form Fields options menu. A lot of the information for the form fields in this template is preselected, like the shipping address, and phone number. If you don’t need these preselected form fields, you can remove them.
Step 4: Configure Purchase Restrictions
In Purchase Restrictions, you can choose whether to disable the payment form after a set number of transactions or after a specific date and time.
So, let’s say for example that you have 100 total items to offer for sale on your site. You’ll need to set your limit to 100. This is guaranteed to prevent you from accepting payments after your items sell out and become unavailable.
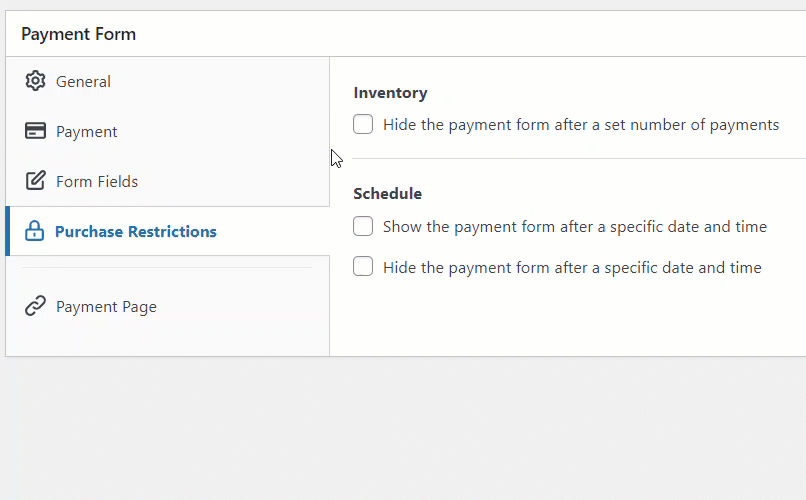
With the Payment Restrictions feature, you have total control over how many transactions the form will accept. You can even combine inventory and schedule restrictions to create a complete inventory and scheduling management system for your products.
In addition to that, you can be rest assured that if a payment attempt fails to process for any reason, the amount of inventory that was removed from the total purchase limit amount is automatically replenished.
Step 5: Add the Payment Form to a Page
Now that you have created your payment form and previewed it, you’re ready to embed it on a page on your site.
All you need to do is go to the post or page where you want your form to go and click on the + icon at the top left corner. Click on the WP Simple Pay block and choose the form you created. Once you click Publish or Update, your form should appear on the page.

It is highly recommended that you test your form before you make it live. You can read more about Test Mode here.
We hope this article has helped you learn how to easily sell your limited edition products on your WordPress site.
If you liked this article, you may also want to check out how to create an order form with WordPress.
What are you waiting for? Get started with WP Simple Pay today!
To read more articles like this, follow us on X.
Disclosure: Our content is reader-supported. This means if you click on some of our links, then we may earn a commission. We only recommend products that we believe will add value to our readers.


Leave a Reply