
How to Add a Setup Fee to a Stripe Subscription Payment Plan in WordPress
Last updated on

 Spencer Finnell
Do you want to add a setup fee to a subscription payment form in WordPress?
Charging an initial fee for subscription activations is a great way to cover your upfront costs. It also effectively reduces churn because customers have made a more significant financial commitment.
In this article, we’ll show you how to add a setup fee to your subscription payment forms.
Charging a Subscription Setup Fee
A few key benefits to charging a one-time setup fee for subscription activations exist.
- It makes excellent business sense if your subscription-based service requires extra setup work.
- It can help you attract committed customers, significantly reducing subscription churn in the long run.
- You can offer specialized white glove services at an additional cost.
Using a simple yet robust Stripe payments plugin for WordPress like WP Simple Pay is the easiest way to charge a setup fee for subscription payment plans.
WP Simple Pay is the #1 Stripe payments plugin for WordPress that lets you easily collect one-time or recurring payments on your site without having to set up a shopping cart or install additional plugins.
It allows you to accept 10+ payment methods for maximum conversions, including traditional credit and debit cards, digital wallets, ACH Direct Debit, Buy Now, Pay Later, and more.
One of the best parts about WP Simple Pay is that you can use its advanced drag-and-drop form builder to create payment forms for products, services, registrations, donations, and more without using a single line of code.
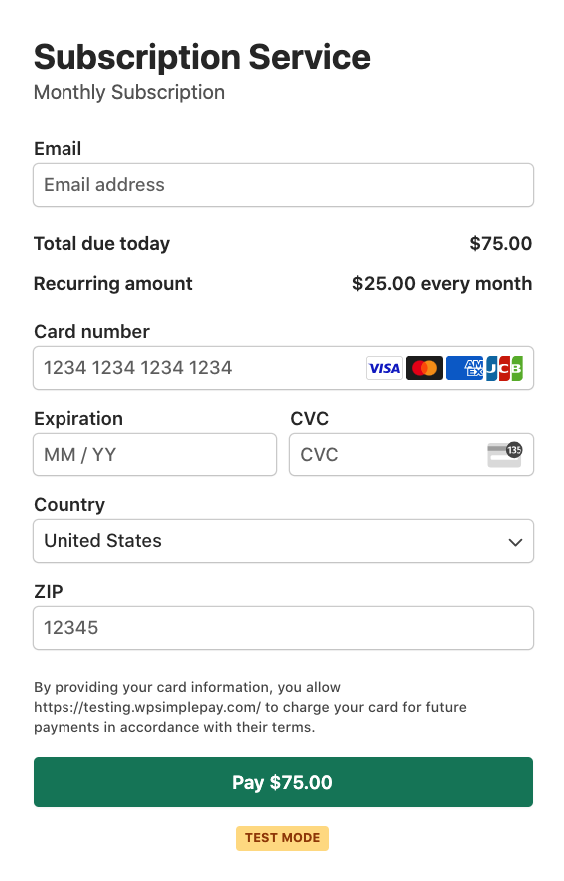
Using WP Simple Pay, we’ll create a subscription payment form with a setup fee like the one below.
Step 1: Install and Activate WP Simple Pay
To create a subscription form that accepts a one-time setup / initial fee, you’ll need to install and activate the WP Simple Pay plugin on your site. You can install the plugin by selecting a plan from the pricing page.
Need help choosing the best plan? See our detailed guide: WP Simple Pay Lite vs. Pro: Is Pro Worth It?
Once logged in to your WP Simple Pay account, download the plugin and upload it to your site. You can also find the .zip file in your payment confirmation email.
For more details, see this step-by-step guide on how to install WP Simple Pay.

If you didn’t see the setup wizard, simply head over to WP Simple Pay » Settings » Advanced tab and click the Launch Setup Wizard button.
2: Connect WordPress to Stripe
To connect your WordPress site to Stripe, click on Connect with Stripe.

Next up, enter the email address you use for your Stripe account and connect it to your site. If you don’t have a Stripe account, you can easily create one by entering your email address and completing the registration.
Upon completing this process, you’ll be shown a success page that says, “Setup Complete.” Next, click on Create a Payment Form.

Step 3: Create a Subscription Payment Form
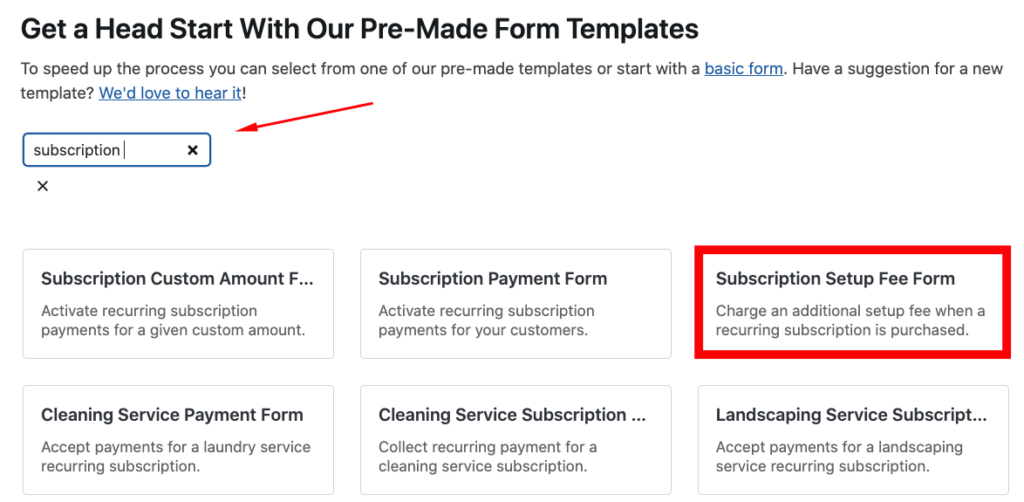
So far, you’ve installed WP Simple Pay and connected your Stripe account to your site. Now, you’ll need to create a subscription form that collects a one-time setup fee. Do note that the Setup Fee field is available on the Professional and Elite plans.
On this page, you’ll find several payment form templates that let you create payment forms for different use cases. For this tutorial, go ahead and choose the Subscription Setup Fee Form template.
In the future, whenever you want to create a payment form, you can navigate to WP Simple Pay » Add New and choose any template you wish to use.
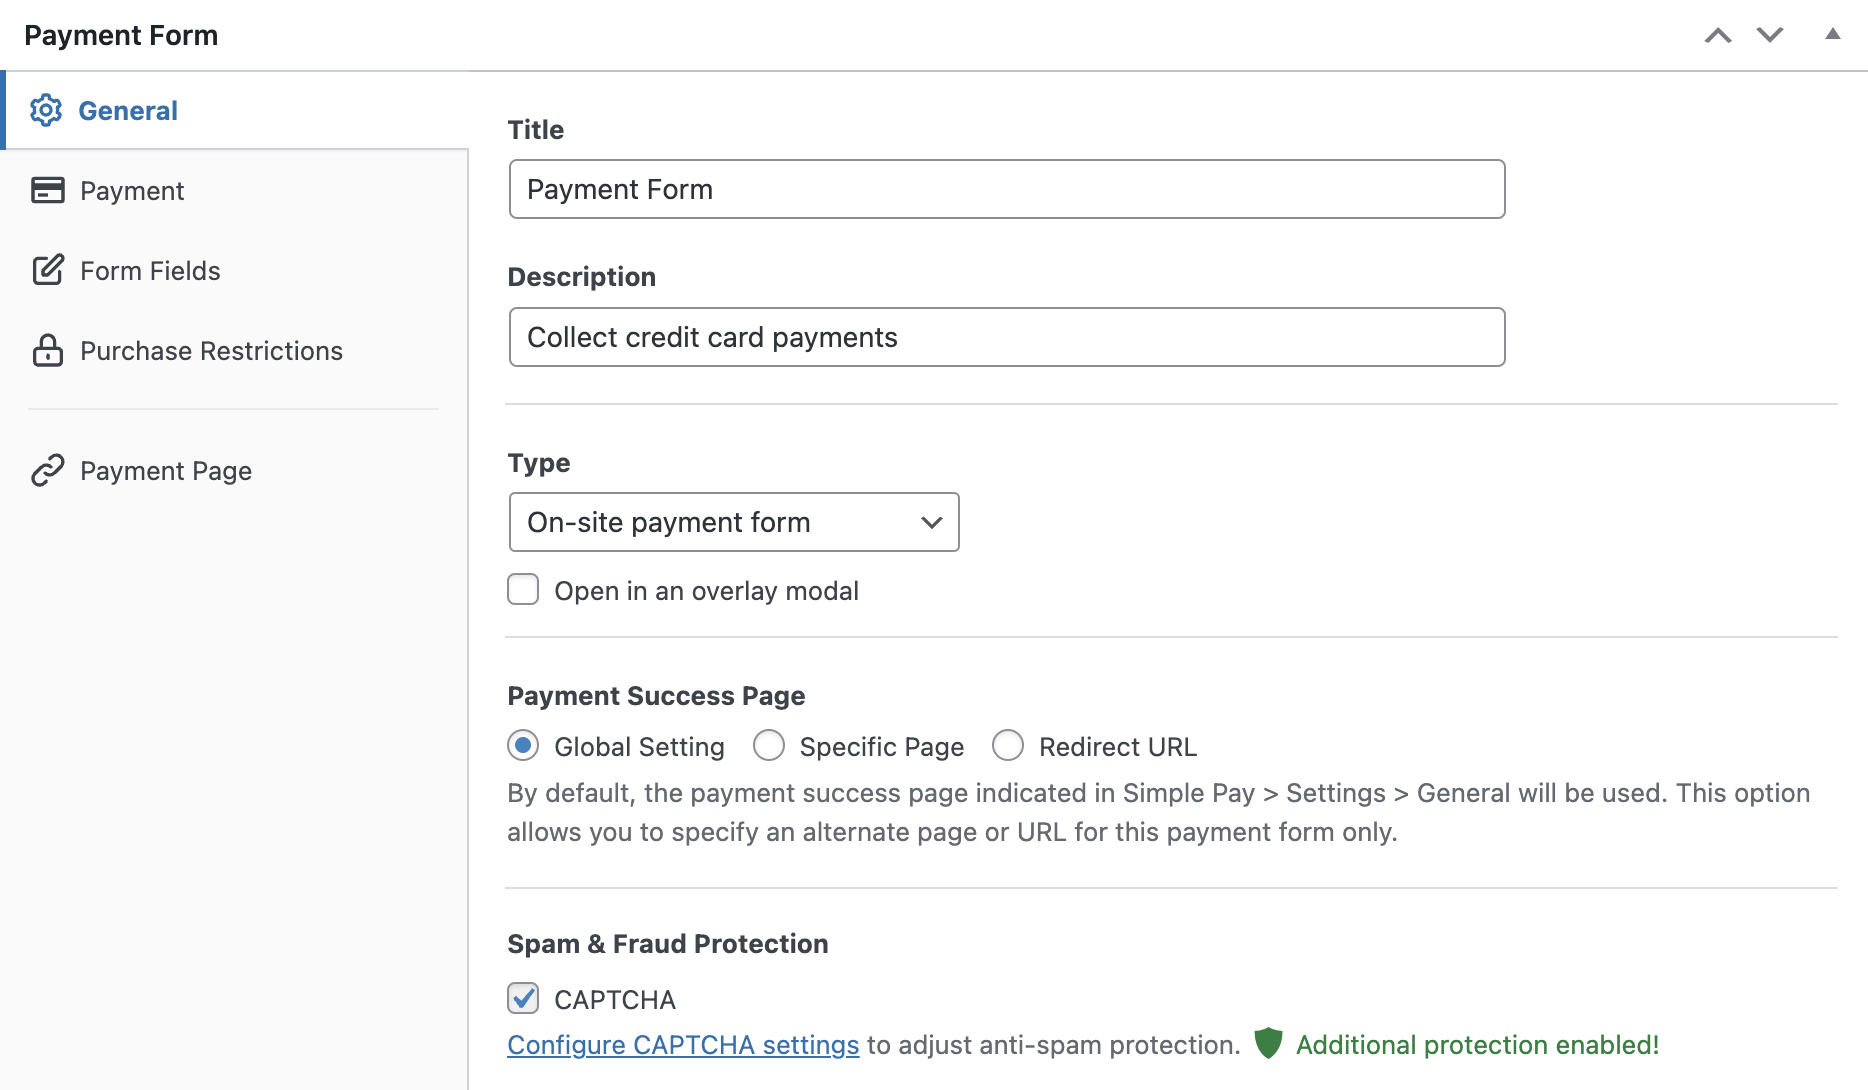
Now that you’ve selected your preferred template, you’ll be prompted to configure the General settings for your form. Here, you can customize the title, description, and additional elements.
WP Simple Pay allows you to host your form on your site or a Stripe-hosted checkout page. If you want to host the form on your site, there is no need to make any changes to the Type field. Otherwise, choose Off-site Stripe Checkout form from the dropdown.
For more details, check out our complete guide on how to set up a Stripe checkout page in WordPress.
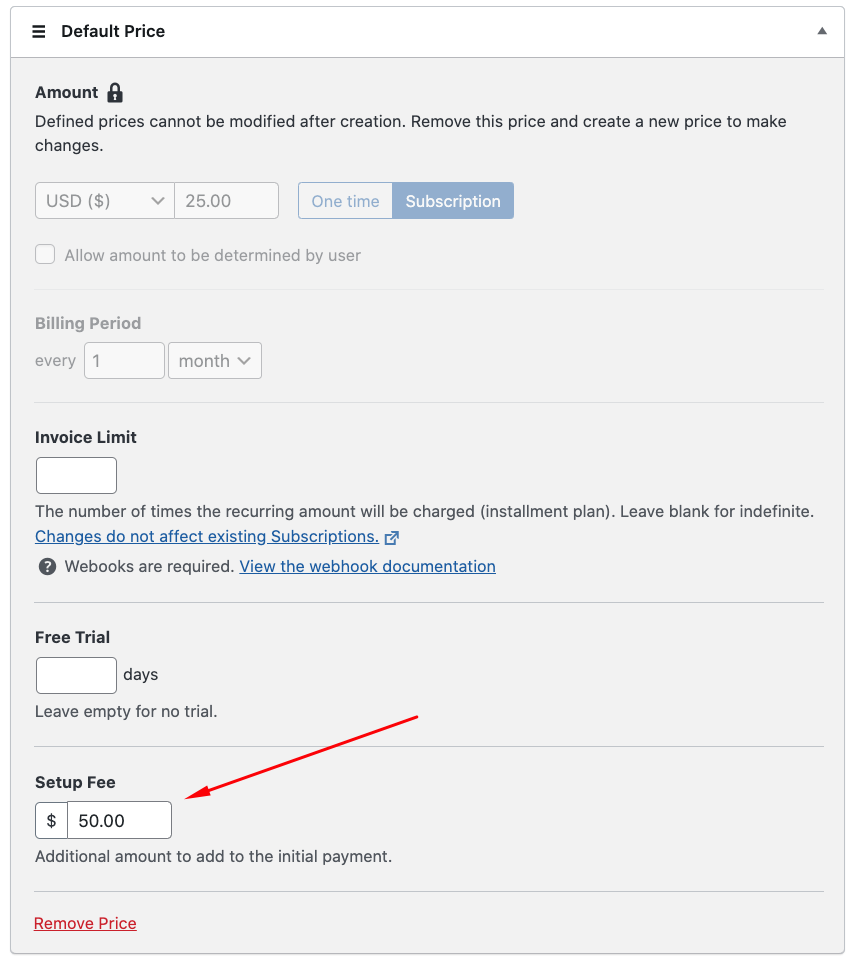
Next, select the Payment tab on the left. Feel free to change the default price, add new price options, change the currency, and more. Since we chose a subscription payment form template in the previous step, the Subscription option has been chosen for this form.
Plus, a setup fee of $50 will be added to the initial amount. You can quickly revise the fee amount to best suit your needs by entering it in the Setup Fee field.
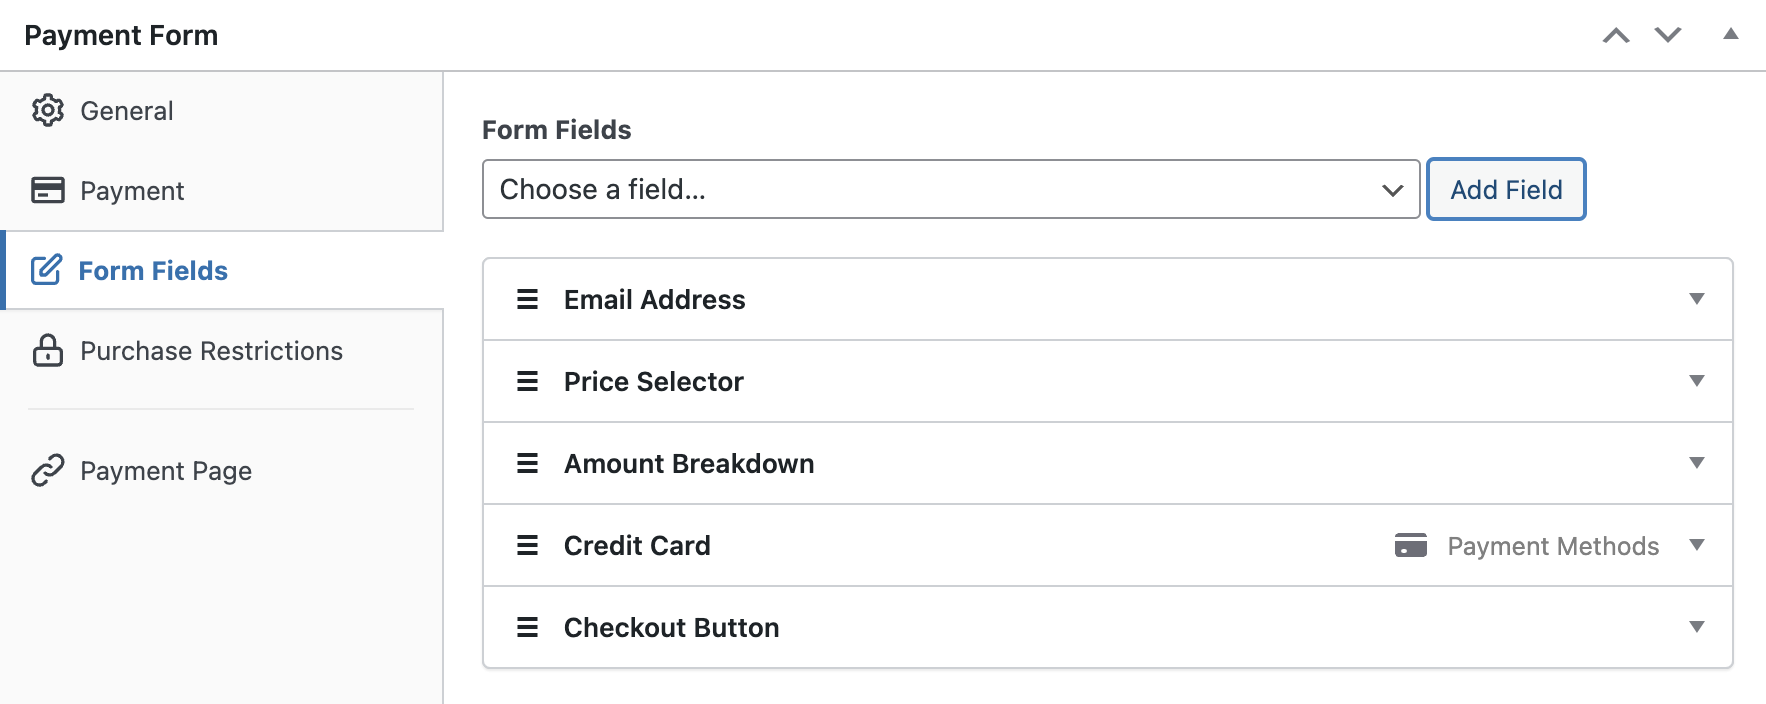
You can add or customize any existing form fields in the Form Fields tab.
Step 4: Publish Your Stripe Payment Form
That’s it! You can now go ahead and publish your payment form and then embed it on your site.
Be sure to test the form first before it goes live. You can toggle your entire site or individual payment forms between test and live modes. To learn more, read about Test mode.
To embed the form, go to the post or page where you want to publish it. Then click on the + icon to add the WP Simple Pay block. Then, choose the form you just created. Finally, click Publish or Update.

There you have it!
We hope this article helped you learn how to add an initial setup fee to a Stripe subscription payment plan in WordPress.
If you liked this article, you might also want to check out our guide on how to offer 100% discounts on subscription signups in WordPress.
Start using WP Simple Pay today and enable all the advanced Stripe features on your site.
To read more articles like this, follow us on Facebook and Twitter.
Disclosure: Our content is reader-supported. This means if you click on some of our links, then we may earn a commission. We only recommend products that we believe will add value to our readers.


Leave a Reply