
How to Connect Your Custom WordPress Domain to Stripe Checkout
Last updated on

 Spencer Finnell
Do you want to use your custom WordPress domain on your Stripe Checkout page?
Using your own domain on a Stripe Checkout page rather than directing your customers to a generic Stripe-hosted checkout page provides a consistent buying experience, improves brand recognition, and strengthens your credibility.
In this article, we’ll show you how to use your WordPress site’s custom domain on your Stripe Checkout pages.
Using a Custom Domain on Stripe Checkout Pages
Most Stripe payment plugins for WordPress don’t offer custom domain support for Stripe Checkout pages.
However, WP Simple Pay, the best Stripe payments plugin for WordPress, allows you to connect your domain name to Stripe Checkout and lets you take advantage of several of Stripe’s features to accept payments on your site.
Stripe Checkout (Stripe-hosted payment pages) are usually accessed through https://www.checkout.stripe.com.
Here’s an example of the checkout page Stripe provides:
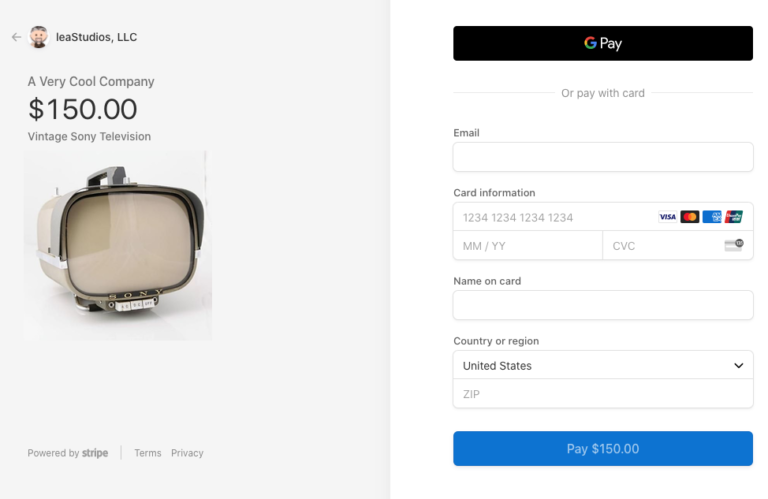
With Stripe Checkout, your visitors will be redirected from your site to the hosted checkout page on Stripe.com.
WP Simple Pay makes it possible to use Stripe’s hosted payment pages with a custom domain, such as https://checkout.yourwebsite.com. This is a great way to make visitors feel safe purchasing from you because the payment page aligns with your established domain.
In addition to offering custom domain support for Stripe Checkout, the plugin lets you accept one-time or recurring payments easily through credit cards, digital wallets, Buy Now, Pay Later, ACH Direct Debit, and more.
Connecting a custom domain to Stripe checkout allows you to create a branded payment processing experience while using Stripe features like address auto-complete and 1-click payments using the Link. The best part is that your customers won’t feel like they are leaving your site throughout the checkout process.
Adding Your Custom Domain to Stripe Checkout
Step 1: Install and Activate WP Simple Pay
Before connecting your custom domain to Stripe checkout, ensure you’ve installed and activated WP Simple Pay. Simply visit the pricing page and choose the best plan for your needs.
After purchasing the WP Simple Pay plugin, download it from your purchase email receipt or your WP Simple Pay account.
For more details, check out how to install WP Simple Pay.
Once you’ve activated the plugin, you’ll be directed to the setup wizard. The setup wizard walks you through how to set up a Stripe account and connect it to your site. In the setup wizard, go ahead and click Let’s Get Started.

If you didn’t see the setup wizard, simply head over to WP Simple Pay » Settings » Advanced tab and click the Launch Setup Wizard button.
2: Connect WordPress to Stripe
To connect your WordPress site to Stripe, click on Connect with Stripe.

Next up, enter the email address you use for your Stripe account and connect it to your site. If you don’t have a Stripe account, you can easily create one by entering your email address and completing the registration.
Upon completing this process, you’ll be shown a success page that says, “Setup Complete.” Next, click on Create a Payment Form.

Step 3: Add Your Domain in Stripe
Now that you’ve installed WP Simple Pay and connected Stripe to your site, you can add your domain to Stripe checkout. You’ll need to do this before creating a Stripe Checkout payment form.
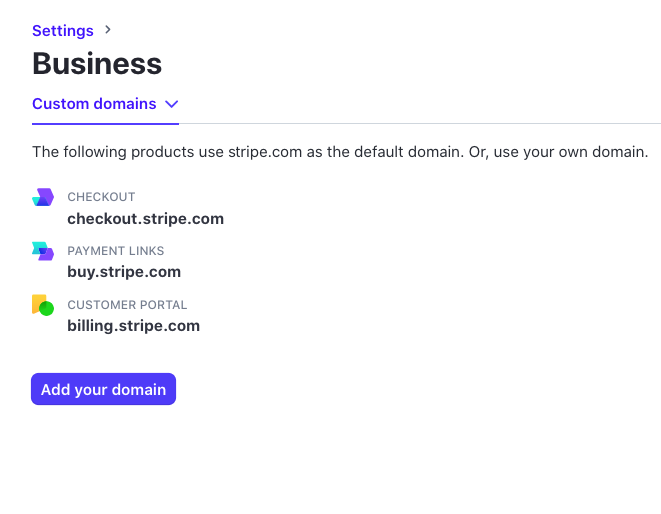
In your Stripe Dashboard, head to the Custom domains Settings page to begin the guided setup process.
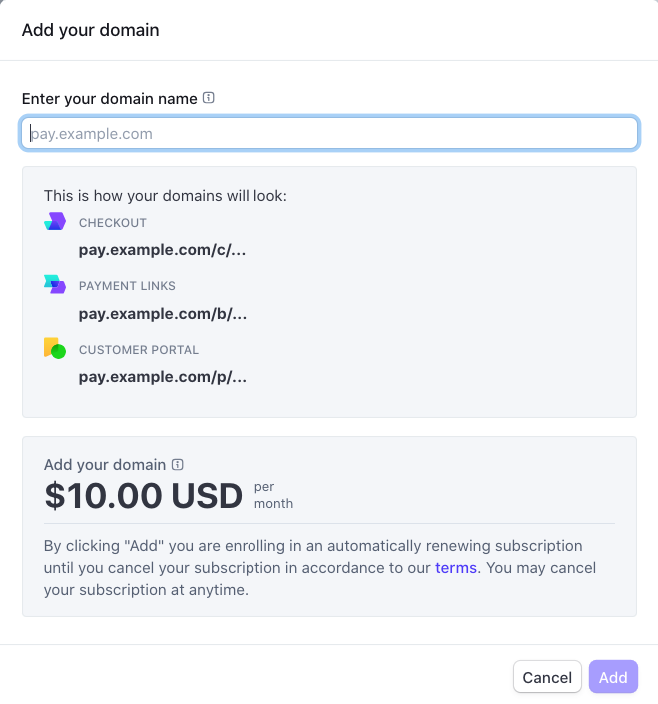
Once you’ve entered your domain name into the text field, it will be used automatically. No additional steps are required in WP Simple Pay.
Please note the monthly subscription fee of $10 to use your domain.
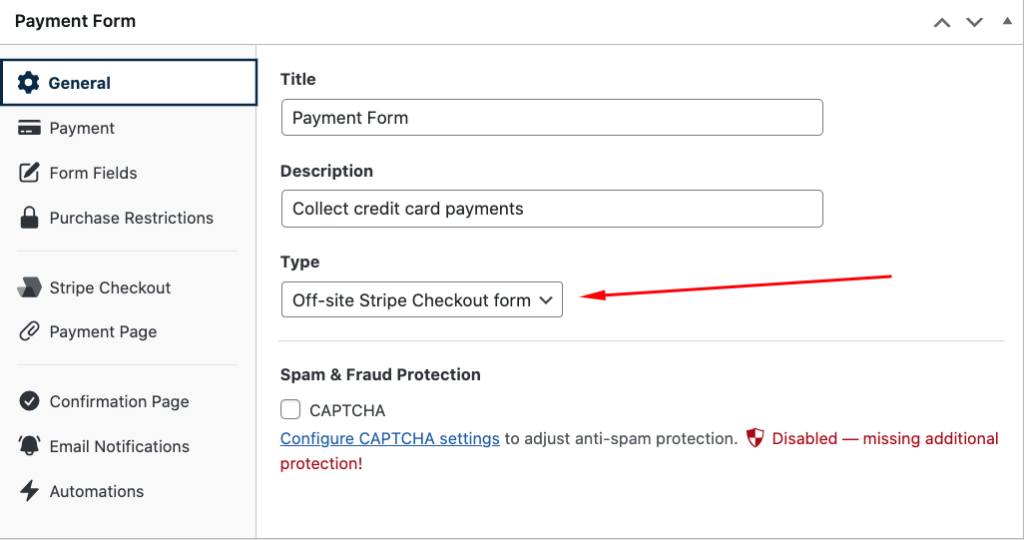
When creating a payment form, ensure you use Off-site as your form Type to display forms on the Stripe Checkout page with your custom domain. You can easily make this selection from the General tab within the plugin’s drag-and-drop payment form builder.
That’s it!
We hope this article helped you learn how to connect your WordPress domain name to Stripe Checkout.
If you liked this article, you might also want to check out our guide on how to create a Stripe payments landing page in WordPress.
What are you waiting for? Get started with the WP Simple Pay today!
To read more articles like this, follow us on Facebook and Twitter.
Disclosure: Our content is reader-supported. This means if you click on some of our links, then we may earn a commission. We only recommend products that we believe will add value to our readers.


Leave a Reply