
How to Enable Stripe Test Mode in WordPress
Last updated on

Do you want to enable Stripe Test Mode in WordPress?
Enabling Stripe Test Mode ensures that all of the payment forms on your site are accurate and functional before you begin accepting actual payments.
While in test mode, you can perform test transactions using any Stripe-supported payment method and test card numbers provided by Stripe.
In this article, we’ll explain how to guarantee that your payment forms are ready to properly accept payments before going live by using Stripe Test Mode in WordPress.
Why Enable Stripe Test Mode?
Stripe Test Mode allows you to create payment forms, configure settings, and do trial purchases without having to transact actual money.
Test Mode is a great feature that helps you avoid issues when the time comes for you to begin accepting real payments on your site.
Enabling Stripe Test Mode in WordPress
WP Simple Pay is the #1 Stripe payments plugin for WordPress that lets you easily create customized payment forms on your site and also enable (and disable) Stripe Test Mode.
WP Simple Pay allows you to build payment forms for all types of products and services using customizable pre-made templates or its advanced drag-and-drop form builder that requires zero coding.
The plugin also lets you accept one-time or recurring payments using 10+ payment methods including credit and debit cards, ACH debit, Apple Pay / Google Pay, and buy now, pay later.
Step 1: Install and Activate WP Simple Pay
To enable Stripe Test Mode in WordPress and perform test transactions on your site, you’ll need to install and activate WP Simple Pay.
Remove the additional 3% fee!
Most Stripe plugins charge an additional 3% fee for EVERY transaction
…not WP Simple Pay Pro!
First, you’ll need to purchase a WP Simple Pay license.
After purchasing WP Simple Pay Pro, you’ll need to download the plugin from your purchase email receipt or from your WP Simple Pay account.
Next, you’ll need to upload, install, and activate the plugin on your WordPress site. If you need more assistance here, check out our step-by-step installation guide.
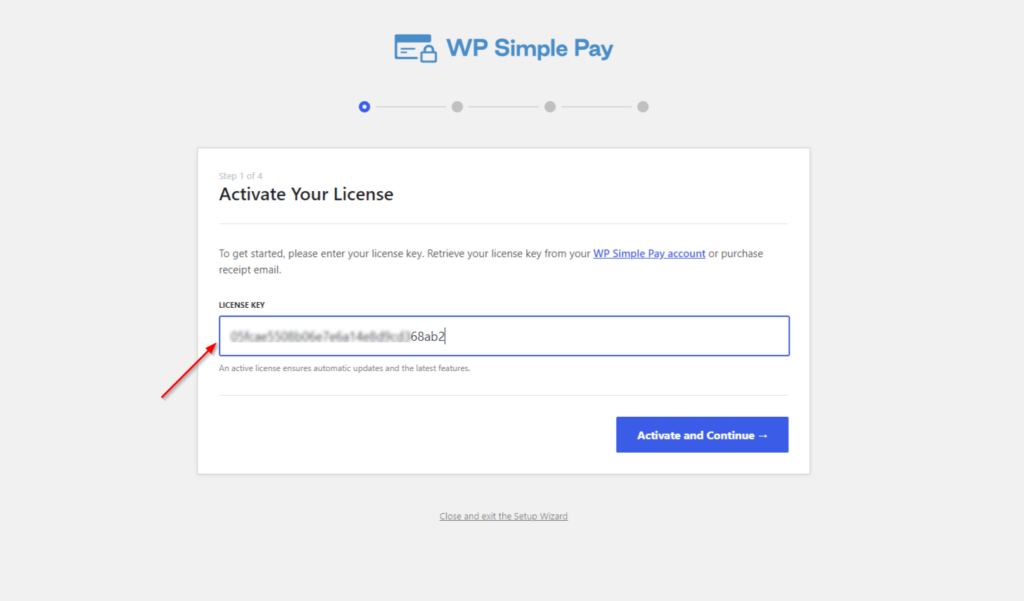
Once WP Simple Pay is activated, a setup wizard should appear automatically. During this process, you’ll need to copy your license key from your purchase receipt email or from the Licenses area in your account.
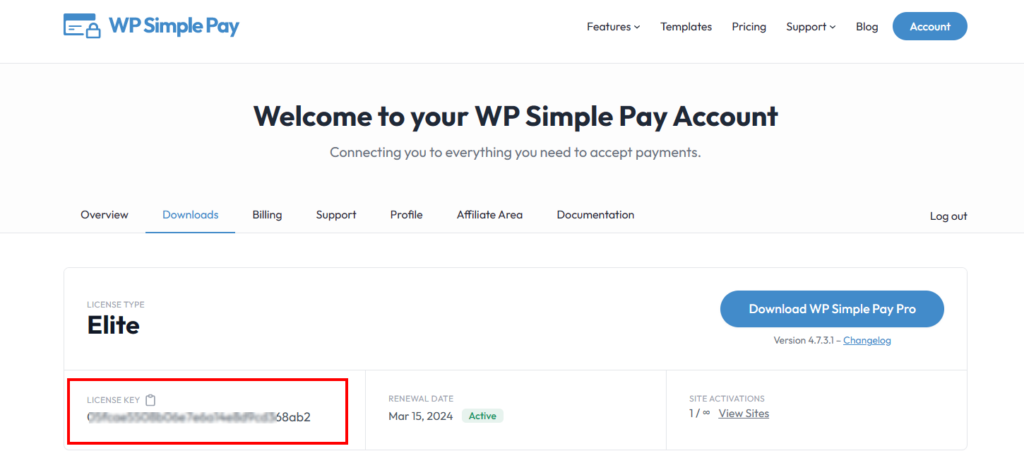
Simply copy and paste the value into the license key field in the setup wizard. Then, click Activate and Continue.
Step 2: Connect WordPress to Stripe
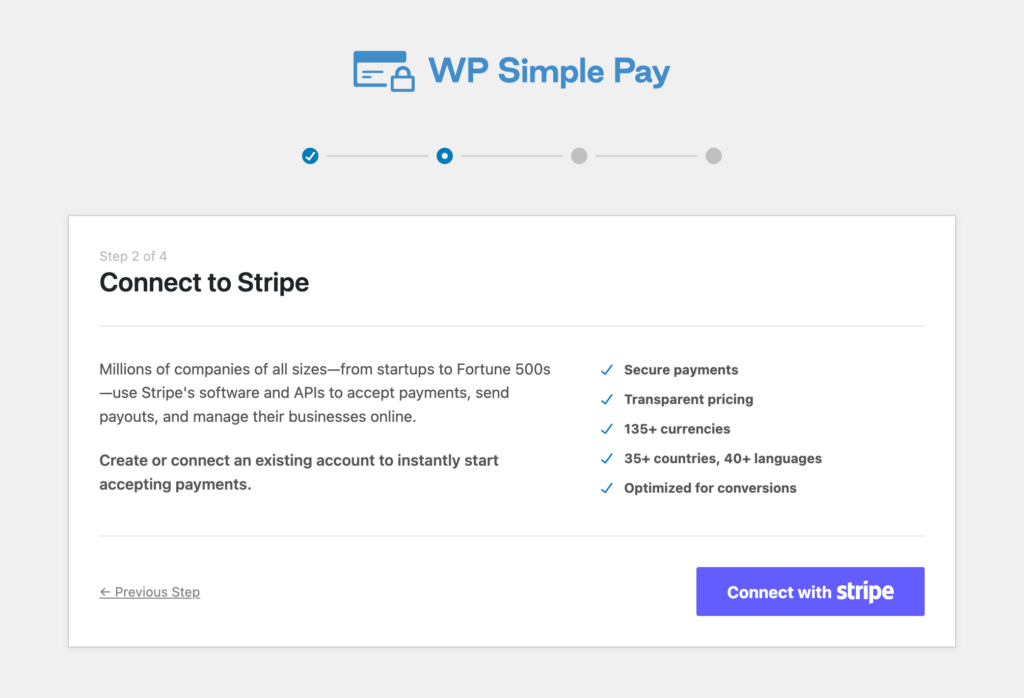
Now that you have installed and activated WP Simple Pay, you’ll need to connect WordPress to your Stripe account.
You can do this by clicking on the Connect with Stripe button in the setup wizard.
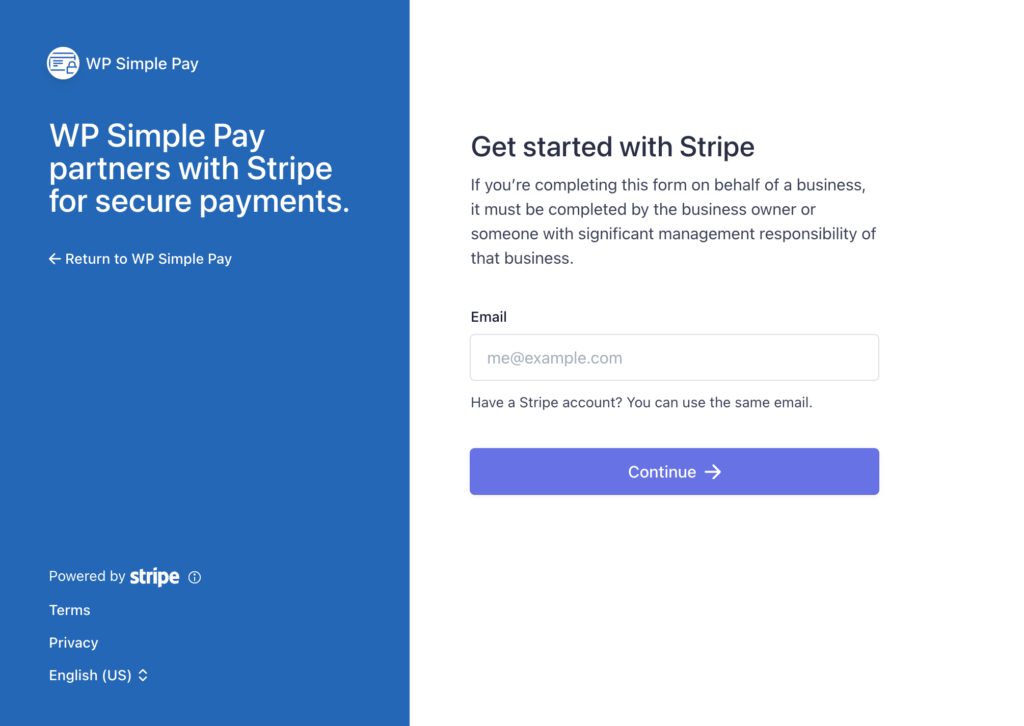
Next up, enter the email address you use for your Stripe account and connect it with your site.
If you don’t have a Stripe account, you can easily create one by entering your email address and completing registration.
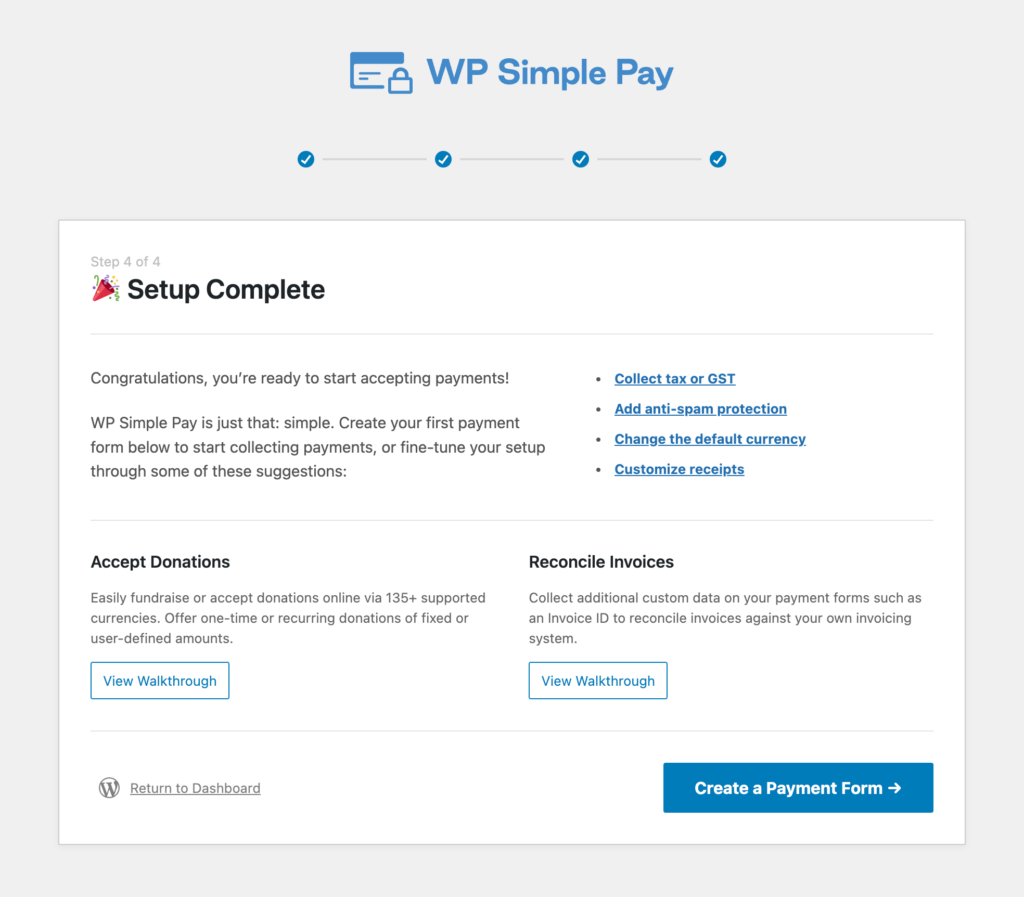
Once you complete this process, you’ll be shown a success page that says Setup Complete.
You’re almost there!
Step 3: Enable Stripe Test Mode in WordPress
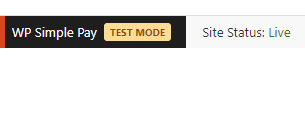
Upon completion of the WP Simple Pay install and setup, you may have noticed that the plugin automatically defaults to Test Mode. This means no real payments can be collected until your payment forms are ready to go live.
An indicator verifying that you’re in Test Mode will appear in the WordPress admin toolbar.
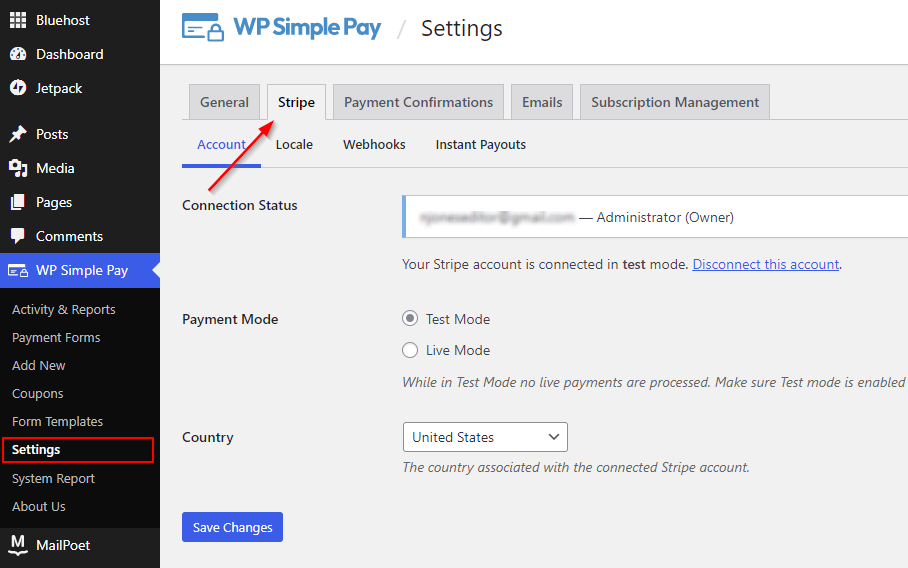
To enable Stripe Test Mode, all you need to do is navigate back to your WordPress dashboard and go to WP Simple Pay >> Settings.
Click on the Stripe tab and select Test Mode for the Payment Mode.
Next, click the Save Changes button.
Step 4: Enable Test Mode in Stripe
Now that you’ve enabled Stripe Test Mode in WordPress, you’ll want to be sure to enable Test Mode in your Stripe dashboard so you can view your test transactions.
Simply switch the Test mode toggle available on the top right of all Stripe dashboard pages.

You’re finished!
Now that you have enabled Stripe Test Mode in WordPress, you can create your first payment form using WP Simple Pay and simulate transactions to confirm that your integration is working properly.
When you’re ready to begin accepting real payments, you can easily disable Stripe Test Mode by selecting Live Mode in WP Simple Pay >> Settings >> Stripe >> Account.
If you liked this article, you might also want to check out how to customize stripe payment confirmation in WordPress.
What are you waiting for? Get started with WP Simple Pay today!
To read more articles like this, follow us on X.
Disclosure: Our content is reader-supported. This means if you click on some of our links, then we may earn a commission. We only recommend products that we believe will add value to our readers.


Leave a Reply