How to Let Customers Pay Off a Balance in Installments in WordPress
Last updated on
Do you want to let customers pay off a total balance in flexible installments on your WordPress site?
Allowing visitors to pay off a balance in weekly or monthly payments is often necessary for several different types of businesses. It can also help increase average order value by making larger purchases possible for a broader range of people.
In this article, we’ll show you how to easily allow visitors to make scheduled recurring payments to pay off a total balance.
Why Enable Recurring Installments for Balances?
Offering installment payment options for balances can be highly beneficial for various types of sites. It can enhance the customer experience and boost business performance.
Here’s why different types of sites should consider implementing this payment method:
E-commerce Websites
For online retailers, installment payments can significantly increase sales and average order value. By allowing customers to spread the total cost of their purchases over a set period of time, eCommerce sites can make higher-priced items more accessible.
This flexibility often leads to customers spending more than they would have with a single payment at checkout.
SaaS and Subscription-Based Platforms
Installment payment options can greatly benefit software-as-a-service (SaaS) and subscription-based sites. This approach is particularly attractive to smaller, growing companies that might not have the full amount of cash on hand but still want to invest in necessary software. It can also lead to increased customer loyalty and higher retention rates, as clients appreciate the flexibility to scale their tech stack without immediate financial strain.
Online Course Sites
Sites that offer courses, training programs, or educational content can make their offerings more accessible through recurring installment payments. This approach allows students or professionals to invest in their education without the burden of a large upfront cost.
By breaking down the total cost into manageable installments, educational platforms can attract a wider audience, including those who might otherwise be deterred by high course fees. This can lead to increased enrollment and potentially higher completion rates as students feel more committed to courses they’re actively paying for over time.
High-Ticket Service Providers
Flexible installment payment options can benefit businesses offering expensive services, such as travel agencies, wedding planners, home improvement services, or professional photographers.
These services often involve significant costs that customers might hesitate to pay in full. By offering the ability to pay in recurring installments, these providers can make their services more attainable to a broader customer base. This can lead to increased bookings and higher customer satisfaction, as clients appreciate the flexibility to budget for large expenses over time.
Allowing Customers to Pay Off a Total Balance
The easiest way to let customers pay off a set balance on your WordPress site is to use a Stripe payments plugin that enables you to set up recurring installment plans for any balance you need.
WP Simple Pay, the #1 Stripe Payments plugin for WordPress, is the best option because it allows you to easily create recurring subscription installment plans for customized balances.
You can also use it to let customers manage their subscription plan details, like their payment methods, on-demand directly from your site, freeing you from the need to do it manually.
To set up a payment form that enables users to pay off a total balance in installments, you’ll first need to create a payment form in WP Simple Pay.
Step 1: Create an Installment Payment Form
Visit the pricing page and choose the best plan for your specific needs. You’ll need a WP Simple Pay Pro license to unlock the installment plan feature for recurring payments.
Once you’ve installed and activated the plugin on your WordPress site, the advanced setup wizard will walk you through configuring your settings and connecting your Stripe account.
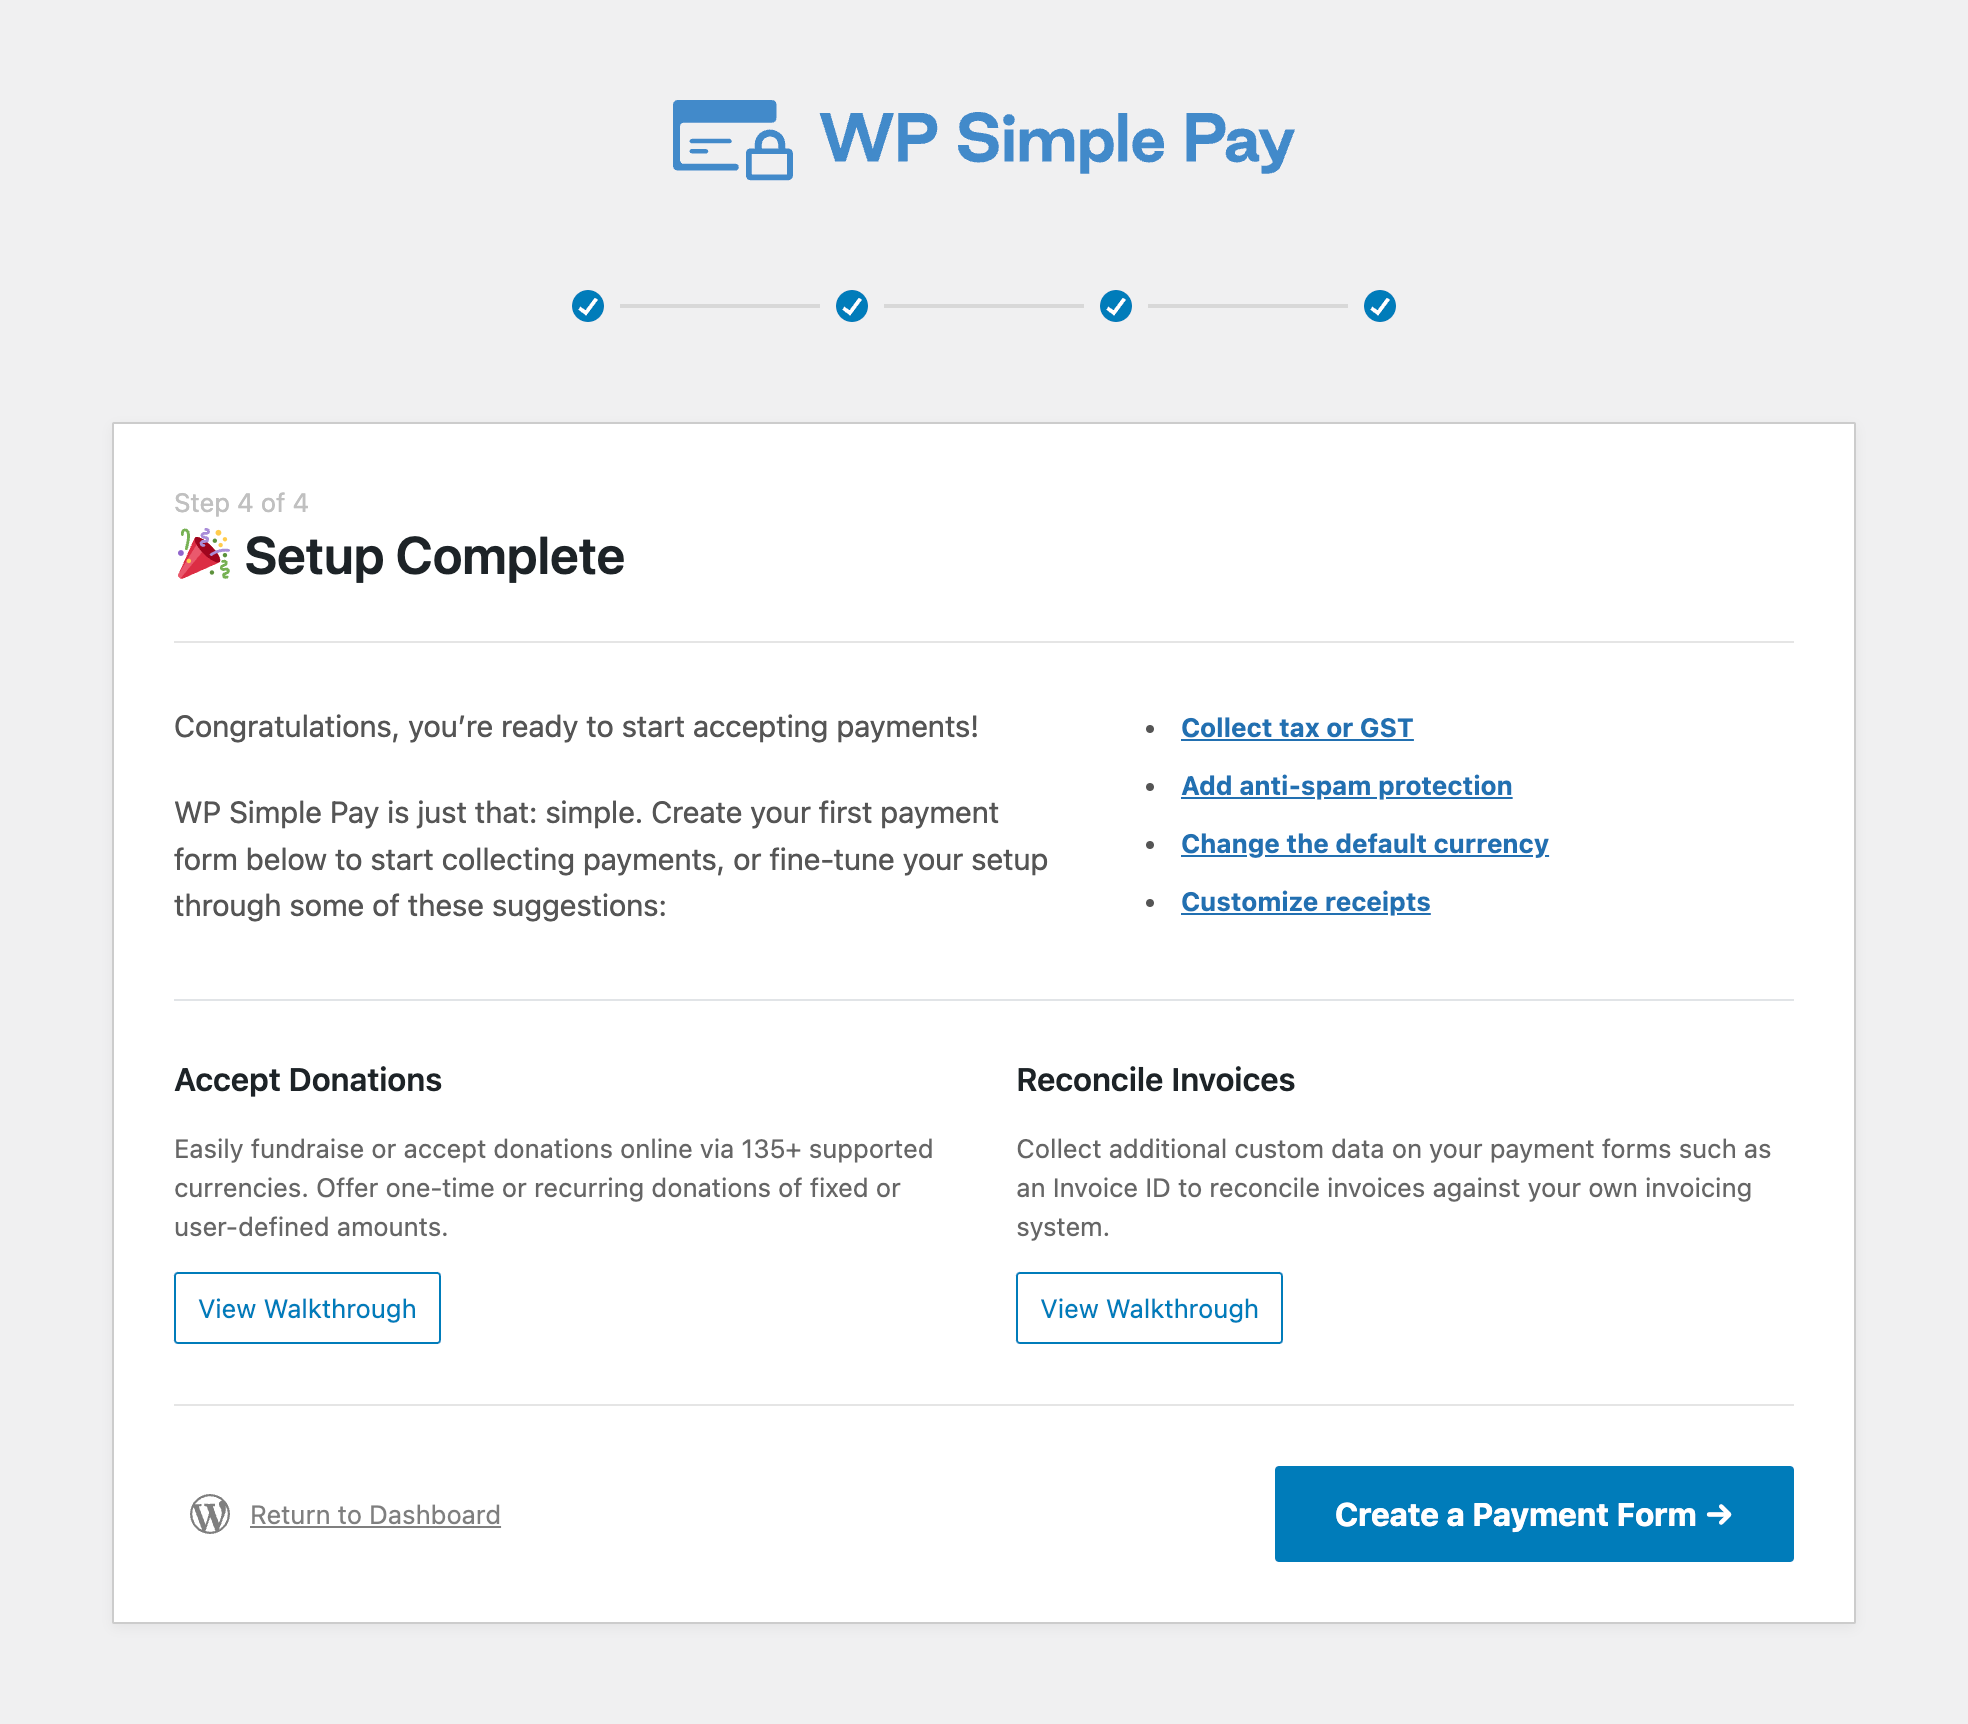
After completing a few quick steps, a success page will let you know that you’re ready to begin creating payment forms.
Go ahead and click on Create a Payment Form.
Next, you’ll notice that WP Simple Pay offers several pre-built templates. Go ahead and choose the Installment Plan Form.

Then, from the General tab, add the title and description of your form.
Next, go to the Payment tab and enter the price you want to charge for the recurring installment payment.
Then, click on the Configure icon to set up the frequency and enter the total number of payments to ensure that the customer pays off the entire balance owed.
For example, let’s say the customer’s total balance owed is $300. You can set the price to $50, billed every month for six months. Feel free to set your form up to meet your specific needs.

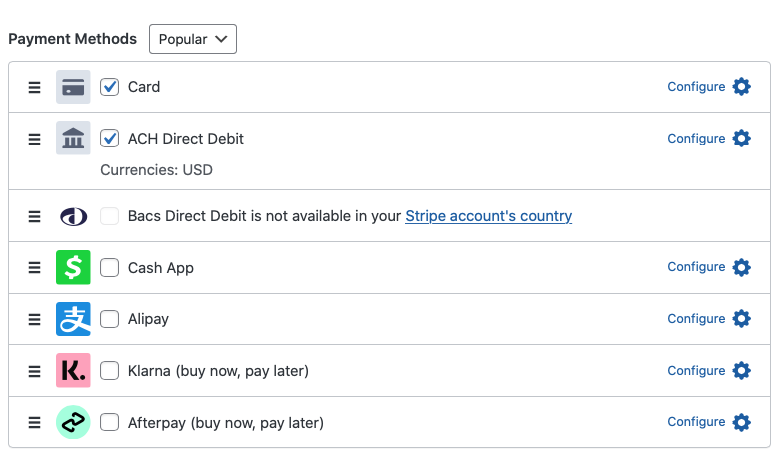
Now that you’ve configured your recurring installment plan settings scroll down and select the payment methods you want to offer.
Step 2: Configure Custom Form Fields
Now that you’ve created a payment form to accept recurring installment payments click on the Customs Form Fields tab.
Here, you can add, edit, and remove form fields to ensure that you collect accurate data during checkout.
For example, we’ve added a Name field to help indicate that this customer’s monthly payment was successfully made.

Once you’ve finished setting up the form fields to meet your needs, click on the Confirmation Page tab.
This is where you can enter a personalized confirmation message that your customers will see once they have completed payment.
To learn more, see our detailed guide on how to create per-form eMail confirmation messages in WordPress.
You can now click on the Payment Page tab to enable a dedicated payment page. This makes it super easy to share the payment form with your customer.
Go ahead and check the box next to Enable a dedicated payment page.
Feel free to add a company logo and change the color scheme. Then, click on Publish.
Step 3: Publish the Payment Page
So far, you’ve created an installment plan payment form that allows customers to pay off a total balance in monthly payments.
It’s time to publish your payment form to make the payment page live and also so that it’s able to charge customers automatically.
Simply navigate over to the Publish module on the right-hand side of the page and click on Copy URL.

You can now easily share the payment page with your customer who has chosen to pay off the total balance over time in monthly payments.
You can also paste the URL into your browser to ensure that it’s functioning properly.
It should look similar to the one below.
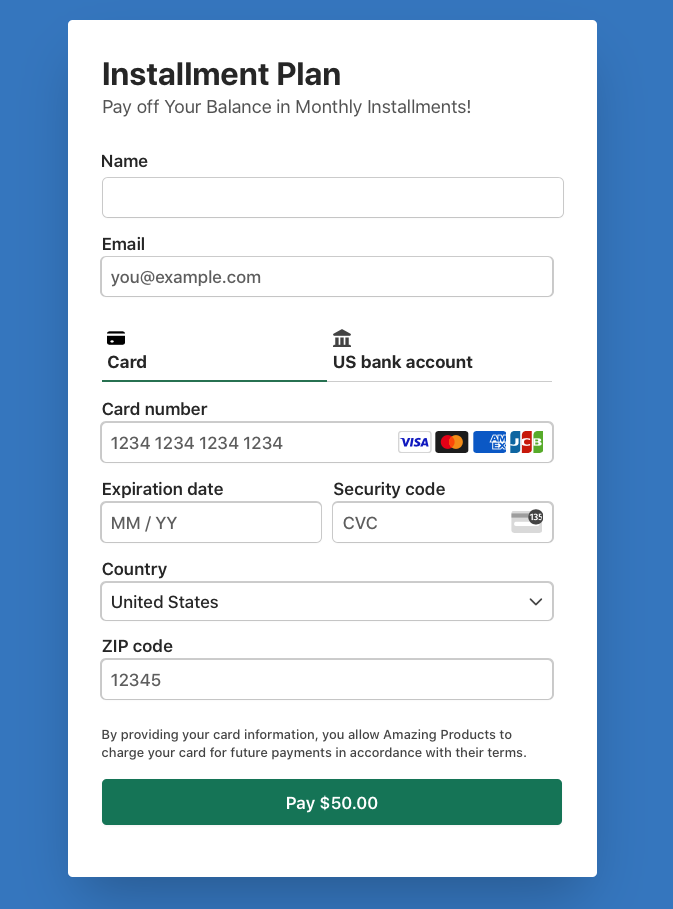
That’s it! Your customers can now pay off a total balance over time in flexible installments. They will be automatically billed every month until the balance is paid in full.
If you liked this article, you might also want to check out our guide on how to add a setup fee to a Stripe subscription payment plan in WordPress.
What are you waiting for? Get started with WP Simple Pay today!
To read more articles like this, follow us on X.
Disclosure: Our content is reader-supported. This means if you click on some of our links, then we may earn a commission. We only recommend products that we believe will add value to our readers.



Leave a Reply