
How to Add New Stripe Customers to Google Sheets in WordPress
Last updated on

Do you want to add new customers to Google Sheets after purchasing on your WordPress site?
Automatically adding new customers to a row in a Google Sheet is a great way to keep your customers’ information organized. This is especially helpful if you offer several different products, services, or registrations on your site and want to streamline post-purchase processes. You can also eliminate the human error risk that comes with manually editing spreadsheets.
In this article, we’ll walk you through setting up an automation that connects your Stripe payment form with Google Sheets.
Adding New Stripe Customers to a Google Sheet
If you use Google Sheets to keep your customers’ data organized, imagine how much time and energy it takes to manually add their data to a Google Sheet every time someone new makes a purchase.
Now, with powerful built-in integration, WP Simple Pay + Uncanny Automator, you can ensure that new customers are added to a new row of your Google Sheet immediately after they’ve completed the checkout process.
To help you automate this post-purchase task, this step-by-step guide will walk you through how to connect your Stripe payment forms with Uncanny Automator, the most powerful automation plugin for WordPress.
You can use WP Simple Pay, the #1 Stripe payments plugin, to create a payment form for your site and connect it to Google Sheets directly from the payment form builder without coding.
How to Add a New Customer to a Google Sheet
Step 1. Download and Activate WP Simple Pay in WordPress
To begin adding new customers to your Google Sheet, you’ll first need to download and activate WP Simple Pay on your WordPress site.
Just go to the pricing page and choose the right plan for your needs.
Next, locate the .zip file in your purchase confirmation email or your new WP Simple Pay account and download it to your computer.
Then, upload the file to your site from the WordPress admin dashboard.
First time installing a plugin? Don’t worry! We’ve created a step-by-step guide on how to install WP Simple Pay.
Once you’ve installed and activated WP Simple Pay, the setup wizard will guide you through connecting your Stripe account to your site.
Go ahead and click on the Let’s Get Started button.

If you didn’t see the setup wizard, simply head over to WP Simple Pay » Settings » Advanced tab and click the Launch Setup Wizard button.
2: Connect WordPress to Stripe
To connect your WordPress site to Stripe, click on Connect with Stripe.

Next up, enter the email address you use for your Stripe account and connect it to your site. If you don’t have a Stripe account, you can easily create one by entering your email address and completing the registration.
Upon completing this process, you’ll be shown a success page that says, “Setup Complete.” Next, click on Create a Payment Form.

Step 3. Create a Payment Form
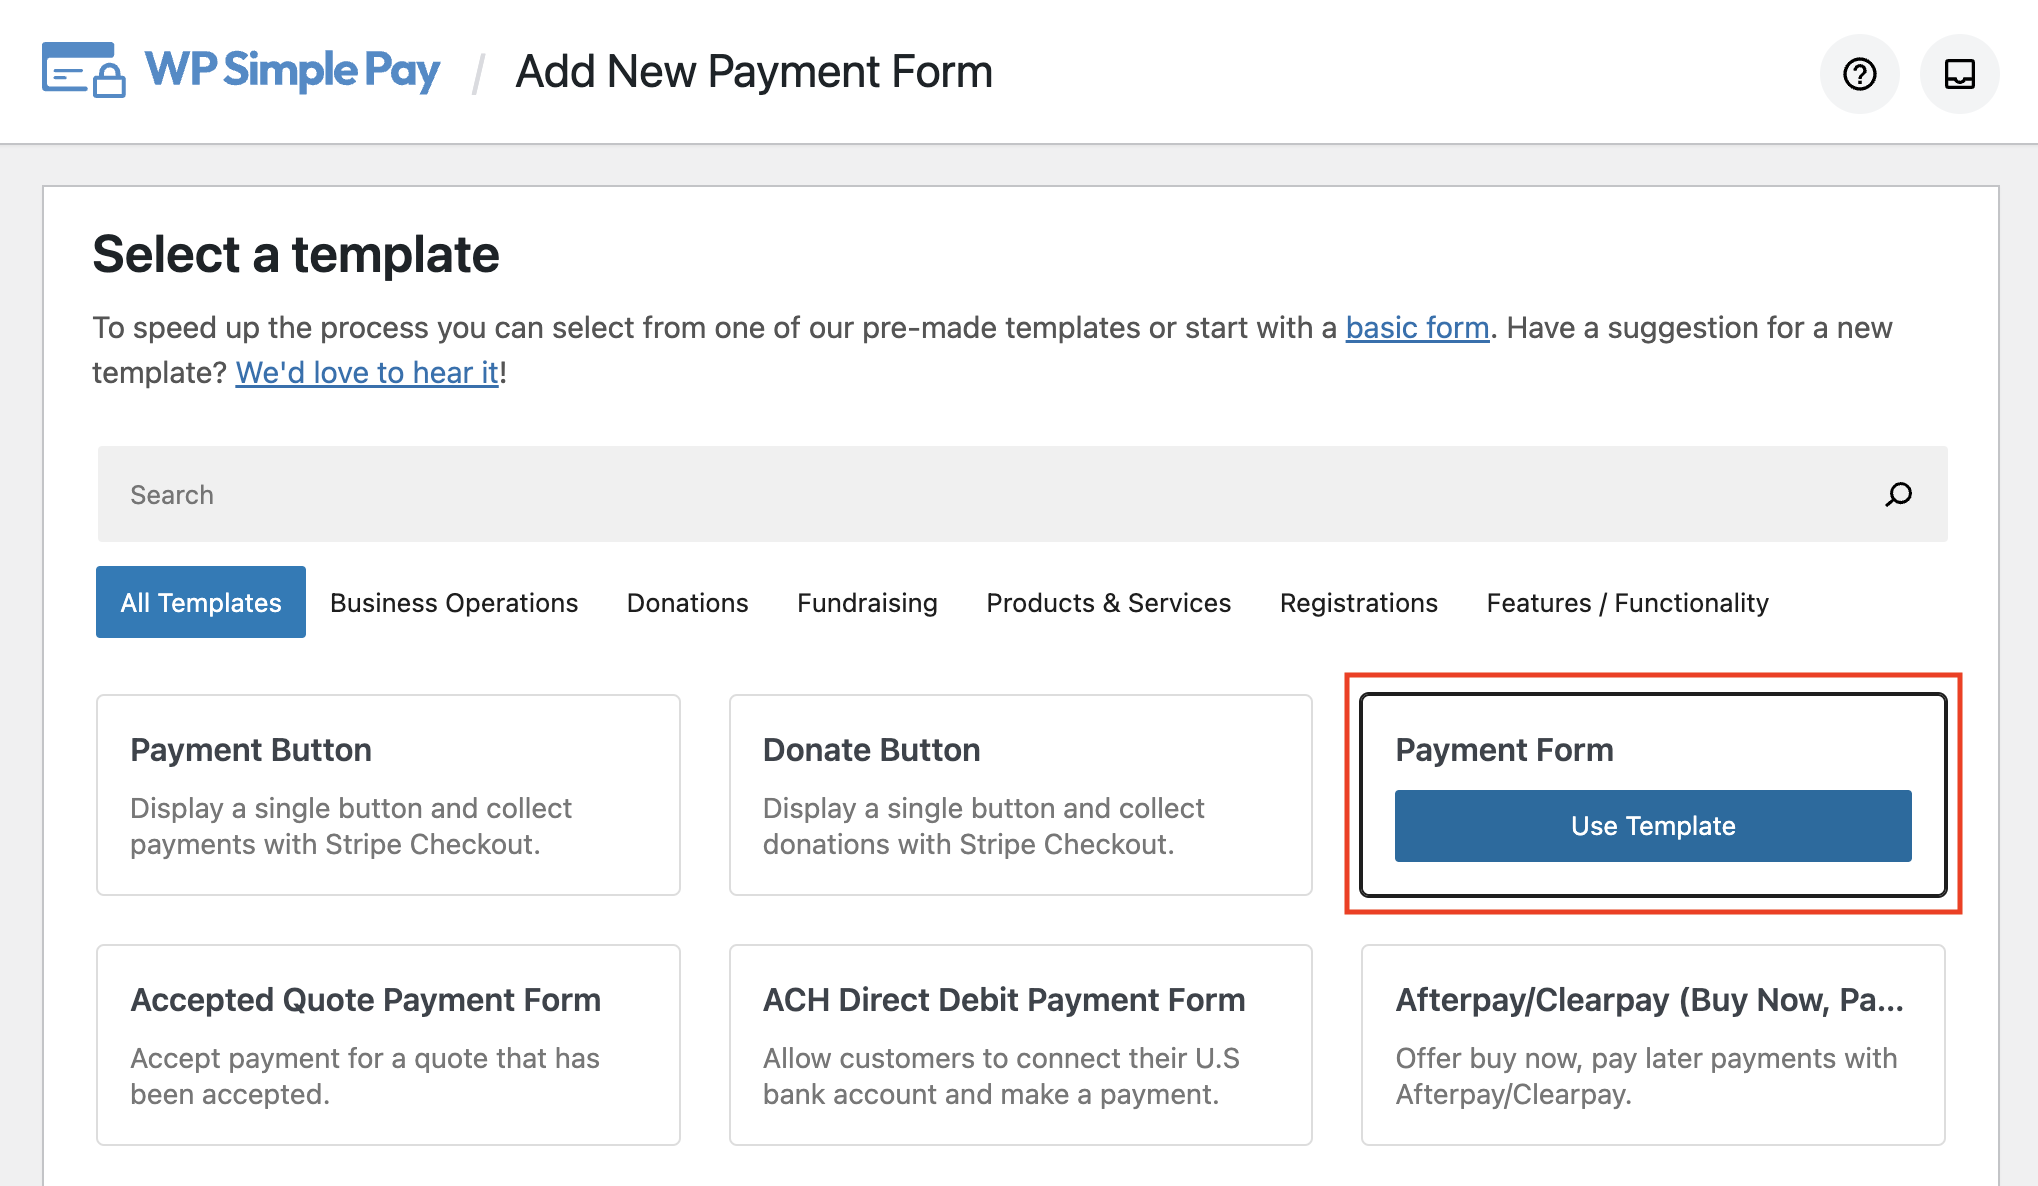
Now that you’ve installed and activated the plugin on your site and connected your Stripe account, go ahead and choose a payment form template from the library of options.
You’ll see that there are several templates available. For the purpose of this tutorial, choose the basic Payment Form template.
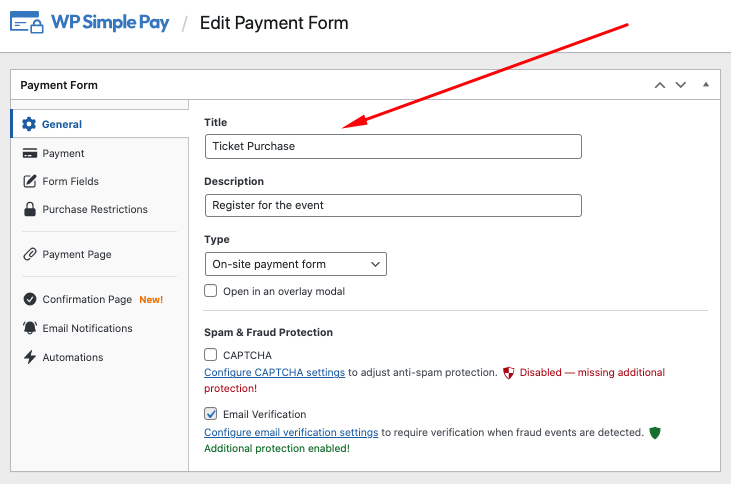
First, you’ll need to write the title and description of your payment form.
Next, click on the Payment tab. Here is where you’ll need to update the pricing options for your product or service and choose between a one-time and subscription payment. Go ahead and choose a One-time.

Once you’re finished adding your price, you’ll notice a list of available payment method options. WP Simple Pay lets you offer 10+ options. Feel free to check the boxes next to the ones you want to off your customers.

Next, click on the Save Draft button and then click on the Form Fields tab.
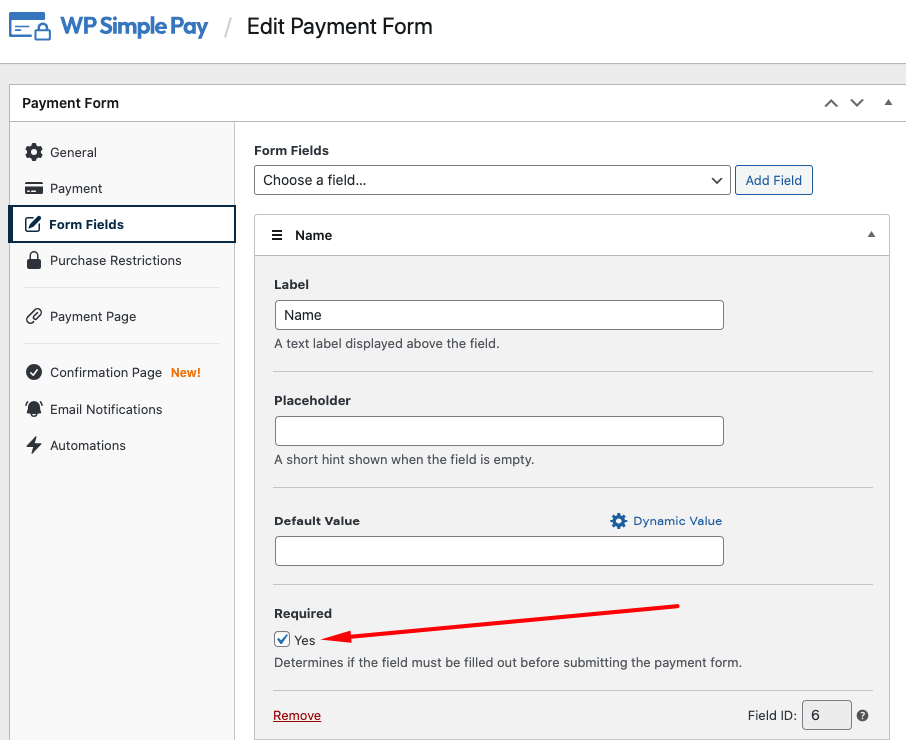
You can add, edit, and remove custom form fields to collect additional information from your customers.
To ensure that your new customer’s name and email are added to your Google Sheet, go ahead and add the matching Name and Email Address fields to your form using the dropdown menu.
You’ll also need to check the box next to Required.
Next, click on the Purchase Restrictions tab. Here is where you can schedule specific date ranges for your payment form. This is great if you sell time-sensitive event registrations, fundraisers, or other types of boosters with deadlines.
If you offer a limited amount of items, such as tickets to a concert, you’ll want to hide the payment form after a set number of transactions have been made.
For example, if you have 75 tickets available, you can set the inventory limit to 75.

You can create a dedicated landing page to host your payment form using the Payment Page tab. Feel free to set this up. You can also create a customized message for your payment confirmation page and an email notification from the Confirmation Page and Email Notifications tabs.
To learn more, check out our detailed guides:
- How to Create a Per-Form Email Confirmation Messages in WordPress
- How to Create Custom Payment Flows with Per-Form Confirmation Messages in WordPress
Step 4: Publish Your Form on Your Site
Now that you’ve created your payment form click on the Publish button in the top right corner of the page when you’re ready.
Next, to embed your payment form on your site, simply go to the page or post where you want it and click on the + icon to bring up the WP Simple Pay block. Choose the form you just created from the dropdown and click on Update or Publish.

5. Download and Install Uncanny Automator in WordPress
Now that you’ve created your payment form and published it on your site, it’s time to connect your form to Google Sheets so you can begin adding new customers automatically as a new row.
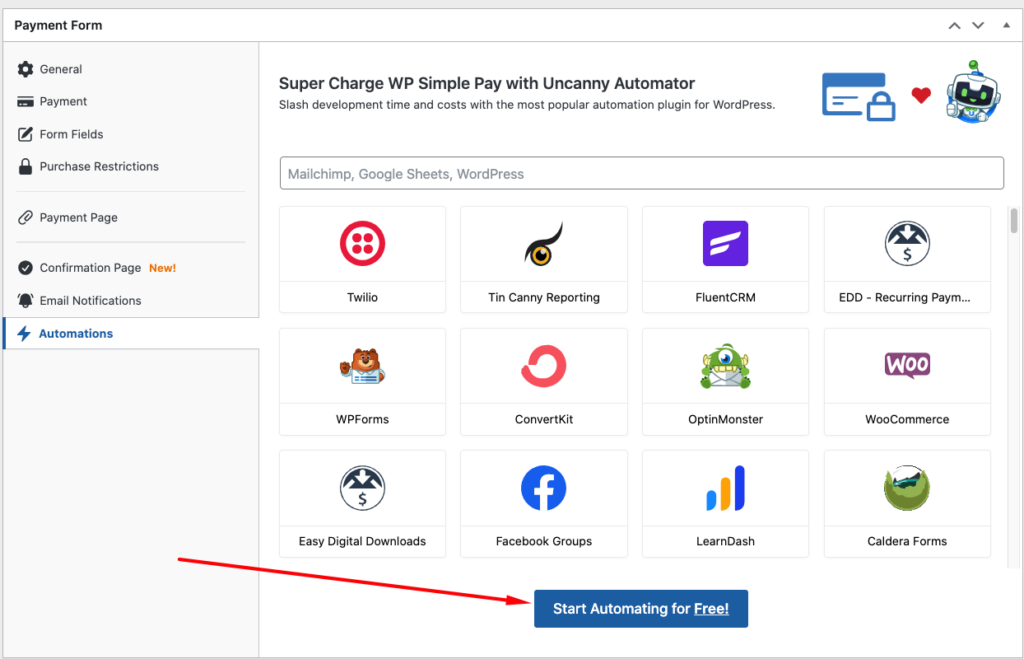
First, you’ll need to download and install Uncanny Automator in WordPress. Similar to how you installed WP Simple Pay, it’s super easy!
Simply navigate to the Automations tab from the form builder and click on the Start Automating for Free! button.
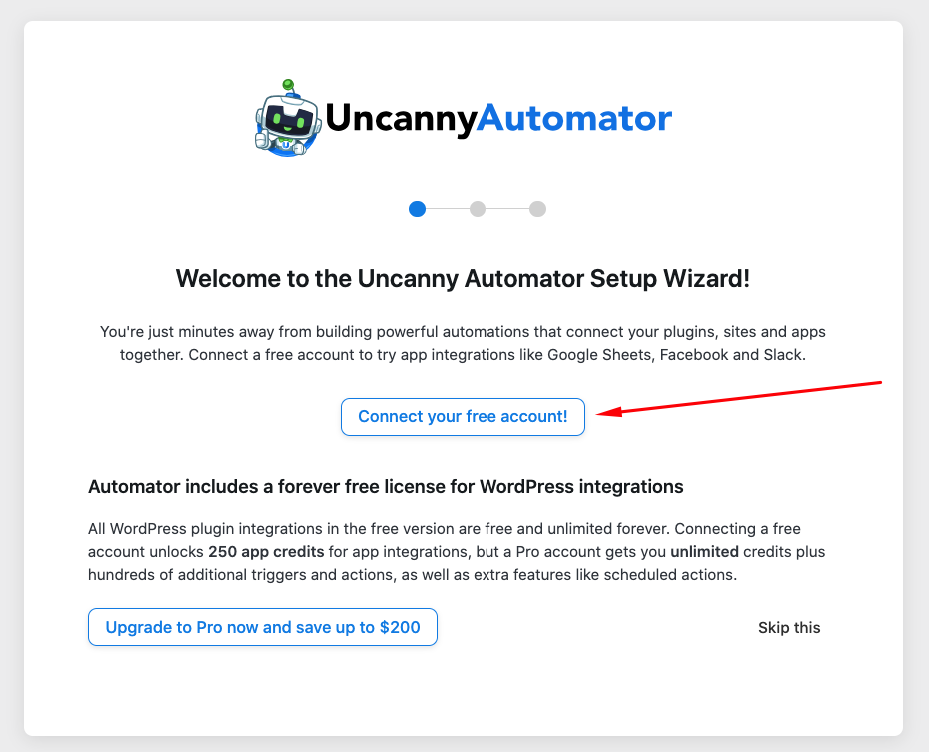
Next, click on the Connect your free account! button. You’ll need to enter your information to create a new account.
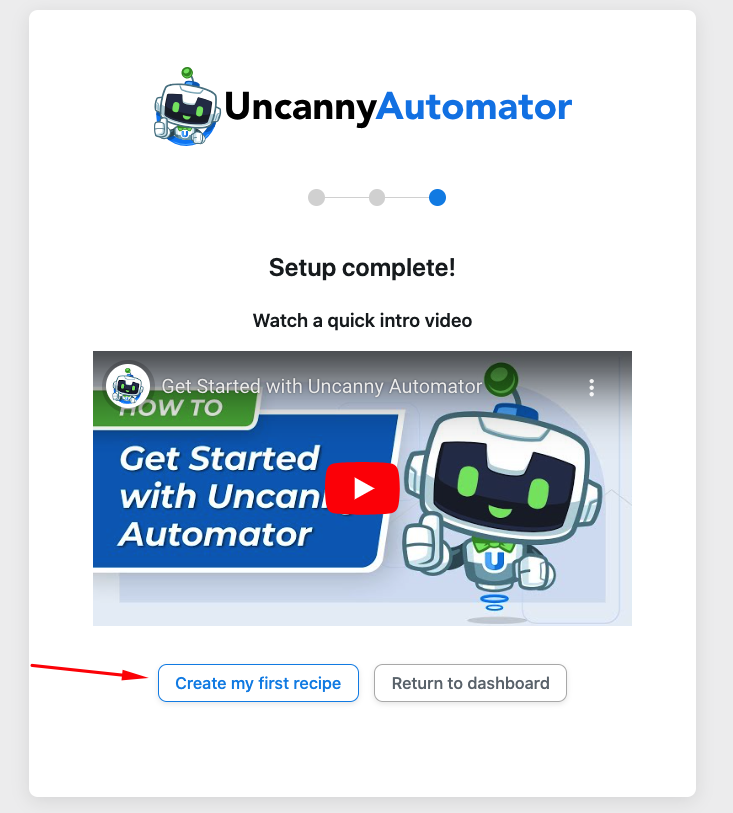
A success page will be displayed once you’ve completed the setup. Go ahead and click on Create my first recipe to get started.
Next, you’ll be redirected back to the WordPress admin dashboard, where you’ll need to select Everyone for your recipe type.

Possible integrations will be displayed on the next screen. Be sure to choose WP Simple Pay.

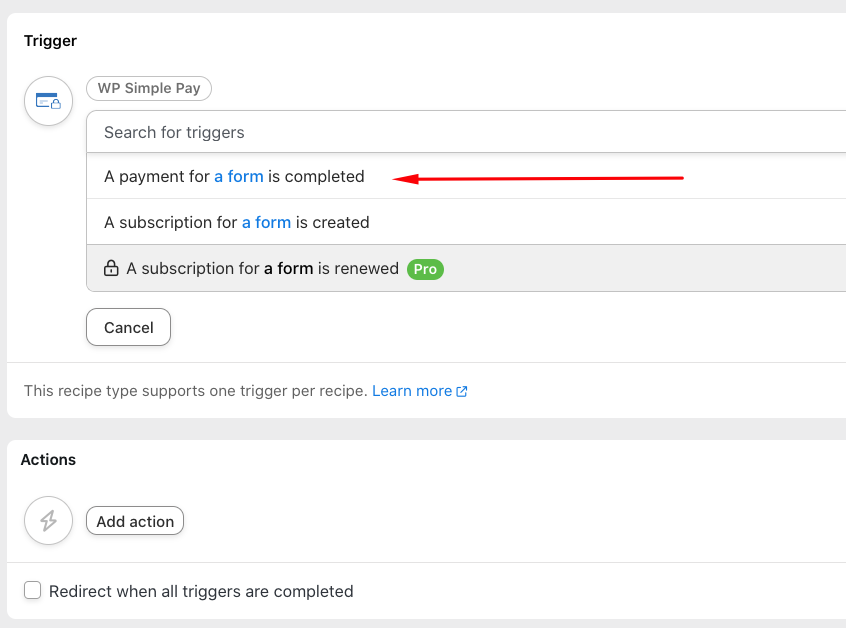
On the next screen, choose A payment for a form is completed from the list of available options.
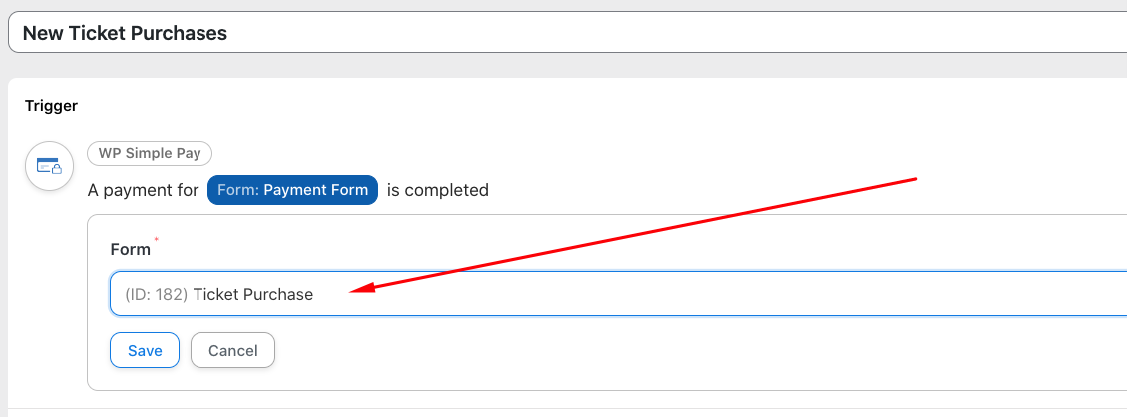
Next, choose the form you just created. In this case, it’s titled Ticket Purchase. Be sure to click on the Save button.
It’s now time to create your Action. First, click on the Action button.
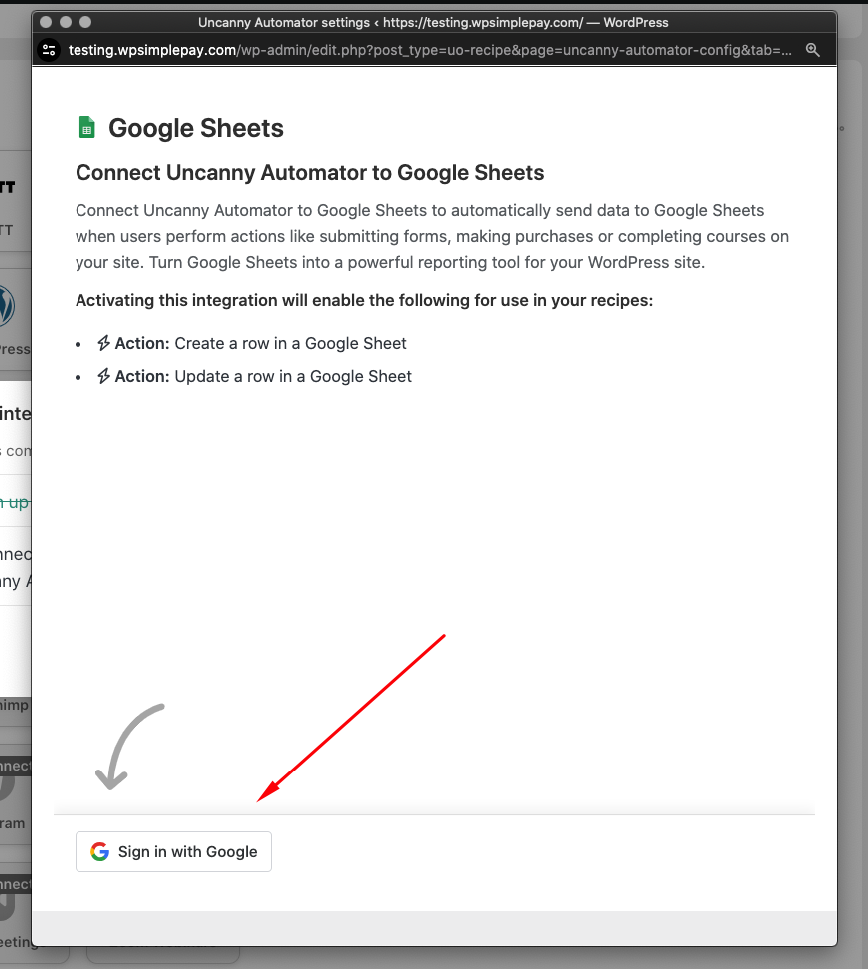
Then, click on the Google Sheets integration. The next screen will prompt you to sign in to your Google account to activate the integration.
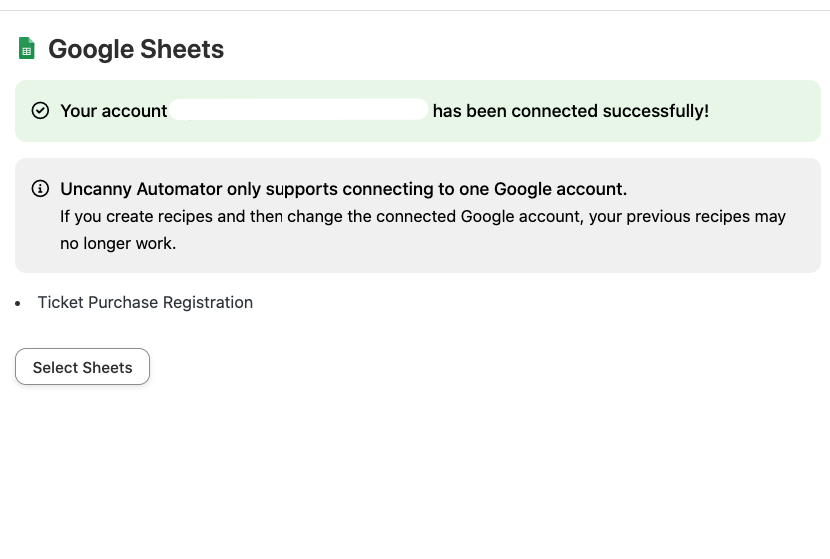
Once you’ve given Uncanny Automator access to your Google account by selecting all the options, a new window lets you know that your account is now connected to Google Sheets. Be sure to select the sheet you want to use for your recipe from the list provided on this success page.
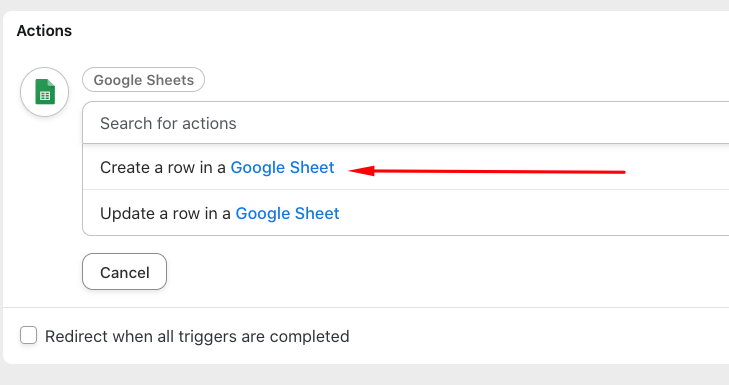
Next, you’ll be redirected back to your WordPress admin dashboard, where you’ll need to select Create a row in a Google Sheet from the dropdown menu.
Go ahead and locate the Google Sheet you wish to connect your payment form with from the dropdown menu. For the purpose of this tutorial, it’s titled Ticket Purchase Registration.
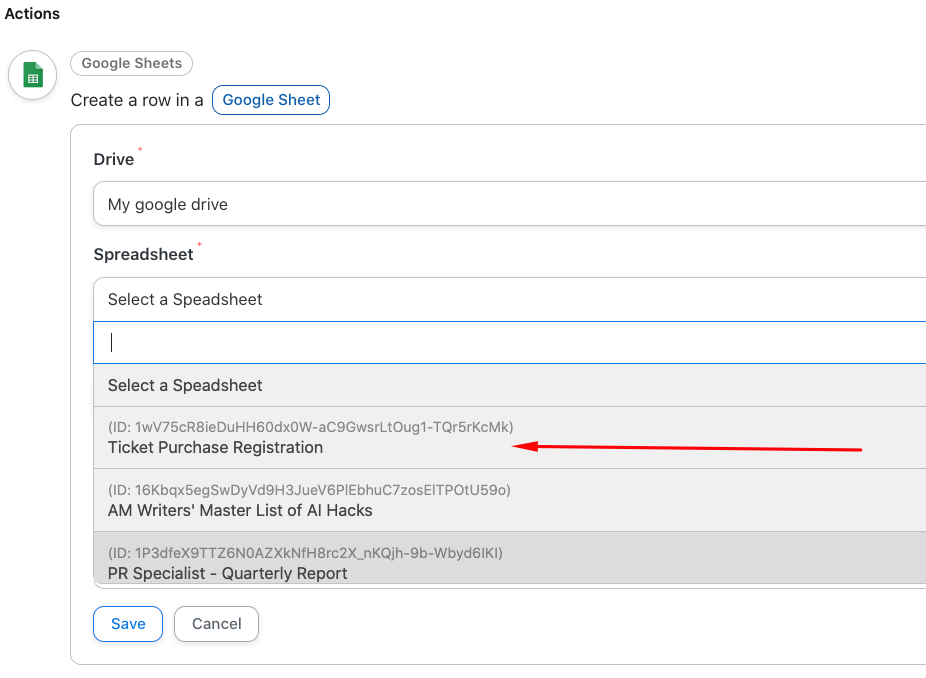
For the WorkSheet, choose Sheet1, and then click on the Get Columns button.
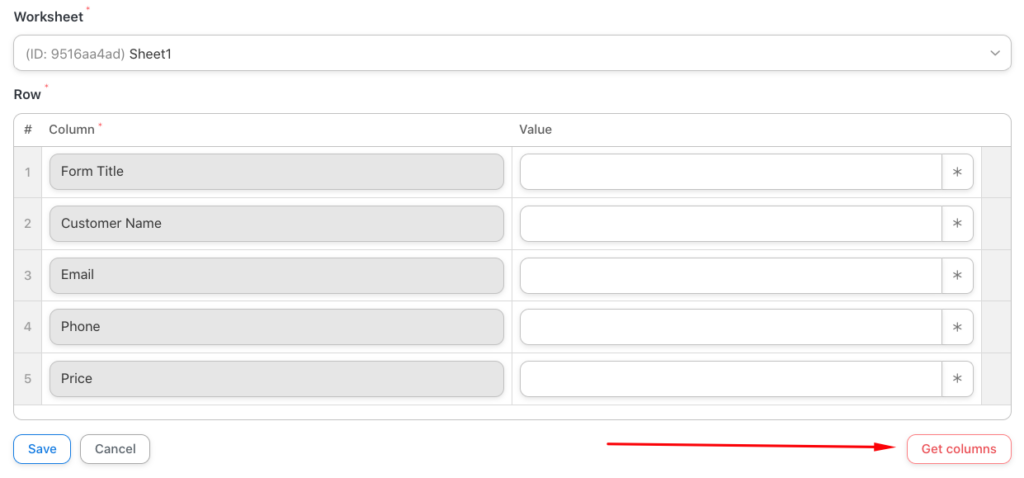
Once the columns of your Google Sheet auto-populate, you’ll need to add the Values for each column.

When you’ve finished adding each of the values, it should look like this:

Go ahead and click on Save if it all looks good. On the next screen, you’ll need to add a title to your recipe and toggle the switch to Live.

6. Test Your Recipe
Once your automation is live, it’s a good idea to perform a test payment using the form you’ve connected to Google Sheets to ensure it’s working smoothly.
For more information, see our step-by-step guide on how to test Stripe payments in WordPress.
Simply go to the page or post your payment form is embedded on and make a test transaction. You can use test card numbers provided by Stripe.
Your Google Sheet should have the new customer row.

There you have it! We hope this article has helped you learn how to add new Stripe customers to Google Sheets in WordPress.
If you liked this article, you might also want to check out our guide on how to add new Stripe customers to ActiveCampaign in WordPress.
What are you waiting for? Get started with WP Simple Pay today!
To read more articles like this, follow us on X.
Disclosure: Our content is reader-supported. This means if you click on some of our links, then we may earn a commission. We only recommend products that we believe will add value to our readers.


Leave a Reply