How to Install WP Simple Pay Pro
In This Document
The easiest way to install WP Simple Pay Pro is to upload the plugin through your WordPress admin area. However, we’ll also cover how to manually install it via FTP upload.
Before you install, you may want to review the system requirements for WP Simple Pay Pro. You’ll also need to ensure that SSL (HTTPS) is enabled unless the site is a test site only.
Need help choosing a web host? See our recommended WordPress hosting providers.
Upgrading from WP Simple Pay Lite? Read this first.
Direct Upload
First, you’ll need to download the WP Simple Pay Pro plugin zip file from your purchase email receipt or your WP Simple Pay account.
If viewing your purchase email receipt, click the included download link.
If in your account area, click the Download WP Simple Pay Pro button from the Downloads section.
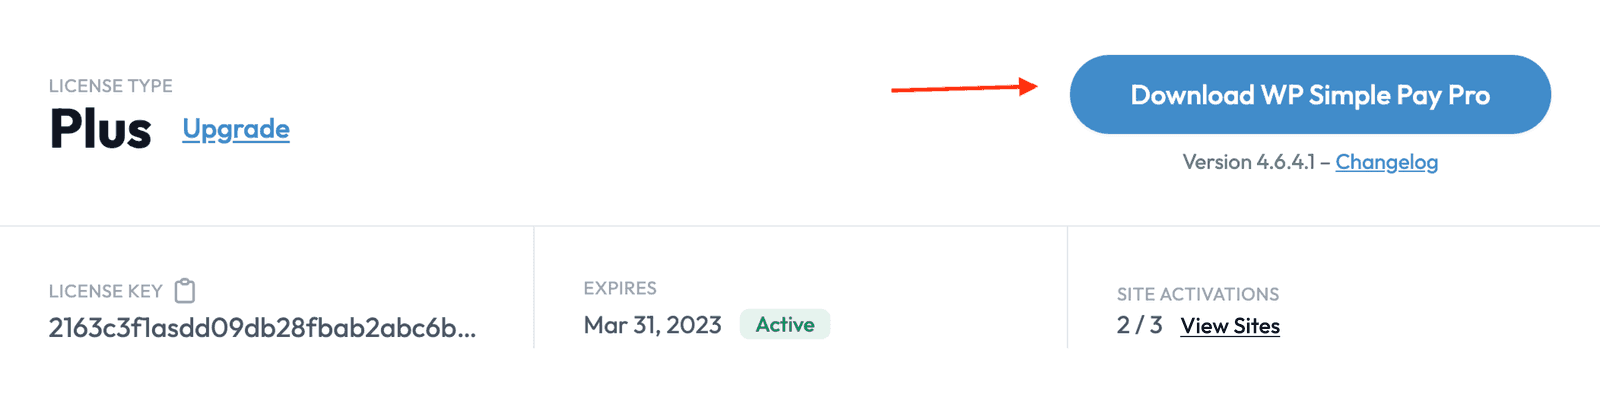
Clicking the download link will initiate a download of the plugin zip file to your computer.
Some browsers, such as Safari on Mac, automatically extract zip files in some cases. If this happens, right-click or Control-click on the download link and select “Download Linked File As…”, allowing you to download it as a zip file. Click here for more information.
Once the plugin zip file is saved to your computer, log in to the WordPress admin of the site where you want to install WP Simple Pay Pro (i.e. mysite.com/wp-admin).
Within the admin, go to Plugins → Add New. Then click Upload Plugin.
On the next screen, you should see a Choose File button. Click this, select the WP Simple Pay Pro zip file, and then click Install Now.
At this point, WordPress should install the plugin for you. When it’s finished you should see an Activate Plugin button. Click this to continue.
When the plugin activation is complete, you should be taken to the page that lists all your plugins with a “Plugin activated” message at the top.
At this point, a setup wizard should appear automatically so that you can proceed to the next step, which is activating your WP Simple Pay license key.
Next step: WP Simple Pay Setup Wizard
We recommend this step-by-step plugin installation guide if you get stuck during the WP Simple Pay installation phase.
Upload via FTP
Here are the steps if you must install the WP Simple Pay Pro plugin manually or simply prefer this method.
- Download the WP Simple Pay Pro plugin zip file from your purchase email receipt or your WP Simple Pay account.
- Unzip the downloaded file on your computer. You should now see a wp-simple-pay-pro folder.
- Connect to your WordPress site using an FTP/SFTP program, such as FileZilla, Cyberduck or Transmit.
- Navigate to the wp-content/plugins folder on your site.
- Upload your local wp-simple-pay-pro folder to your site’s wp-content/plugins folder. If you are upgrading and the folder exists, remove its contents before uploading the updated plugin files.
- In your WordPress admin, click on Plugins to view your site’s plugin listing.
- Find WP Simple Pay Pro and click the Activate link.
- When the plugin activation is complete, you must activate your WP Simple Pay Pro license key to receive plugin updates and support.
Go here for more details on how to install plugins via FTP upload.
Still have questions? We're here to help!
Last Modified: