
Unlocking Personalization: How to Let Customers Add Notes to Payment Forms in WordPress
Last updated on
 Reviewed By:
 Spencer Finnell
Do you want to let customers add custom notes to their payment forms?
Allowing customers to add notes to their payment forms during checkout is an effective way to boost conversions and improve overall customer satisfaction.
In this article, we’ll show you the best way to allow customers to personalize their payment forms with notes specific to their purchases.
Why Let Customers Add Notes to Their Forms?
There are several ways allowing customers to add notes to their payment forms can help increase sales, reduce refunds, and improve customer satisfaction.
For example, if your business is primarily focused on selling custom-made products, visitors who can better explain their needs are more likely to entrust you with their business.
Giving them the ability to connect with you on a personal level through custom notes allows them to clearly state what they expect from you.
Another example could be that you offer services that require additional information, such as event registrations, catering, and photography sessions.
How to Enable Custom Notes on Your Forms
When it comes to letting customers add notes to their payment forms, the easiest way is to use a Stripe payments plugin or WordPress that lets you add the option without code.
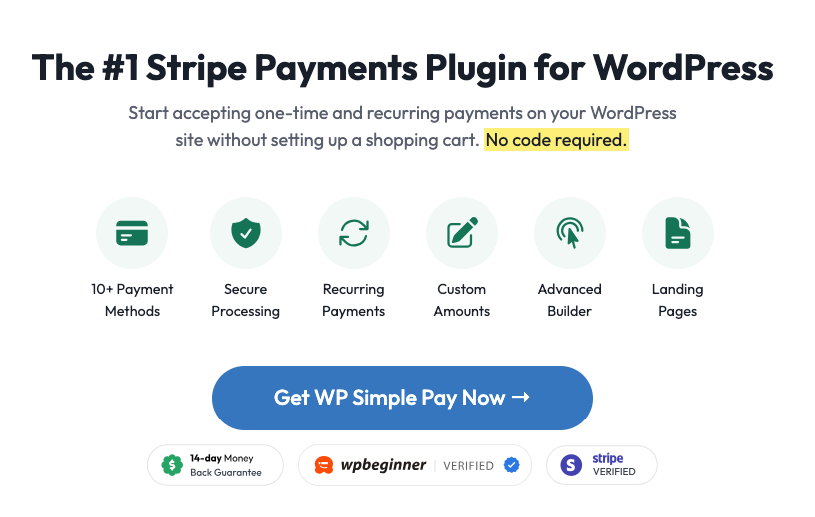
WP Simple Pay is the #1 Stripe payments plugin for WordPress. It lets you create payment forms for your site in minutes using an advanced drag-and-drop payment form builder. You can also use it to accept online payments without setting up a shopping cart.
One of the best parts about the plugin is that it allows you to create payment forms for one-time or recurring payments, giving you the flexibility to collect payments for registrations, custom products and services, donations, and more.
Using the Form Fields tab in the payment form builder, you can add the ability for customers to enter personalized notes regarding their purchases in just a few steps. Not only that, you can use custom fields to collect additional information from customers to help you do all kinds of things, like create custom eNewsletter lists and improve customer communication.
To learn more, see our guide on how to collect customer data during checkout.
Let’s take a step-by-step look at how you can achieve this.
Step 1: Install and Activate WP Simple Pay
The first thing you’ll need to do to begin allowing customers to add notes to their payment forms is install and activate WP Simple Pay on your WordPress site.
Simply visit the pricing page, choose the plan that best suits your needs, and upload the .zip file to your site.
If this is your first time installing a plugin, don’t worry! You can follow our detailed guide on how to install WP Simple Pay.
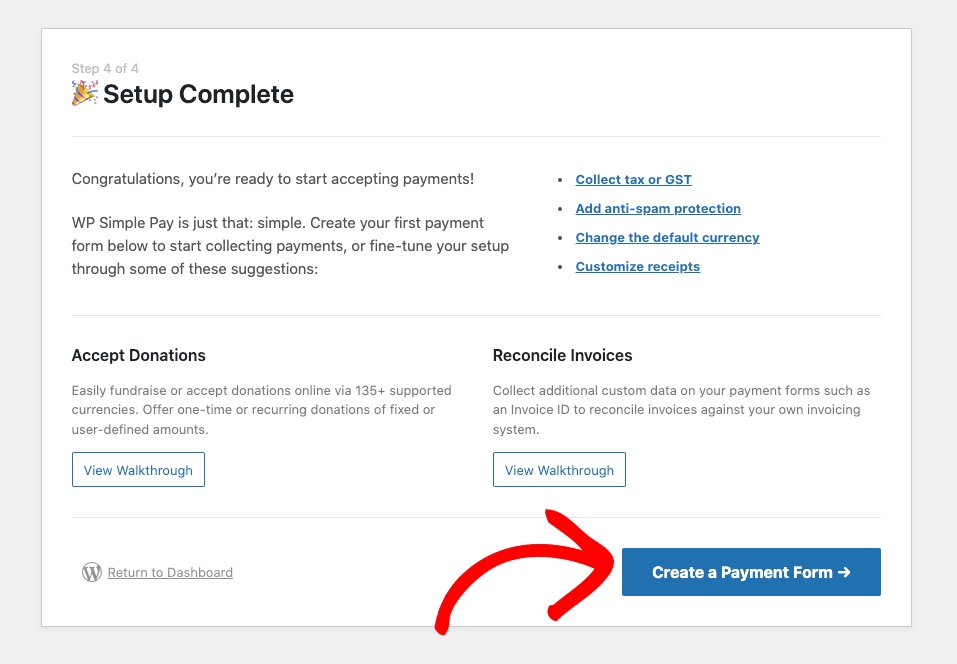
Once you’ve finished activating the plugin, the setup wizard will quickly walk you through configuring your settings and connecting your Stripe account.
Once you’ve completed setting up the plugin, a success message will appear. Go ahead and click on the Create a Payment Form button.
Step 2: Create a Payment Form
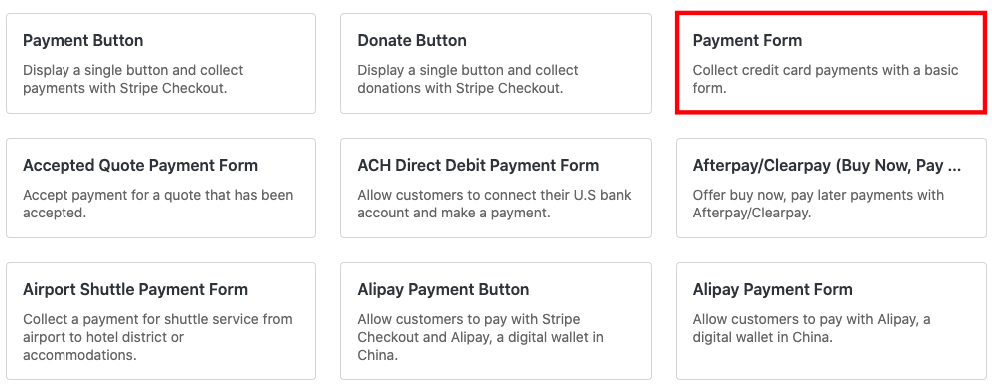
You’ll notice that WP Simple Pay offers tons of pre-built payment form templates for you to choose from.
For the purpose of this tutorial, let’s choose the basic Payment Form.
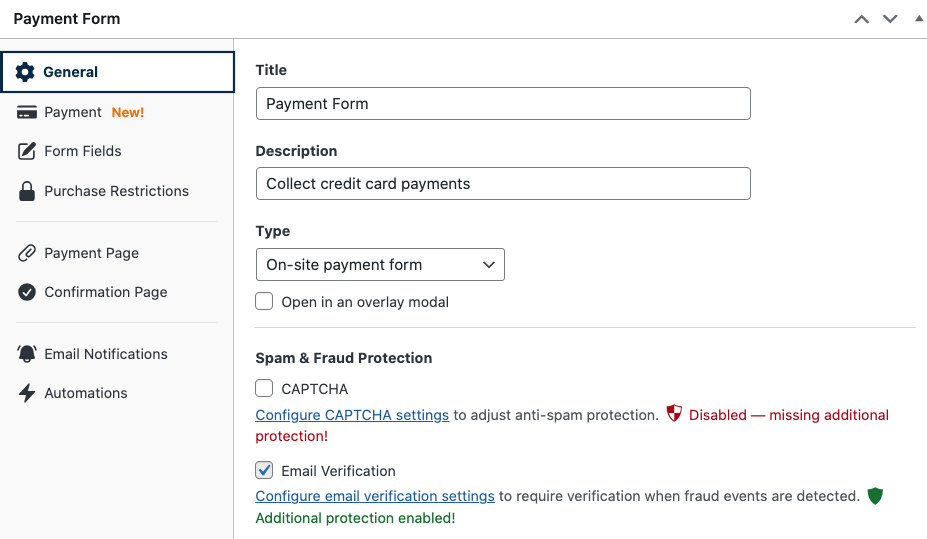
From the General tab, add the title and description of the payment form and be sure to leave On-site payment form selected for the Type.
Next, from the Payment tab, enter the price amounts and configure your quantity options if you want to offer multiple quantities in a single transaction.
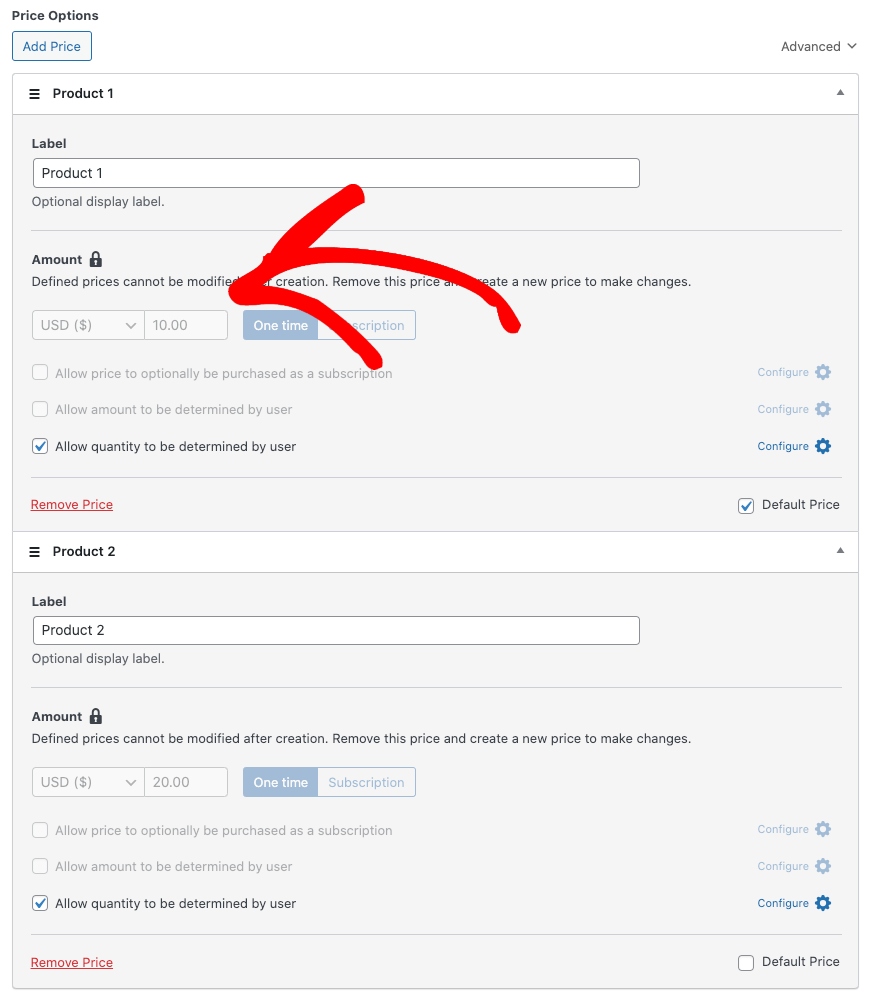
Once you’ve finished setting up your pricing options, scroll down and choose the payment method options you want to offer.
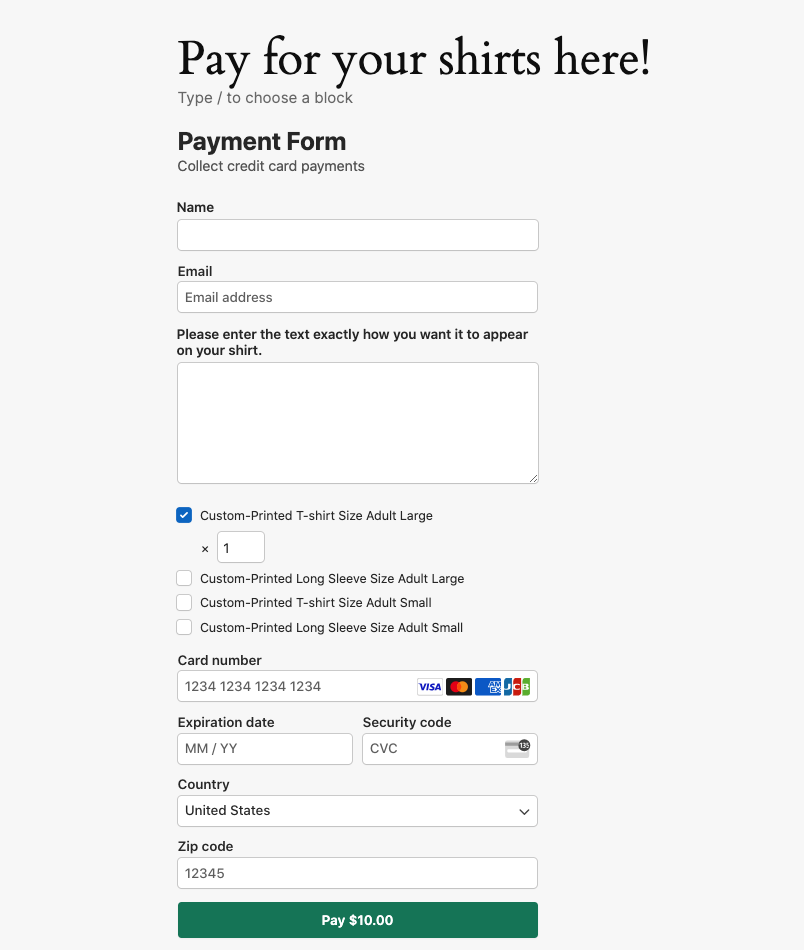
Next, navigate to the Custom Fields tab. From the Form Fields dropdown menu, choose the Text option.
Then, simply enter the label for the notes text field.
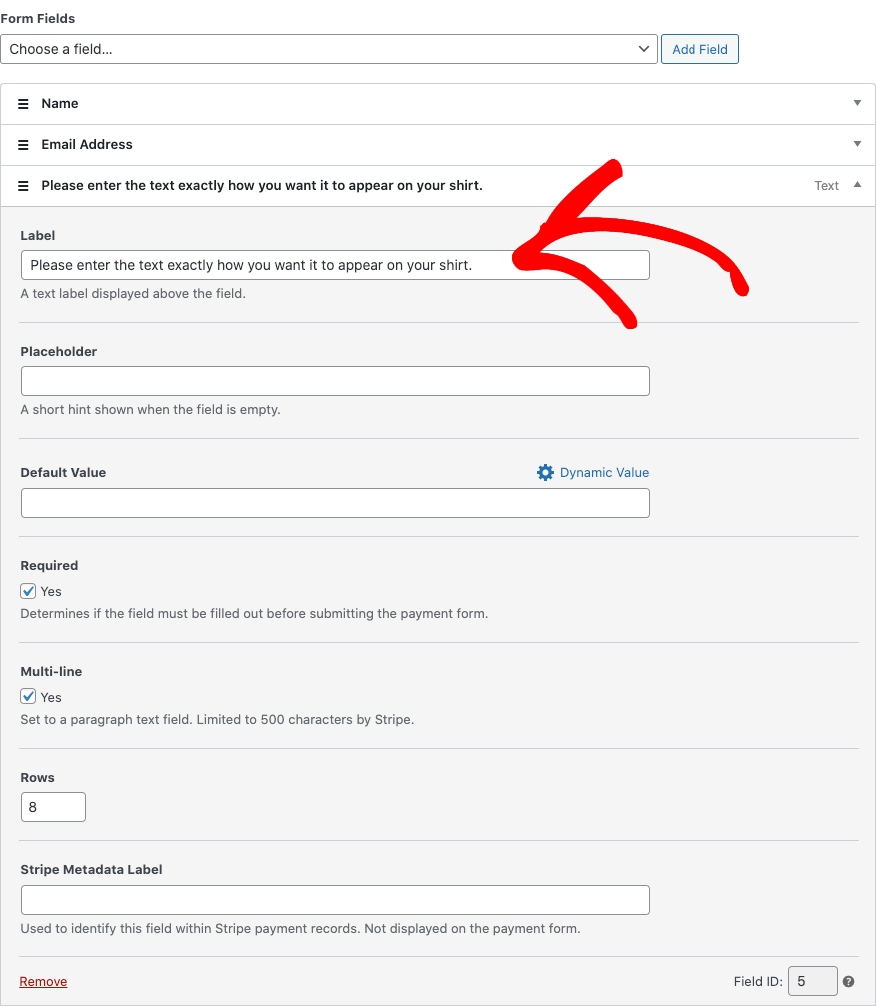
Be sure to check the box for Required and Multi-line. When you’re finished, click on Save Draft and preview the form.
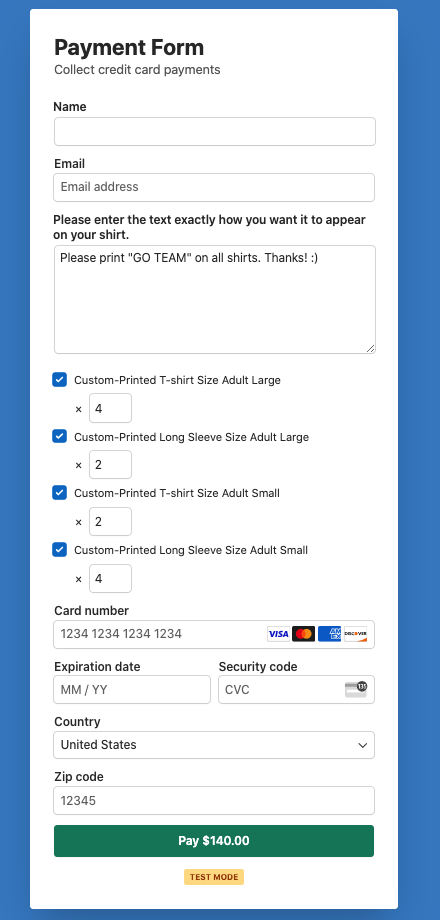
Your form should look similar to the one below:
Step 3: Publish Your Payment Form
Now that you’ve created your payment form that enables customers to enter custom notes, it’s time to add it to your site. First, be sure to click on Publish once you’re happy with it.
Then, simply click on Copy Block under the Publish section of your screen.
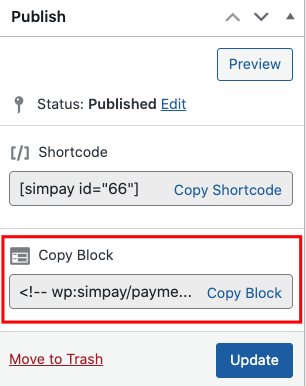
Finally, go to the page you want your form on and paste the shortcode. It will be displayed on the page.
There you have it! We hope this article has helped you learn how to allow customers to add personalized notes to their payment forms during checkout.
If you liked this article, you might also want to check out our guide on how to easily enable multi-item purchases in one transaction.
What are you waiting for? Get started with WP Simple Pay today!
To read more articles like this, follow us on X.
Disclosure: Our content is reader-supported. This means if you click on some of our links, then we may earn a commission. We only recommend products that we believe will add value to our readers.


Leave a Reply