
Nonprofits: Maximize Donations with Easy Online Giving
Last updated on

 Spencer Finnell
Do you want to raise more funds for your nonprofit organization?
One of the best ways to encourage donors to give more is to provide a simple, quick, and streamlined checkout experience. Offering suggested donation amounts and hosting your donation form on a distraction-free landing page are two powerful ways to accomplish this.
In this article, we’ll show you how to make online giving easy for donors using suggested donation amounts and a distraction-free donation page.
Why Use Suggested Donation Amounts?
Suggested donation amounts make online giving super easy because they remove the guesswork for donors.
Typically, when a visitor decides to donate to your cause or organization, the first thing they think about is, “How much should I give?”
To make this step as easy as possible, you should provide donation amount options to your donation form. In some cases, it’s also a smart idea to let your donors choose exactly what they’d like their money to go towards.

If you manage your nonprofit organization’s website, you’ve likely already considered using suggested donation amounts and giving donors the choice of where their funds will go.
Luckily, you don’t need a complicated shopping cart system or even a fundraising platform to add suggested donation amounts and options to your online donation forms.
Adding Suggested Donation Amounts in WordPress
The best way to add suggested donation amounts and options to your payment forms is to use a Stripe payments plugin for WordPress, like WP Simple Pay. The plugin lets you accept one-time or recurring donations and makes it easy to customize your donation forms with dropdowns, checkboxes, and text fields.
Step 1: Install and Activate WP Simple Pay
To get started, you’ll need to install and activate the plugin on your WordPress site. For more information, see our detailed guide on how to install WP Simple Pay.
Step 2: Create a Donation Form
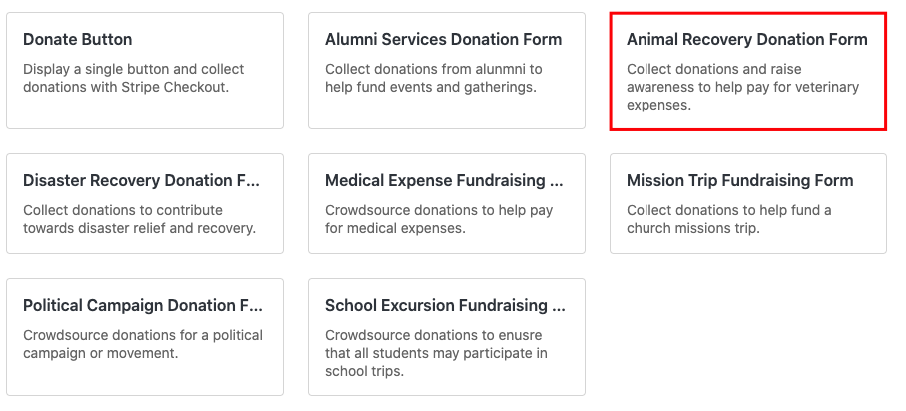
Next, navigate to WP Simple Pay » Form Templates in your WordPress admin. Click on Donations to display all of the donation form templates.

While the plugin offers donation form templates for several different purposes, you should choose the Animal Recovery Donation Form for the purpose of this tutorial.
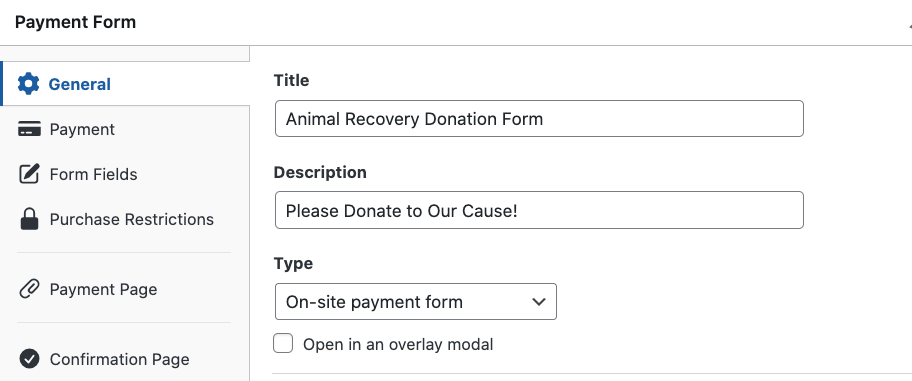
In the General tab, be sure to enter the title and description of your donation form and leave On-site payment form selected for the form Type. It’s best to keep donors on your site versus sending them to an off-site Stripe Checkout page.
Next, in the Payment tab, you’ll notice several suggested donation amounts have already been added to the form.
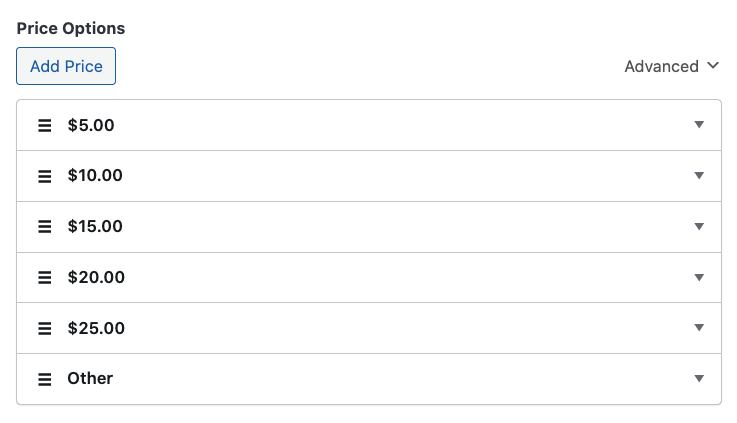
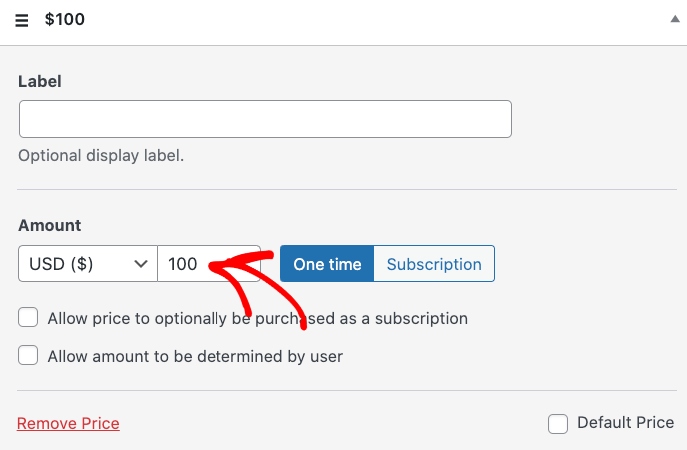
You can add a new price option by clicking on Add Price and entering the custom amount.
Next, in the Form Fields tab, you can choose how you want to display the donation amount options. Simply click on the Donation Amount field to select the style.

If you click on the Apply Donation To field, you can add, edit, and remove options to let donors decide where their donation should be allocated.

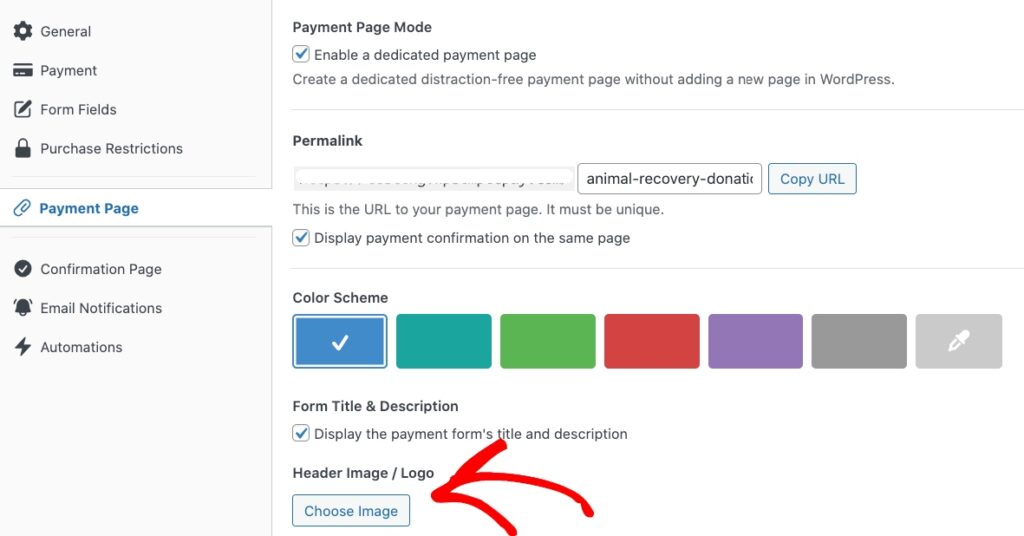
Once you’ve finished configuring the suggested donation amounts and options, you can click on the Payment Page tab to create a dedicated landing page for your form.
You can easily add a logo or image to the page and apply a custom color scheme. One of the best parts about creating a payment page for your donation form is that it’s easily sharable and independent of your website’s theme. This means that there is no header or footer, letting donors complete their donations without distractions.
Bonus: Adding a Custom Donation Confirmation Message
Creating a donation form with suggested donation amounts and allocation options is just one step to raising more funds for your organization.
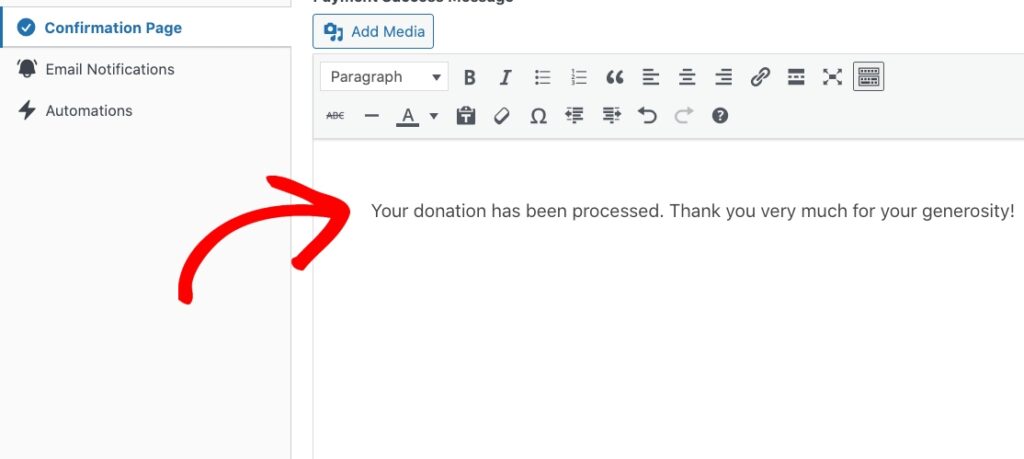
You should also let donors know their donation has been processed and express your gratitude for their generosity as soon as they’ve completed the checkout process.
The best way to do this is to create a custom message for your donation confirmation page.
To do this, simply click on the Confirmation Page tab and enter your message in the text field provided.
For more details, see our complete guide on how to boost conversions with your payment confirmation pages in WordPress.
We hope this article helped you learn how to maximize donations with easy online giving.
If you liked this article, you might also want to check out our detailed guide on how to set suggested donation amounts that drive conversions.
What are you waiting for? Get started with WP Simple Pay today!
To read more articles like this, follow us on X.
Disclosure: Our content is reader-supported. This means if you click on some of our links, then we may earn a commission. We only recommend products that we believe will add value to our readers.


Leave a Reply