How to Use Custom Coupon Codes to Boost Black Friday Sales
Last updated on
Wondering what you can do for Black Friday to boost your online sales?
Black Friday and Cyber Monday are right around the corner. While this once-a-year sale opportunity can be overwhelming for small businesses, it doesn’t have to be. In fact, it can be a great time to attract new customers and create more buzz around your brand.
To take advantage of the biggest holiday shopping event of the year, we’ll show you a super easy way to implement custom coupon codes for your Stripe payment forms.
Why Offer a Black Friday Deal?
Originally, Black Friday occurred on the day after Thanksgiving, while Cyber Monday is exclusively an online sale that happens on the following Monday. Black Friday traditionally involved consumers heading to retail stores early in the morning to take advantage of major discounts. It also included doorbusters and extended business hours.
These days, Black Friday has evolved into an even larger and longer-lasting shopping event, expanding throughout the entire month of November. Most businesses begin preparing as early as October to ensure that they’re ready for the shopping season.
Offering a simple discount code on your payment forms can help your business leverage the increased web traffic during this time. Discount codes also provide a highly effective way to drive sales and improve customer loyalty.
Creating a Custom Coupon Code for Black Friday
To create custom discount codes for your Black Friday deal, you’ll need to use a Stripe payments plugin for WordPress that supports them.
WP Simple Pay is the best option because it not only lets you create custom discount codes for individual payment forms but also easily accept Stripe payments directly on your site without setting up a shopping cart.
To get started, visit the plugin’s pricing page, choose the best plan for your specific needs, and install the .zip file from your account or confirmation email in WordPress.
First time installing a plugin? No worries! Just follow the steps in our guide on how to install WP Simple Pay Pro.
Step 1: Connect Your Stripe Account
Once you’ve finished installing and activating the plugin on your site, the advanced setup wizard will walk you through a few quick steps.
If you don’t have a Stripe account, you can create one now.
First, click Connect with Stripe to create a new Stripe account or connect with an existing account.
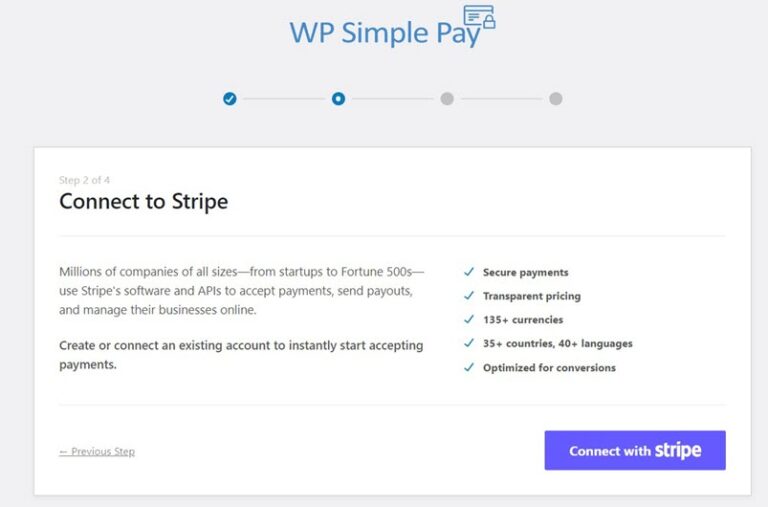
Next, to connect a Stripe account to your site, enter your Stripe email address and complete the authentication. If you don’t have a Stripe account yet, you can set one up now.

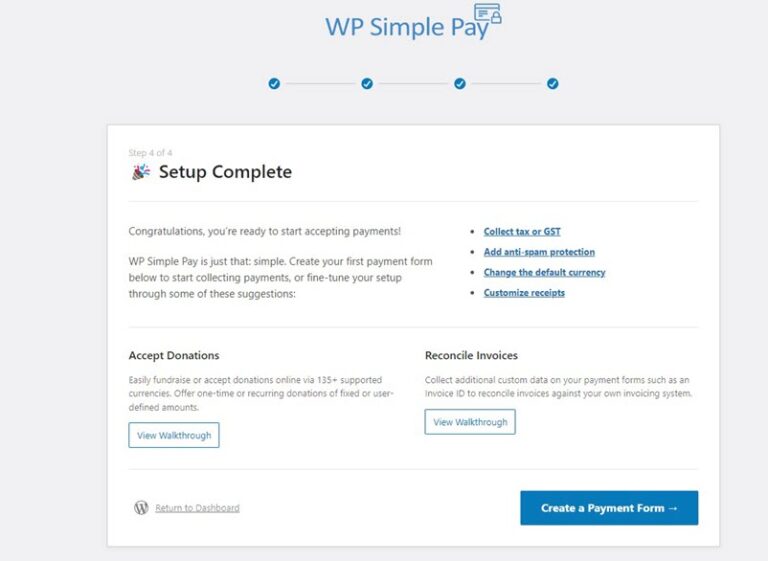
Upon completing this process, you’ll be shown a success page. Go ahead and click on the Create a Payment Form button.
Step 2: Create a Payment Form
Now that you’ve installed and activated the plugin on your site and connected your Stripe account, you’re ready to create a payment form.
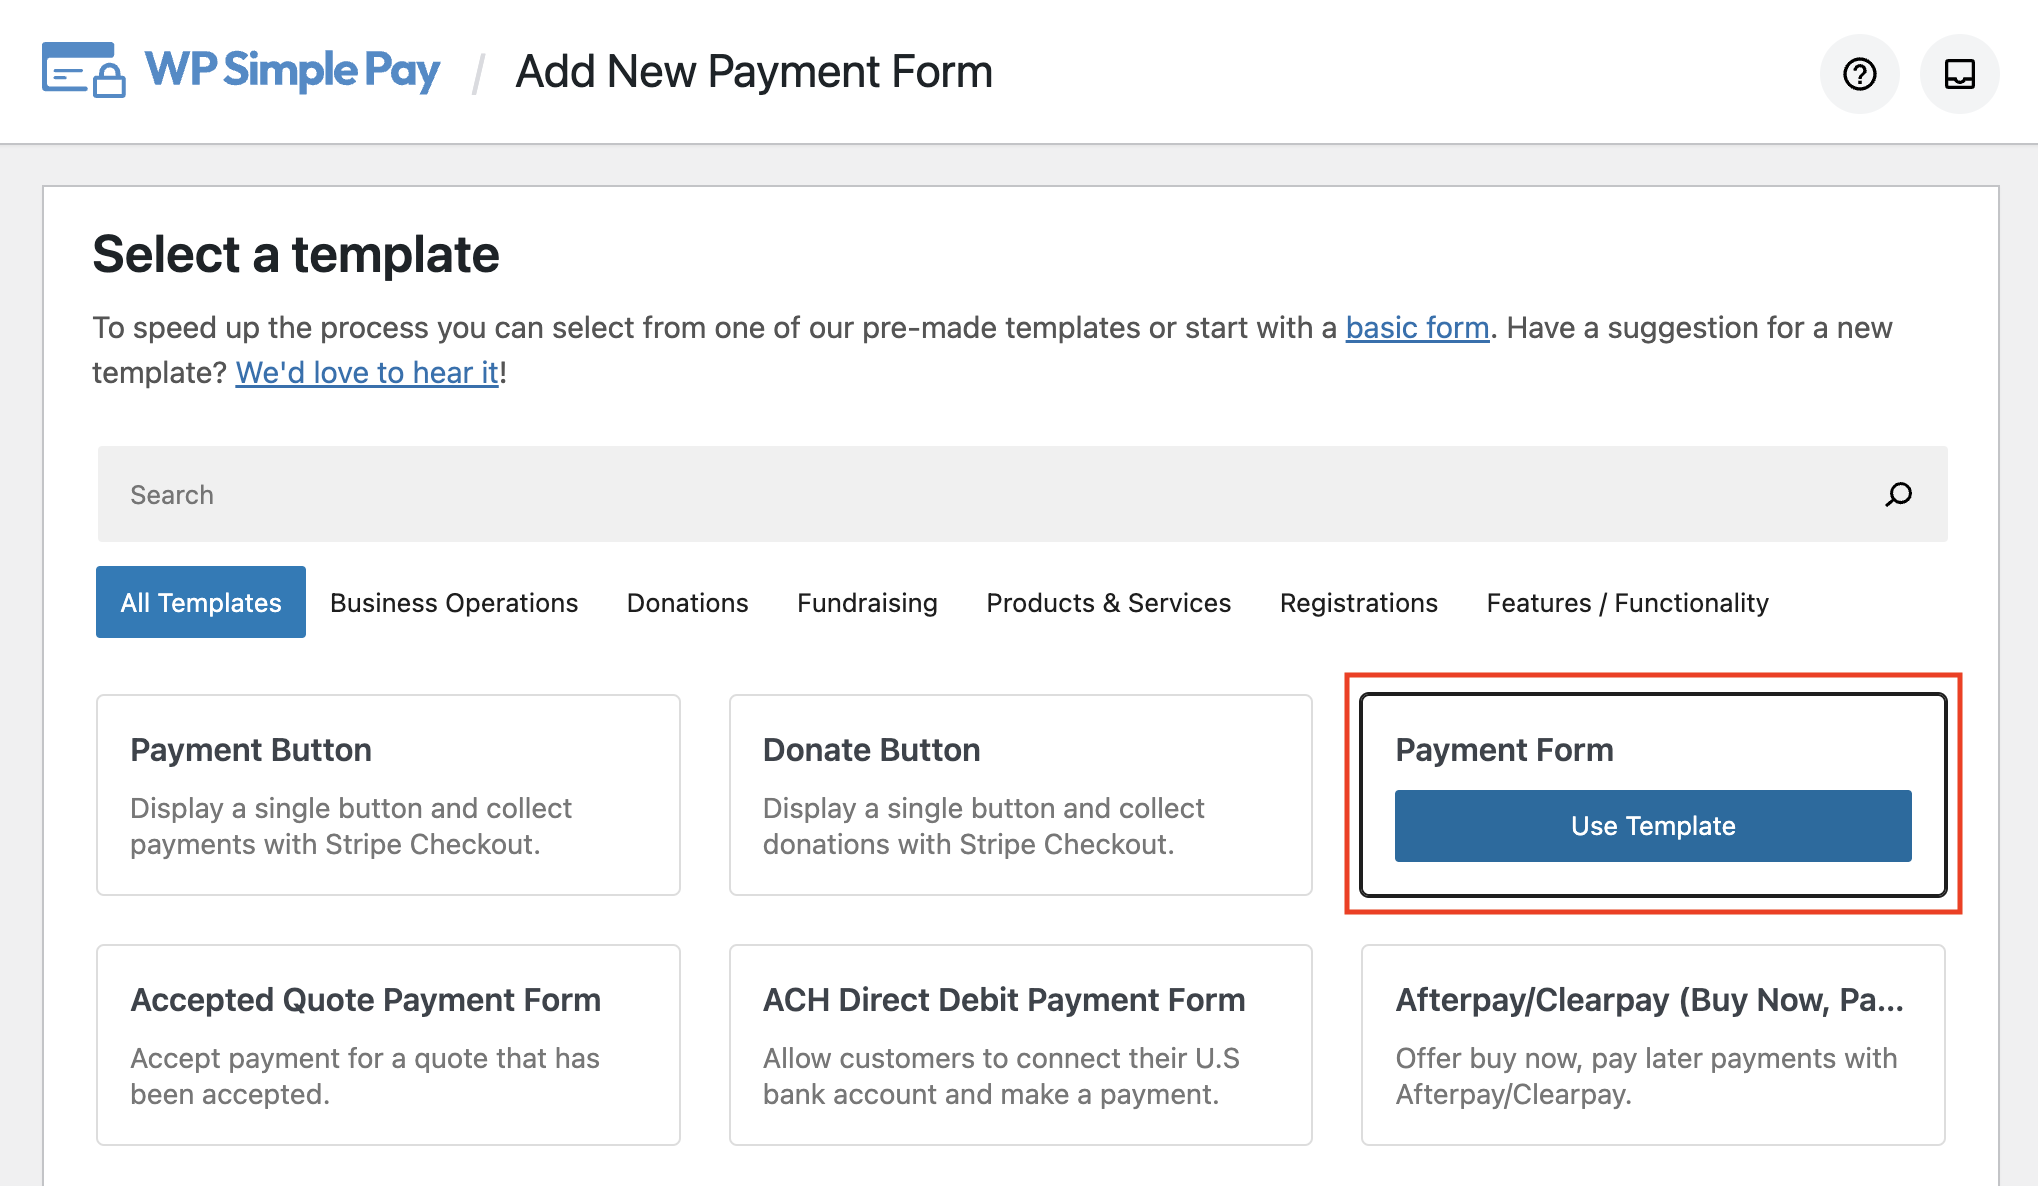
WP Simple Pay offers several pre-built templates to make creating payment forms for one-time payments or recurring subscriptions easy.
For this tutorial, let’s choose the basic Payment Form template.
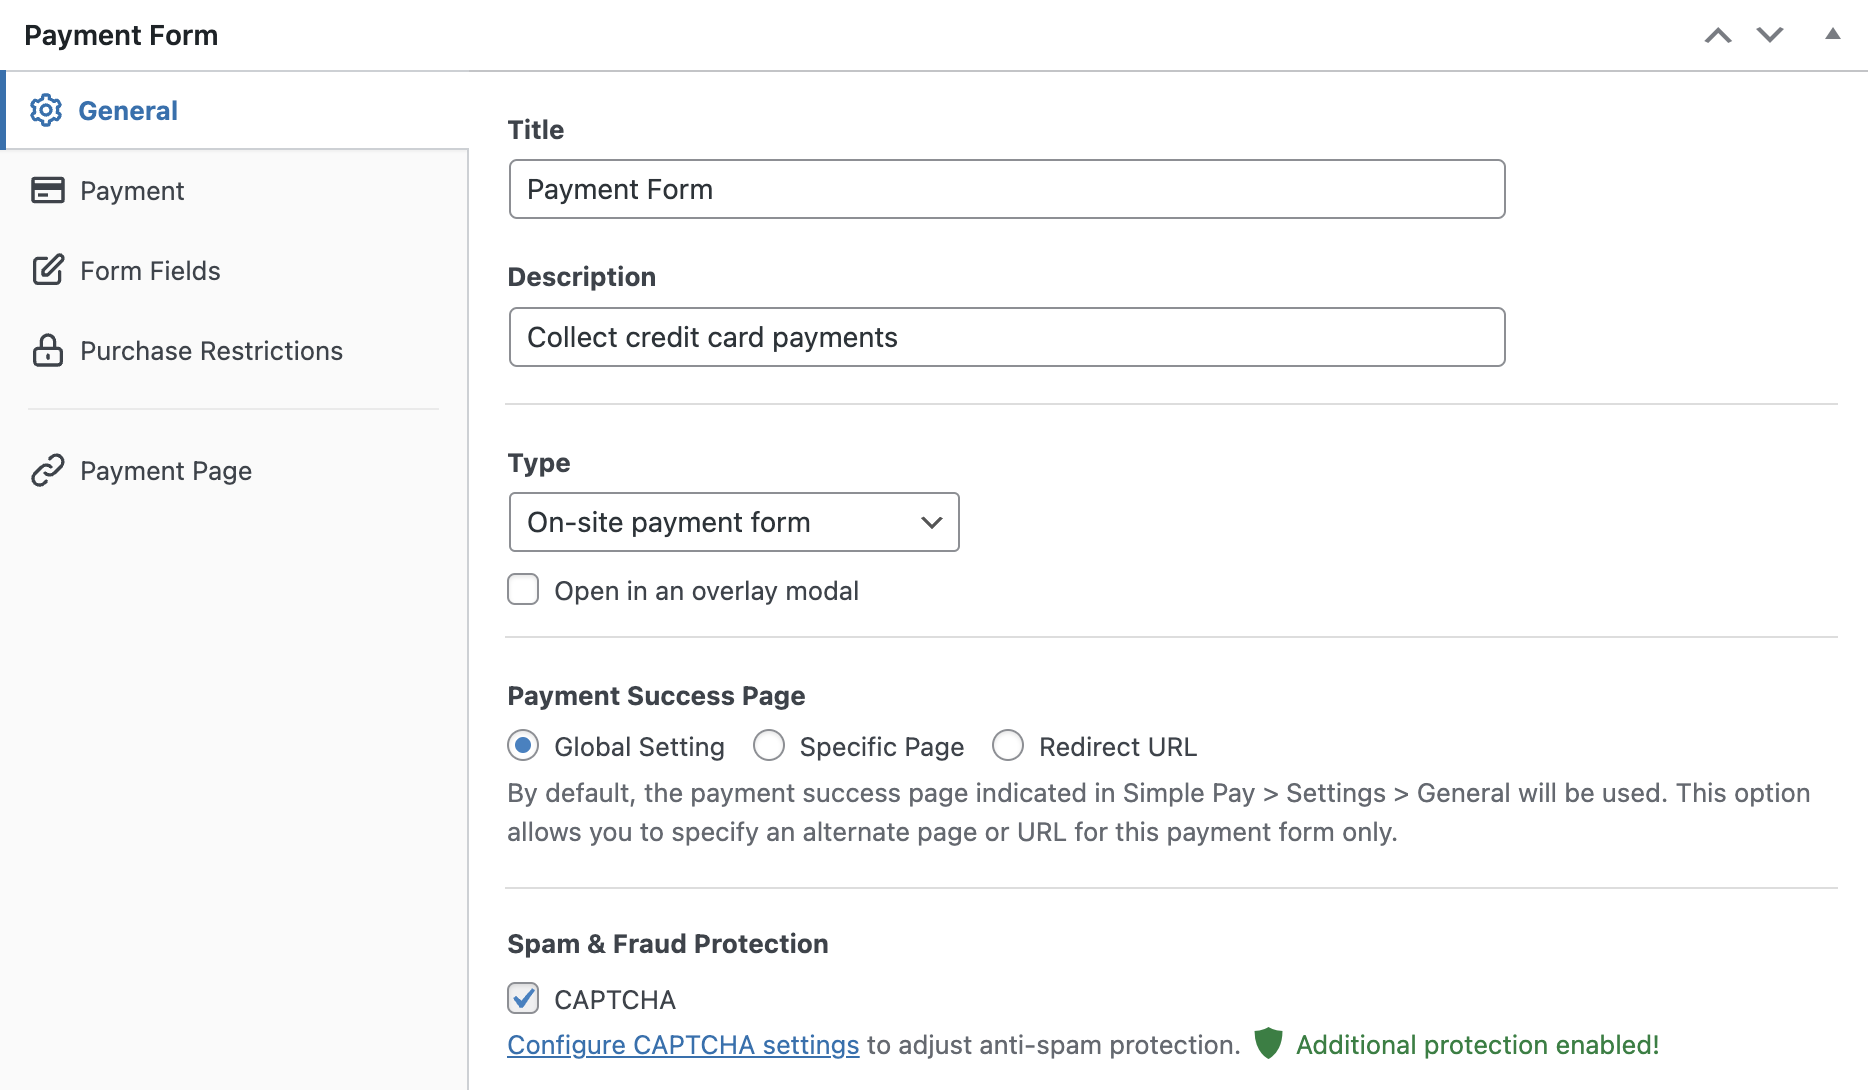
Next, in the General tab, you’ll need to enter the title and description of your payment form.
Be sure to select On-site payment form to ensure that your customers complete their purchases directly on your site.
This also allows you to create a custom payment page that will host your payment form. This is perfect for creating a Black Friday-themed landing page.
When you’ve finished configuring the price amounts, go ahead and click on the Payment tab.
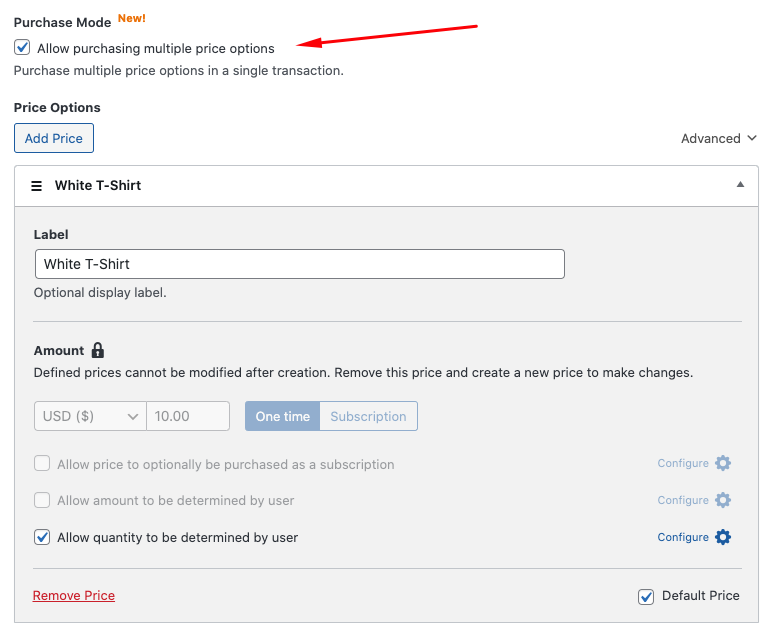
The plugin lets you accept payment for multiple products in one transaction. You can add as many items as you like and configure the price amounts for each one. Simply check the box next to Allow purchasing multiple price options.
To learn more about offering multiple pricing options on one payment form, see our detailed guide on enabling multiple-item purchases in one transaction.
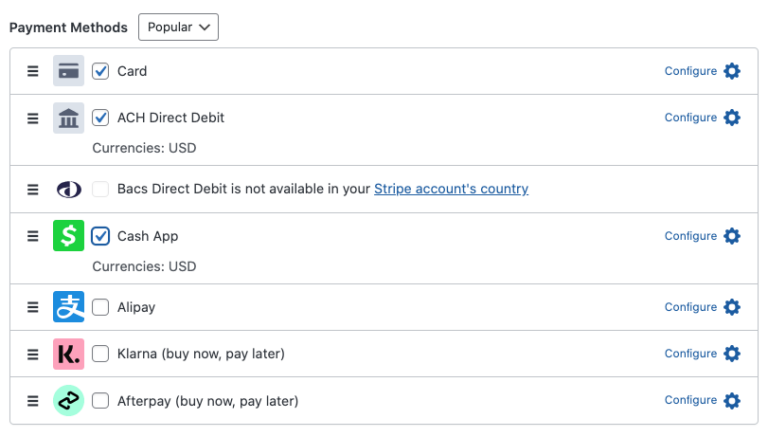
Next, choose the payment method options you want to accept from customers. We’ve selected Card, ACH Direct Debit, and Cash App. You can also configure Apple Pay / Google Pay / Microsoft Pay by simply clicking on the Configure icon.
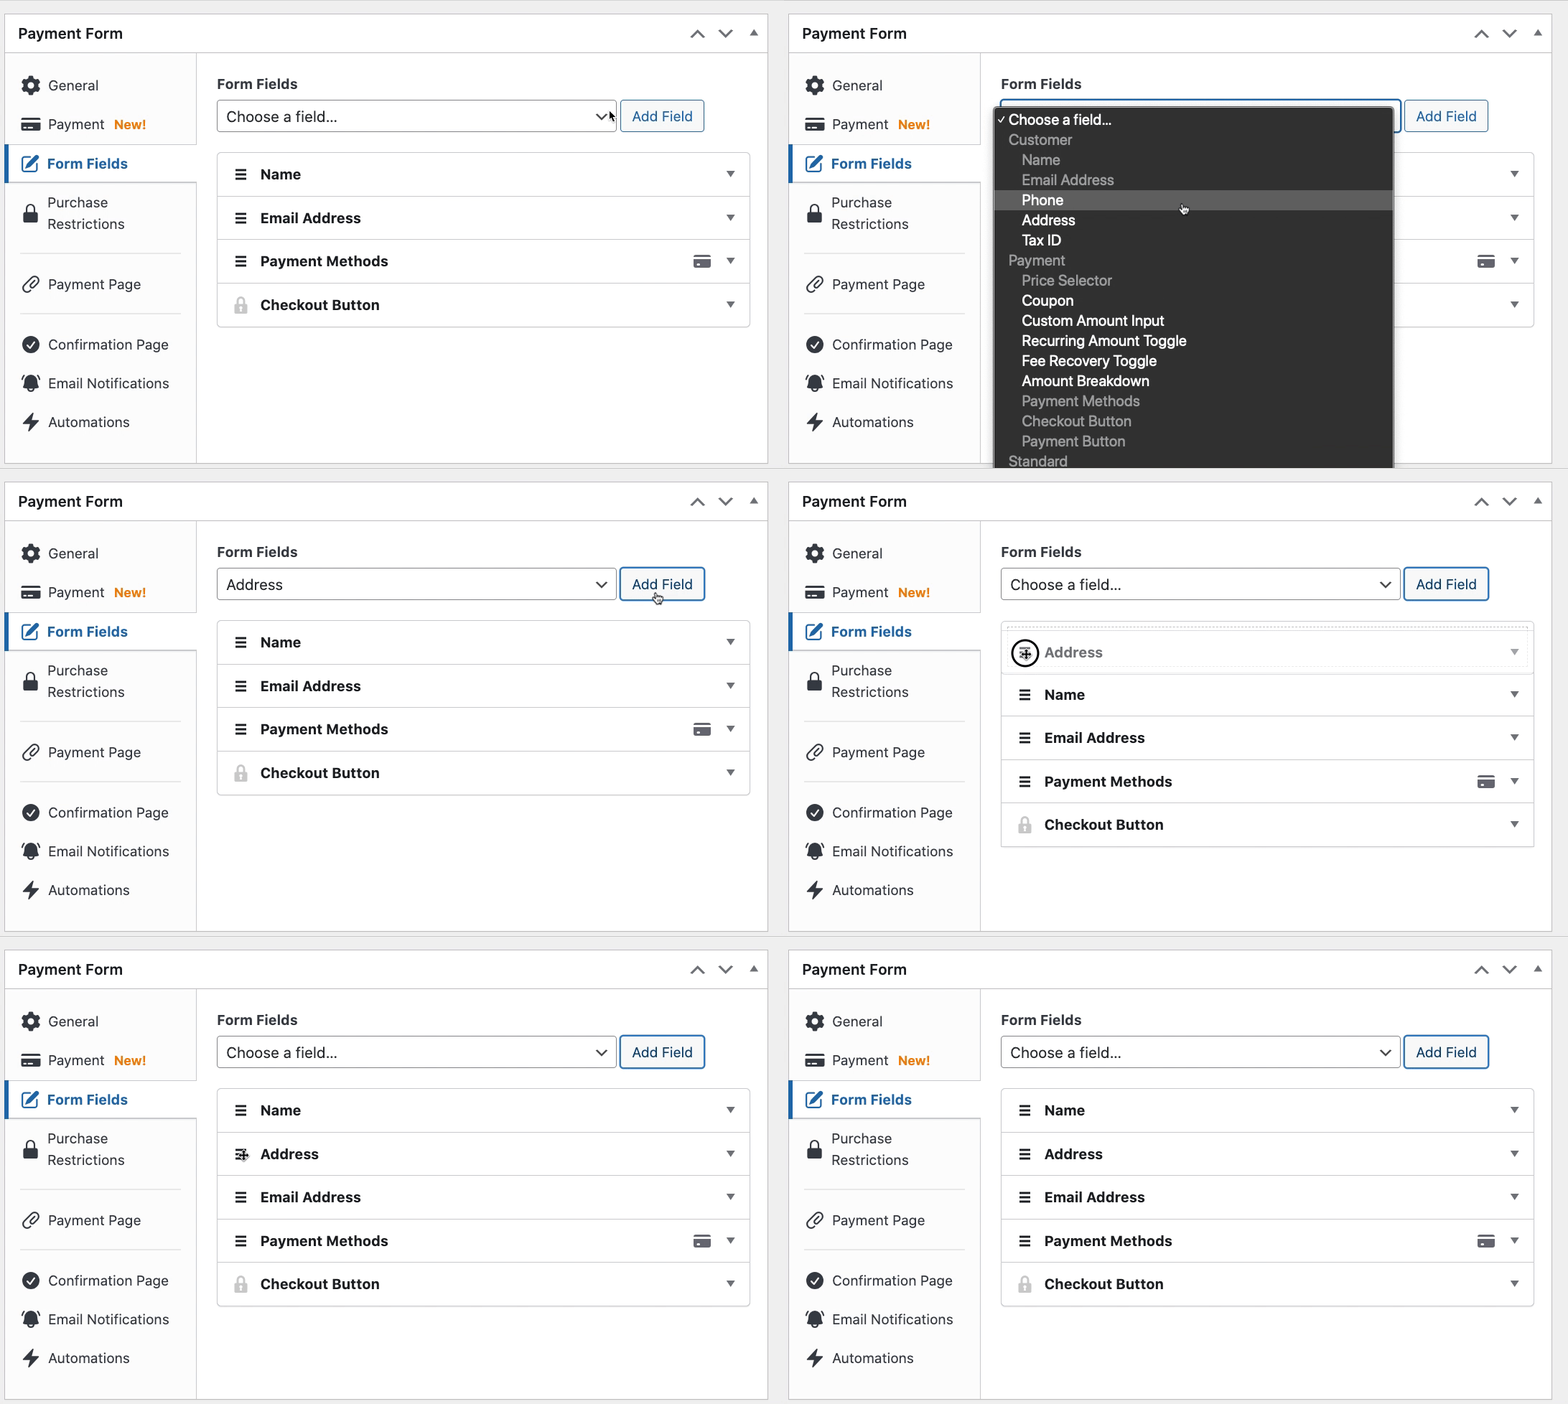
Now that you’ve added your price amount and the payment method options for your form, click on the Form Fields tab.
You can edit, add, and remove fields and even rearrange how they appear on your form.
Next, click on the Publish button. You can preview your form to ensure that it’s functioning properly.
Step 3: Create a Custom Discount Code
Now that you’ve created a payment form, it’s time to set up a discount code for this form that you can offer customers during your Black Friday promotion.
First, click on the Coupons tab in the admin dashboard navigation panel.
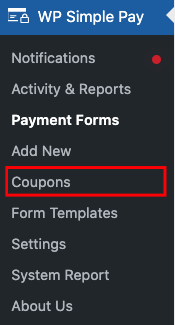
Then, click on the Add New button. You’ll be able to enter the custom code, choose between a percentage or fixed-amount discount and duration, and even limit the code to the payment forms of your choice.
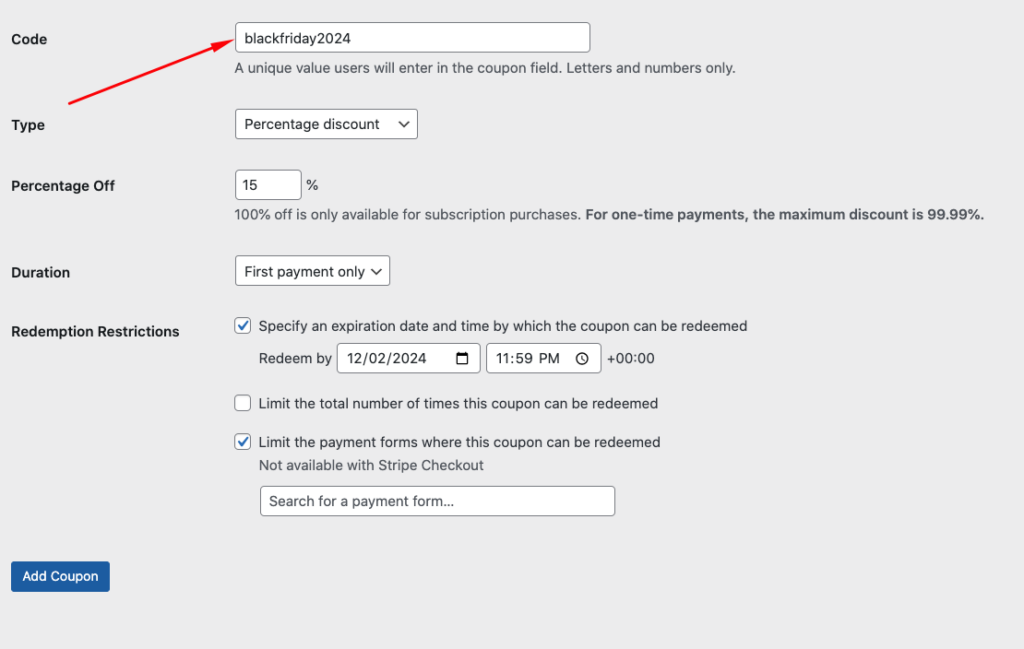
Once you’ve finished configuring your custom coupon code, click on the Add Coupon button.
You’ll see a success page, where you can easily locate all your coupon codes and identify whether they’re active.
You can also get quick insights into how many times the coupon has been redeemed.

Step 4: Add Coupon Code to Your Payment Form
Now that you’ve created a custom Black Friday coupon code, you’ll need to add the coupon field to your payment form so customers can apply it during checkout.
Simply navigate back to the Form Fields tab in the payment form builder and choose Coupon from the dropdown menu.
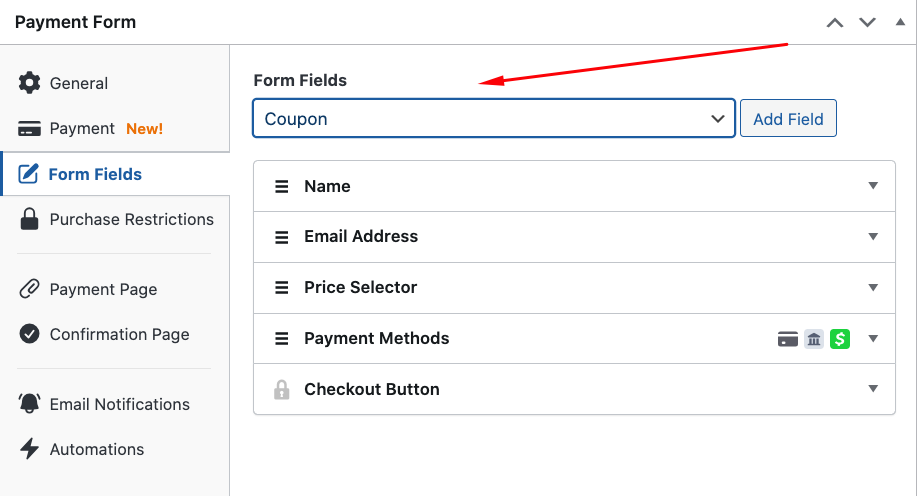
Next, click on Update and preview your form.
You’ll notice you can enter the custom coupon code you created into the field and click on Apply to see the discount.

Step 5: Publish Your Payment Form
Now that you’ve created your payment form and set up a custom Black Friday coupon code, you’ll need to add the form to a page or post on your site.
First, navigate back over to the Publish module on the right-hand side of the page and click on Copy Block.

Then, go to the page or post that you want your form on and paste it into the Block editor. Your form will be displayed!
That’s it! The coupon code is active and can be used by customers when they use the payment form to complete their purchases.
To learn more about how to share and promote your coupon code for Black Friday, check out our guide on how to use limited-time offers to drive more sales.
What are you waiting for? Get started with WP Simple Pay today!
To read more articles like this, follow us on X.
Disclosure: Our content is reader-supported. This means if you click on some of our links, then we may earn a commission. We only recommend products that we believe will add value to our readers.


Leave a Reply