How to Enable WordPress REST API to Accept Stripe Payments (Easy Way)
Last updated on
Are you trying to accept Stripe payments on your WordPress website but keep seeing the error message, “No route was found matching the URL and request method”?
This is a common issue that website owners have faced since WordPress version 4.4 was launched with the JSON REST API, a developer-oriented feature that essentially allows users to build external apps and connect them to WordPress.
In this guide, we’ll help you resolve the “No route was found matching the URL and request method” error by ensuring WordPress REST API is properly enabled, allowing you to successfully integrate Stripe payments into your WordPress website.
What is REST API?
REST API acts as a communication bridge between WordPress and other applications or websites. Essentially, it enables the exchange of data in a standardized format (JSON) between WordPress and external services.
While developers can build WordPress plugins and themes using PHP without the REST API, it becomes essential when creating solutions in other programming languages.
To sum it all up, the REST API is probably the best way to get data in and out of WordPress.
If you’re trying to accept Stripe payments and you see a “No route was found matching the URL and request method” error message, you’ll know that Stripe isn’t communicating properly with your website to process payments.
Enabling REST API
Some website owners disable REST API because their sites work fine without it, and they aren’t creating apps for WordPress.
However, if you want to accept payments on your WordPress website using Stripe, you’ll need to enable REST API. This is because REST API is the standard way to integrate Stripe with any website. Your website will make API calls through Stripe to process payments.
Integrating Stripe into your WordPress website can be tricky for beginners because it requires coding.
Luckily, with the right plugin, you can easily ensure that REST API is automatically enabled without coding, allowing you to accept Stripe payments directly on your WordPress website.
How to Enable REST API in WordPress
WordPress REST API is enabled by default. You can quickly check by visiting https://your-website.com/wp-json/. As long as you see information related to your WordPress REST API, it’s enabled.
With that being said, if you see an error message, this means REST API is not enabled, and you’ll need to find out why. Because some security plugins disable REST API, you’ll need to check those first. You can disable them temporarily to ensure they’re not blocking REST API.
Another method for ensuring REST API is enabled is to navigate to Settings → Permalinks. Be sure Plain is not selected, and save your changes.

Once REST API is enabled, you can easily install and activate a Stripe payments plugin to begin accepting successful transactions.
WP Simple Pay is the #1 Stripe payments plugin for WordPress that lets you accept payments directly on your website without having to set up a shopping cart.
Unlike some other Stripe plugins, it lets you connect your Stripe account with your WordPress website without having to manually enter any API keys. Its setup wizard allows you to connect to Stripe in seconds.

You can also use WP Simple Pay’s drag-and-drop form builder to create optimized on-site Stripe payment forms for one-time and subscription payments.
Step 1: Install and Activate WP Simple Pay
To get started, simply visit the pricing page and choose the best plan for your specific needs.
Once you’ve purchased your license, you can download the .zip file from your WP Simple Pay account or the payment confirmation email.
Then, navigate to your WordPress admin dashboard and upload the plugin.
If this is your first time installing a WordPress plugin, just follow the steps in our guide on how to install WP Simple Pay Pro.
Once you’ve activated the plugin, the setup wizard will appear. Go ahead and click on Let’s Get Started.

If you didn’t see the setup wizard, simply head over to WP Simple Pay » Settings » Advanced tab and click the Launch Setup Wizard button.
2: Connect WordPress to Stripe
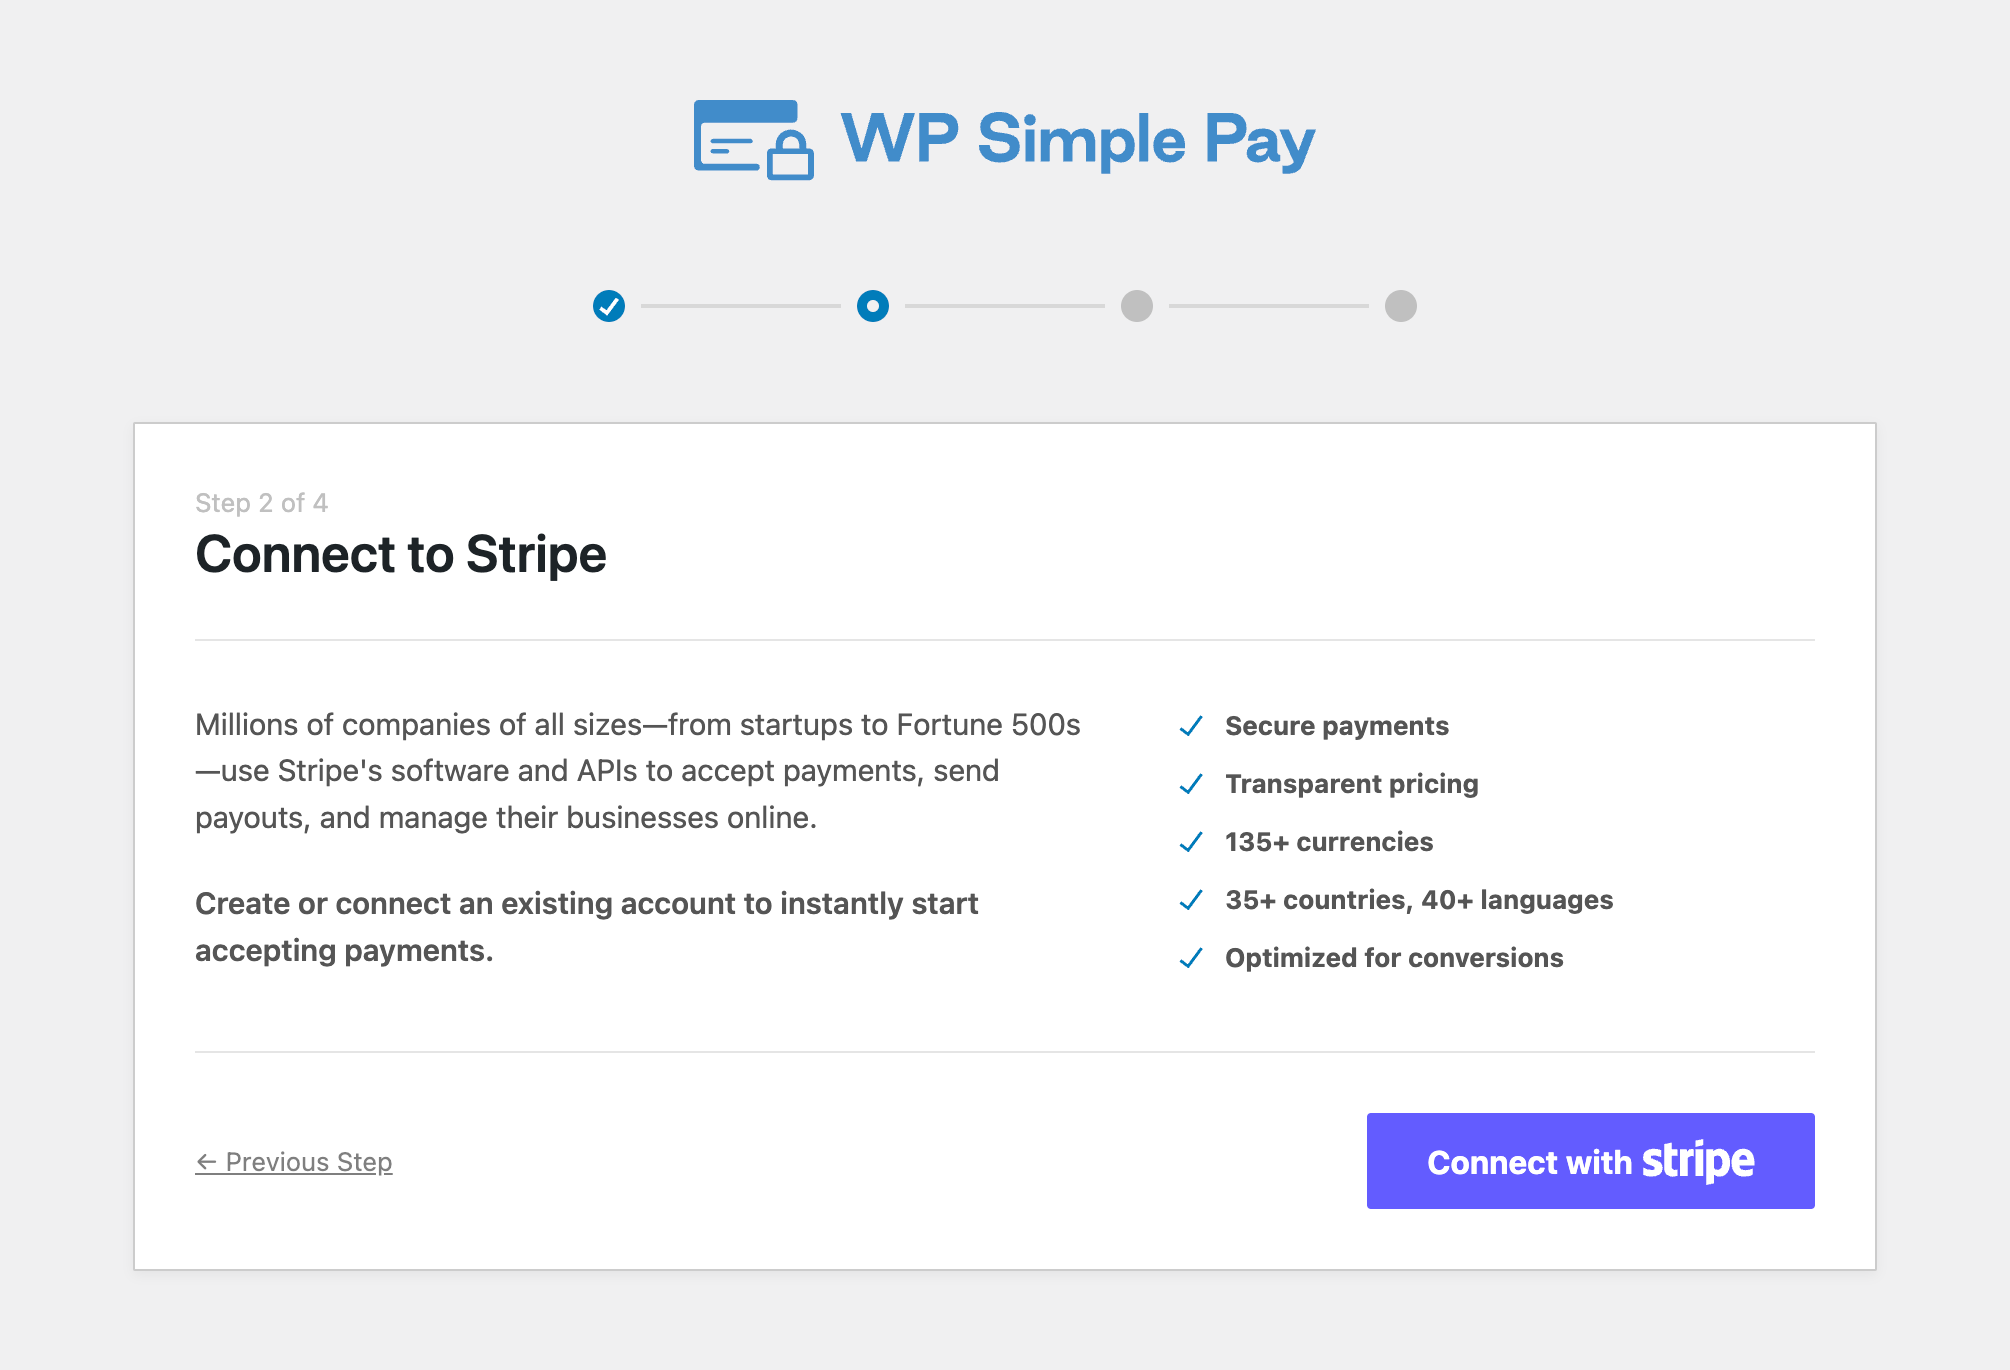
To connect your WordPress site to Stripe, click on Connect with Stripe.

Next up, enter the email address you use for your Stripe account and connect it to your site. If you don’t have a Stripe account, you can easily create one by entering your email address and completing the registration.
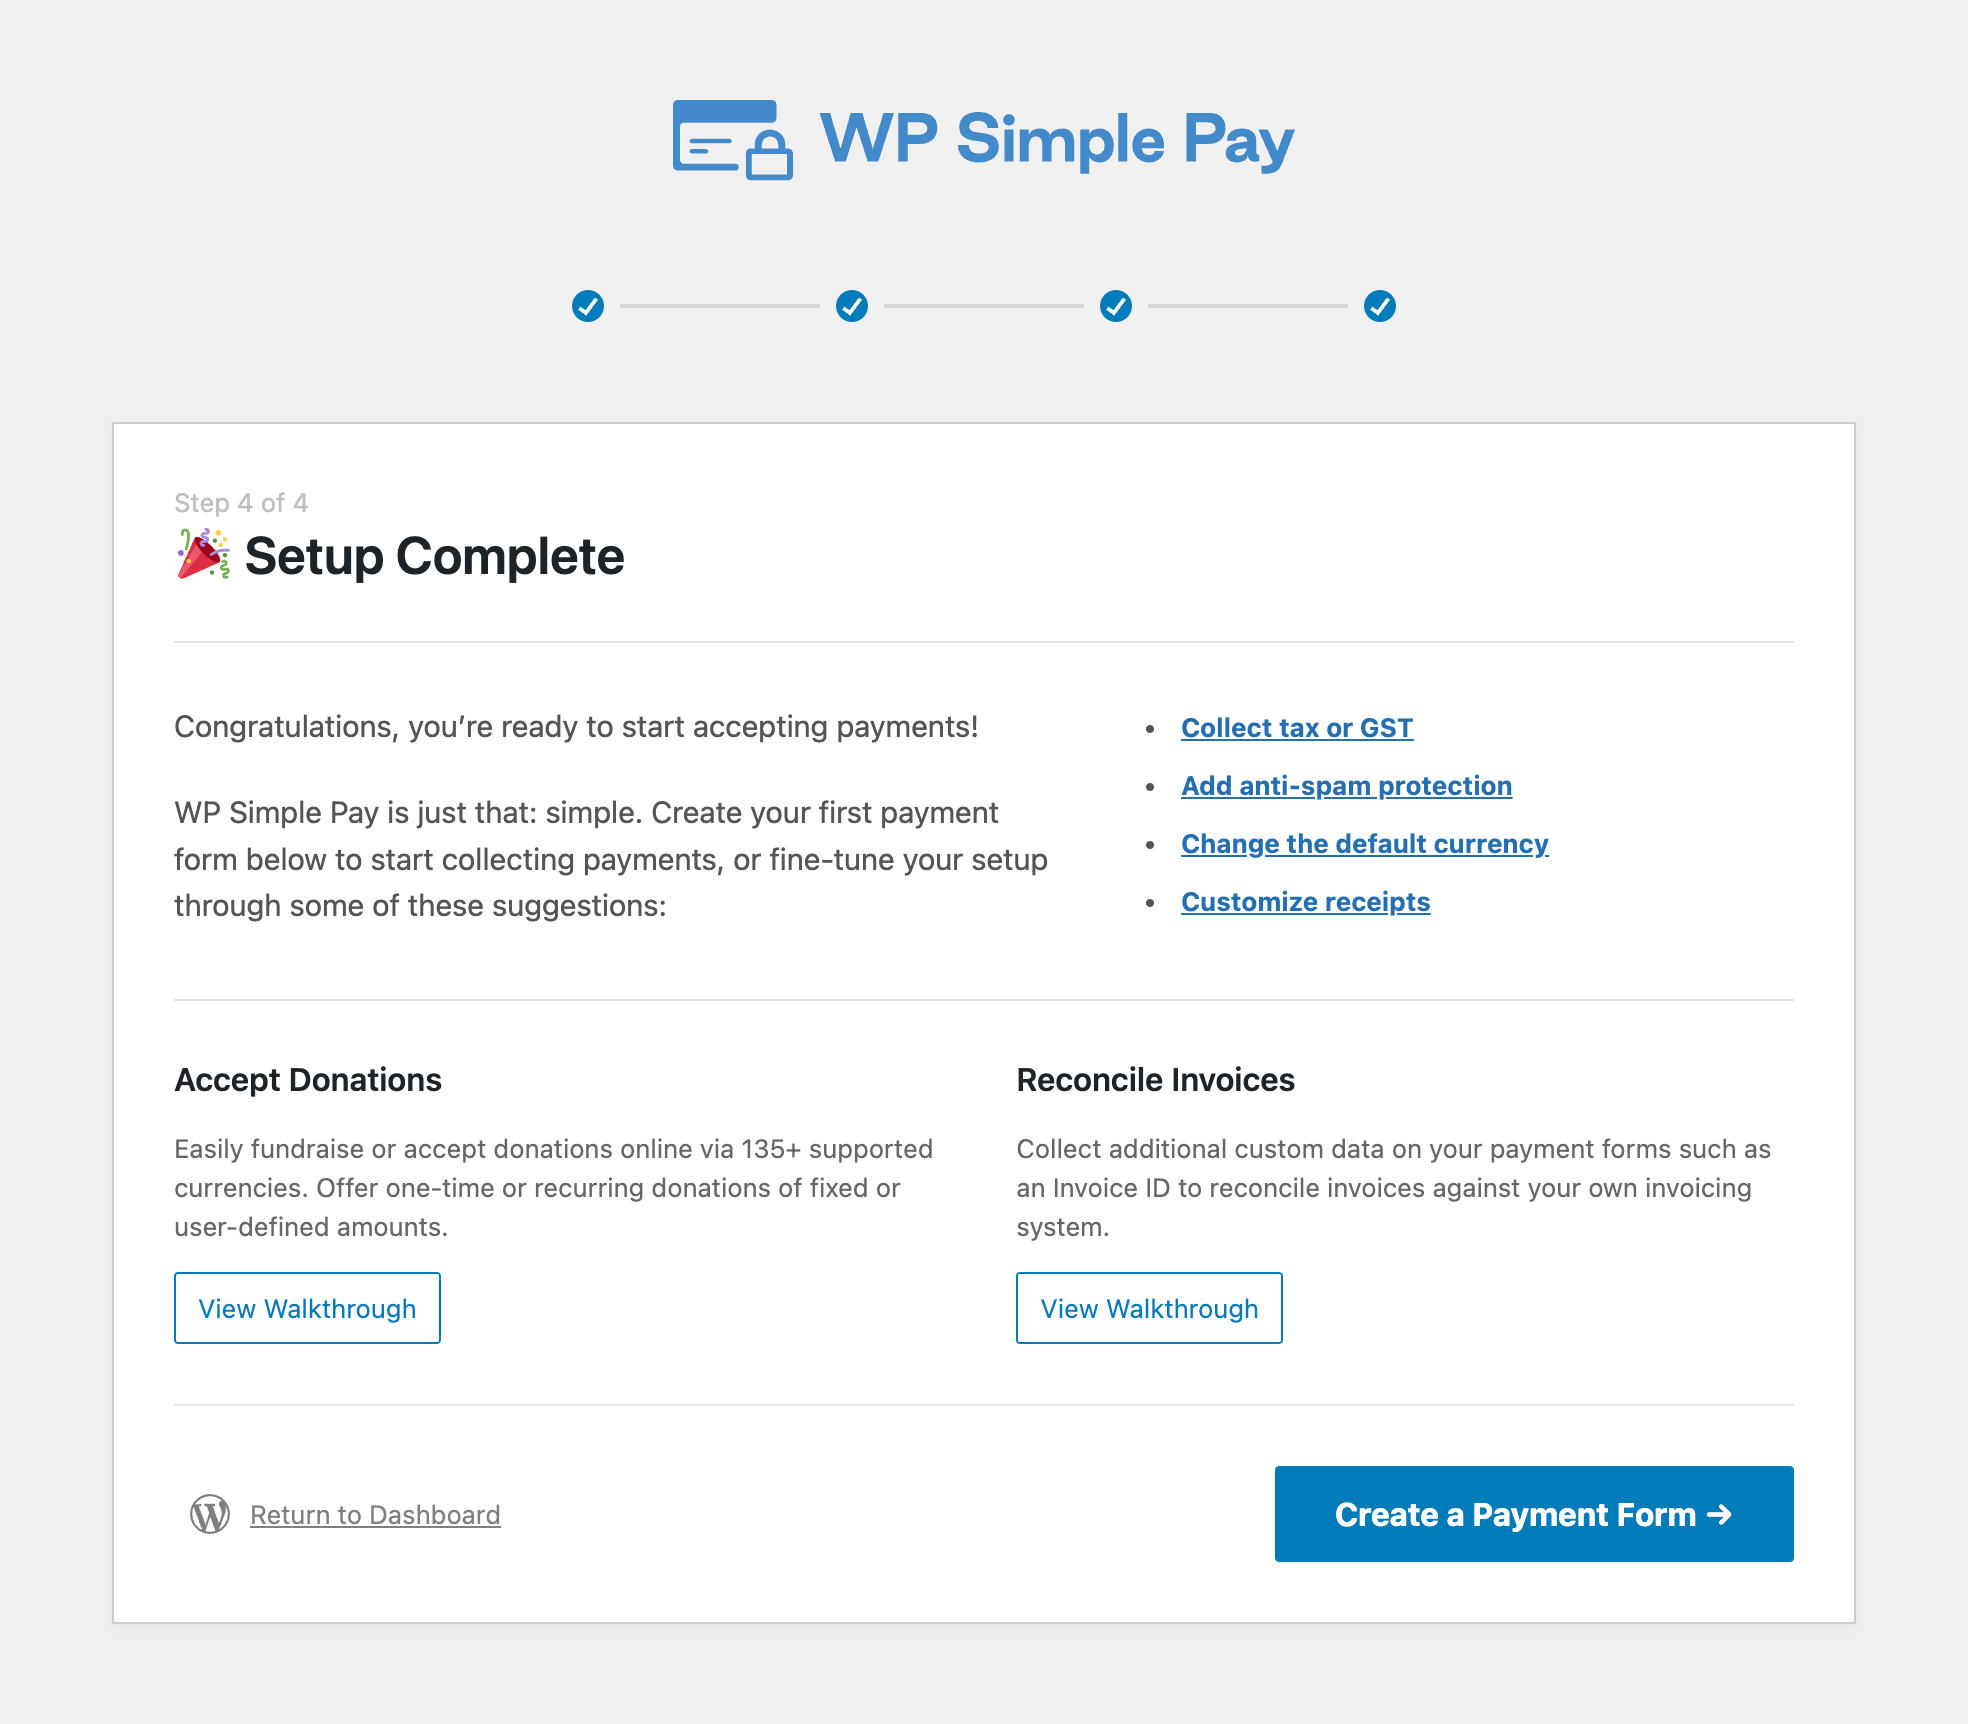
Upon completing this process, you’ll be shown a success page that says, “Setup Complete.” Next, click on Create a Payment Form.

Now that you’ve finished setting up WP Simple Pay, you can start creating payment forms for your website.
The plugin lets you choose from several pre-built templates to help you get payment forms published on your site in minutes. You can also start from scratch.
One of the best parts about WP Simple Pay is that it uses REST API to process payments through Stripe. Because your Stripe account is connected via the plugin, you should have resolved the “No route was found matching the URL and request method” error.
You can now successfully accept Stripe payments on your website. To learn more, check out our guide on how to create perfect payment forms in WordPress.
WP Simple Pay lets you test your payment forms before they go live to ensure that processing is functioning properly through its API.
That’s it! We hope this article has helped you enable WordPress REST API so you can accept Stripe payments on your website.
If you liked this article, you might also want to check out our guide on how to customize and manage Stripe payment reports.
What are you waiting for? Get started with WP Simple Pay today!
To read more articles like this, follow us on X.
Disclosure: Our content is reader-supported. This means if you click on some of our links, then we may earn a commission. We only recommend products that we believe will add value to our readers.


Leave a Reply