
How to Easily Keep Your Stripe Account in Good Standing
Last updated on
 Reviewed By:
 Spencer Finnell
Running a successful online business requires more than just great products or services. It demands a reliable payment processing system that keeps running smoothly.
At the heart of many WordPress businesses lies Stripe, a powerful payment processor that handles millions of transactions daily. However, here’s something many business owners don’t realize until it’s too late: maintaining a healthy Stripe account is just as crucial as managing your business operations.
When I created my first eCommerce website using WordPress, I didn’t realize my Stripe account had required tasks that I had not completed. Ultimately, my account was suspended, and I missed out on a lot of revenue.
To help you avoid this nightmare scenario, I am going to walk you through how to easily track the status of your Stripe account without having to log into your Stripe dashboard.
Whether you’re just starting with Stripe or you’re a seasoned merchant processing thousands of transactions, this guide will help you protect your payment processing capabilities and ensure your business continues to thrive.
Why is Keeping Your Stripe Account in Good Standing Important?
The Foundation of Your Online Business
Stripe does way more than just process your payments. It’s the financial backbone of your online business. When your Stripe account is healthy, payments flow smoothly, customers stay happy, and your business grows steadily.
When issues arise, the impacts can be devastating.
Let’s break down the key reasons why maintaining a healthy Stripe account is crucial:
Uninterrupted Revenue Flow
A Stripe account in good standing ensures that:
✅ Customer payments process without delays
✅ Subscription renewals happen automatically
✅ Refunds and disputes can be handled promptly
✅ Your funds are transferred to your bank account on schedule
Any disruption to these processes can create a domino effect of problems, from unhappy customers to cash flow issues.
Customer Trust and Reputation
Your payment processing capabilities directly impact the overall customer experience. When payments fail or get delayed, it reflects poorly on your business. Maintaining a healthy Stripe account helps you:
✅ Build and maintain customer trust
✅ Reduce support tickets related to payment issues
✅ Maintain a professional business image
✅ Minimize negative reviews and feedback
Risk Management and Compliance
Stripe has strict requirements for account health to prevent fraud and ensure compliance with financial regulations. A well-maintained account helps ensure your business remains compliant with payment industry regulations.
It also helps you reduce the risk of having your account restricted or suspended. Imagine your website not being able to accept online payments. On top of that, resolving issues like this can take quite some time.
How to Keep Your Stripe Account in Good Standing
Now that you know why maintaining your Stripe account is important, I’ll share how you can easily access it with real-time alerts and notifications directly from your WordPress admin dashboard.
Step 1: Install WP Simple Pay in WordPress
The easiest way to check for Stripe account notifications without having to log into your Stripe dashboard is to use a Stripe payments plugin for WordPress that supports in-plugin notifications.
This is where WP Simple Pay comes in so handy. Its new Stripe alerts are designed to give you insights into your account’s health.
Think of it as your personal Stripe account monitoring system, constantly watching for potential issues and alerting you before they become serious problems.
To get started, visit the pricing page and choose the best plan for your needs.
Once you’ve purchased a plan, download the .zip file from the confirmation email or your WP Simple Pay account page.
Next, upload the file on your WordPress website and activate your license.

For step-by-step instructions on how to install WP Simple Pay, see our full guide.
Step 2: Connect Your WordPress Website to Stripe
Once you’ve installed and activated the plugin, its advanced setup wizard will walk you through setting up your account and connecting your Stripe account.

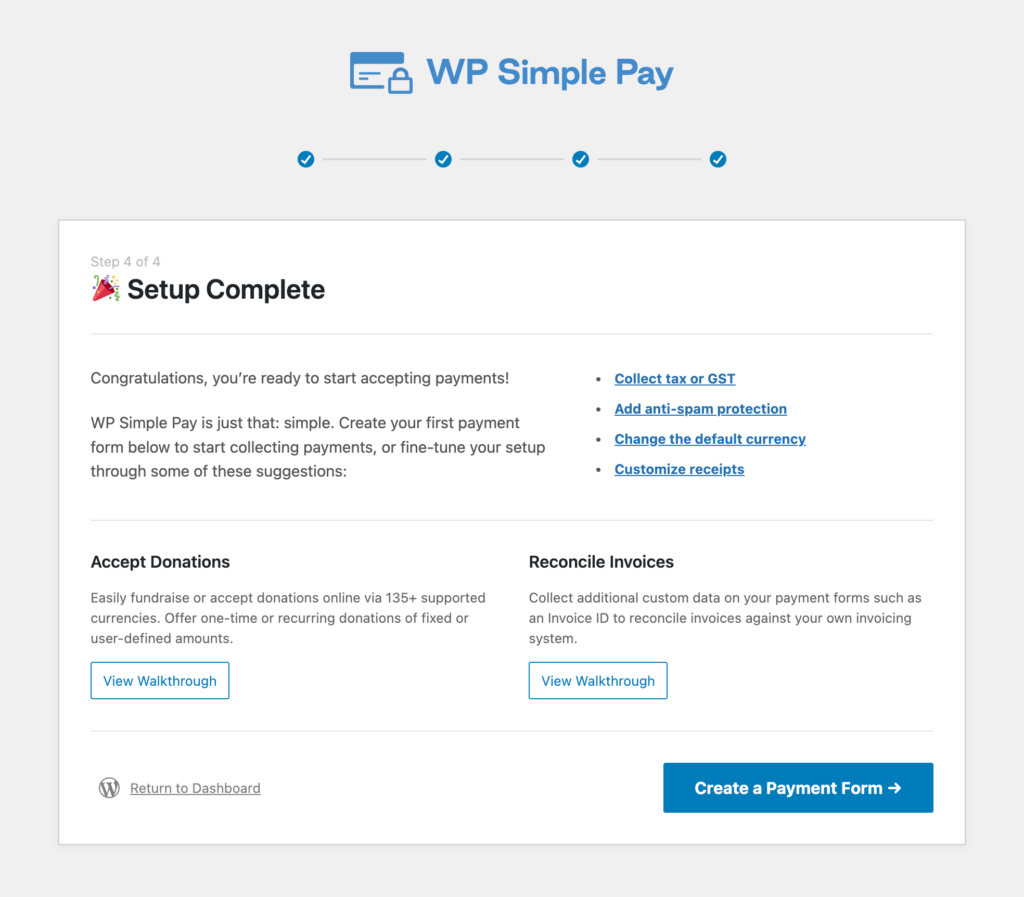
If you don’t have a Stripe account, you can easily set one up during this step. Once you’ve filled in your information and connected your Stripe account, you’ll see a success page letting you know that your WordPress website is now integrated with Stripe.
You’re all set to create one-time or subscription payment forms effortlessly using the plugin’s advanced drag-and-drop form builder. You can use it to collect 10+ payment methods directly on your website.
To create a payment form, go ahead and click on Create a Payment form.
Step 3: Find Your Stripe Account Notifications
WP Simple Pay proactively shows tasks in the Activity & Reports page, where it will proactively show any required tasks.
Simply click on the tab in your WordPress dashboard.
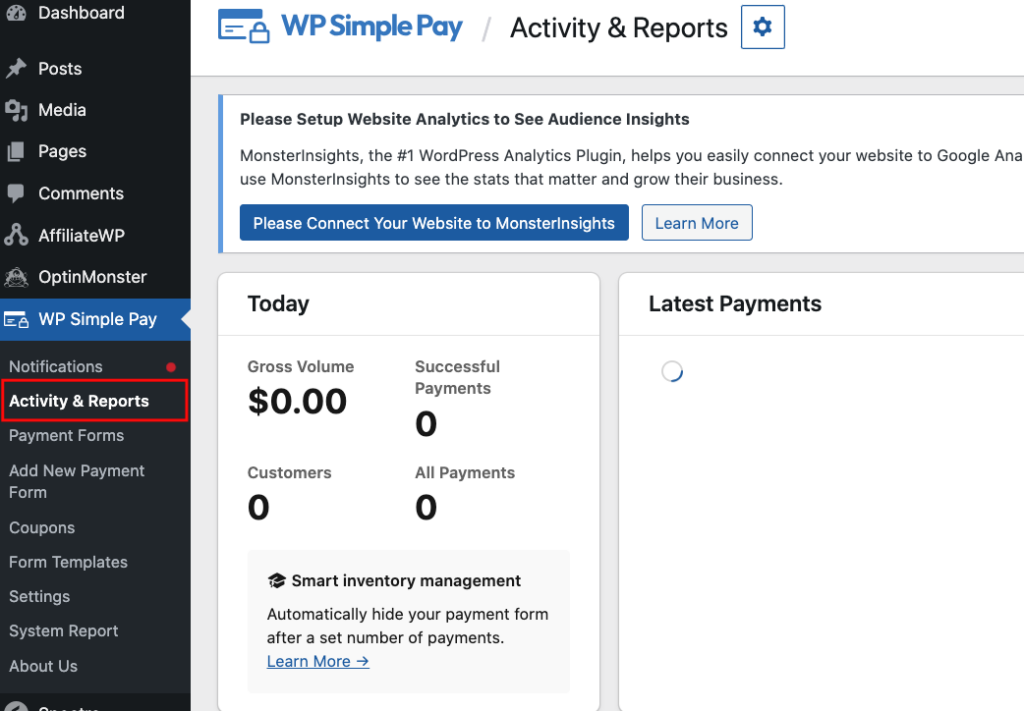
For example, here is an example of a Stripe alert is letting the user know that he or she needs to update product or service information to ensure it isn’t restricted.

Remember, Stripe maintains an ever-changing list of requirements needed to keep an account in good standing. These requirements vary by country, business type, and many other factors.
There you have it! I hope this article has helped you learn how to easily keep your Stripe account in good standing directly from your WordPress admin dashboard.
If you liked this article, you might also want to check out our guide on 9 unique facts about Stripe.
What are you waiting for? Get started with WP Simple Pay today!
To read more articles like this, follow us on X.
Disclosure: Our content is reader-supported. This means if you click on some of our links, then we may earn a commission. We only recommend products that we believe will add value to our readers.


Leave a Reply