
How to Disable Guest Checkout for Stripe in WordPress
Last updated on

Do you want to disable guest checkout for Stripe payments in WordPress? Disabling guest checkout is a common practice among eCommerce merchants.
Even if you don’t have a shopping cart setup on your site, you can still disable guest payments without touching a single line of code.
In this article, we’ll show you how to disable guest Stripe payments in WordPress.
Why Disable Guest Checkout in WordPress?
Stripe recommends requiring user login (or in other words disabling guest checkout) if your site is vulnerable to card testing, a common fraudulent activity where someone with stolen card information makes a small purchase to validate the card numbers.
Card testing often results in chargebacks, which puts you at risk of financial consequences from various chargeback monitoring programs.
The easiest way to require users to login to make a payment is to use WP Simple Pay, #1 Stripe plugin for WordPress.
Here are a few other features that make WP Simple Pay stand out from the rest.
- Build a payment form quickly and easily, thanks to tons of built-in form templates
- View Stripe payment stats inside your WordPress dashboard
- Supports 10+ Stripe-supported payment methods, like Google Pay, credit card, ACH Direct Debit, and more
Now let’s take a look at how to require users to log in to make a payment, step by step.
Step 1: Install WP Simple Pay & Connect It With Stripe
The first thing you’ll need to do is to install and activate WP Simple Pay on your site.
After purchasing the WP Simple Pay plugin, download it from your purchase email receipt or from your WP Simple Pay account.
Go to your WordPress backend, navigate to Add New under Plugins, and then click Upload Plugin to install the plugin. Click Choose File and find the WP Simple Pay .zip file on your computer. Click Install Now. When the upload is complete, press the Activate Plugin button.
If you want to install WP Simple Pay via FTP, follow this guide.
Remove the additional 3% fee!
Most Stripe plugins charge an additional 3% fee for EVERY transaction
…not WP Simple Pay Pro!
Once the plugin is activated, you’ll be directed to the setup wizard, which walks you through the Stripe integration process. Follow the wizard step by step and connect your WordPress site to Stripe.
Once done, you’ll see a success message that says Setup Complete. Then go ahead and create a payment form by clicking on the Create a Payment Form button.

Step 2: Create a Payment Form
To accept payments from your customers on your site, you’ll need to build a payment form. WP Simple Pay lets you create a payment form and host it on your own site or on Stripe’s website.

If you want, you can also build a high-conversion landing page that’s built specifically for your payment forms. This landing page will be independent of your WordPress theme.
Here are a few resources that will help you get started.
- How to create a Stripe payment form
- How to build a distraction-free landing page
- The complete guide to Stripe checkout page for WordPress
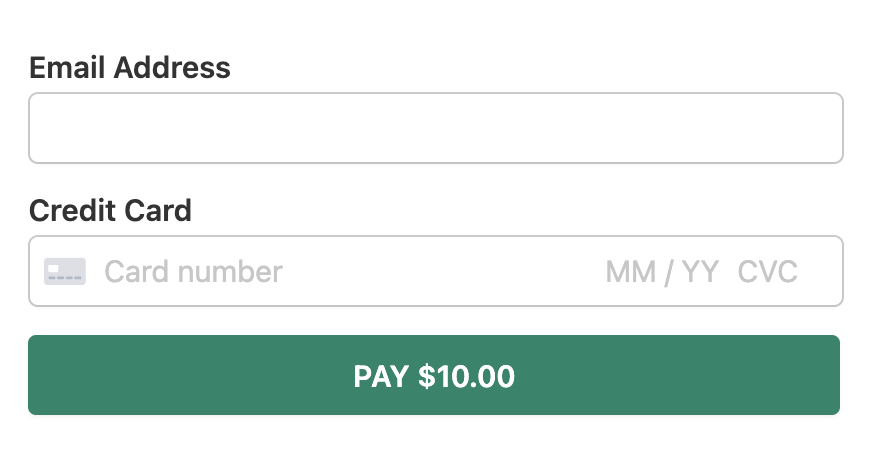
Let’s create a simple payment form as shown below.
Step 3: Disable Stripe Guest Checkout
Now that the payment form is ready, let’s turn on the Stripe guest checkout.
Head over to WP Simple Pay » Settings. Then, scroll down the page until you find the Require User Authentication checkbox. Select that checkbox to turn off guest checkout.

Then, click Save Changes.
There you have it!
You can now publish your payment form on a live page and start accepting payments from those who have logged into your site.
When someone makes a payment without logging in, they’ll see a message, asking them to log in first.

Additional Ways to Combat Fraud Payments
WP Simple Pay offers a few different ways to combat fraud payments. Let’s take a look.
1. CAPTCHA
One of the most efficient ways to combat fraudulent payment activity on your site is with CAPTCHA
In fact, WP Simple Pay supports 2 different CAPTCHA options: reCAPTCHA and hCaptcha.
reCAPTCHA v3 works invisibly in the background, whereas Captcha requires users to complete simple challenges to proceed.
2. Enable Email Verification
Enabling email verification is one of the least intrusive methods to reduce fraud payments.
WP Simple Pay only requires email verification after a set number of declines have occurred in a given timeframe. That way, you can provide a simpler payment process until fraudulent activity is determined.
3. Enable Stripe Radar Rules
Stripe Radar is Stripe’s advanced fraud protection network that detects and blocks fraud using machine learning that trains on data across millions of global companies.
Stripe’s built-in Radar rules will automatically block payments that do not meet the set criteria of the enabled rules.
We hope this article helped you learn how to disable guest checkout in WordPress.
That’s it!
We hope this article helped you learn how to disable guest checkout for Stripe in WordPress.
If you liked this article, you might also want to check out this guide: what is card testing and how to prevent it on your site.
What are you waiting for? Get started with WP Simple Pay today!
To read more articles like this, follow us on X.
Disclosure: Our content is reader-supported. This means if you click on some of our links, then we may earn a commission. We only recommend products that we believe will add value to our readers.


Leave a Reply