How to Allow Customers to Choose Their Preferred Payment Method on Your WordPress Site
Last updated on

 Spencer Finnell
Do you want to offer multiple payment methods on your WordPress site and allow customers to choose their preferred one?
Allowing customers to choose payment methods based on convenience and location is a highly effective way to boost conversions and grow your business.
In this article, we’ll show you how to easily allow customers to choose a payment method in WordPress.
Offering Multiple Payment Methods in WordPress
Using a Stripe payments plugin like WP Simple Pay is the best way to offer multiple payment method options on one payment form and allow customers to choose their preferred one.
The plugin lets you offer 10+ payment method options on your WordPress site, expanding your reach and significantly increasing the likelihood of customers choosing to purchase from you.
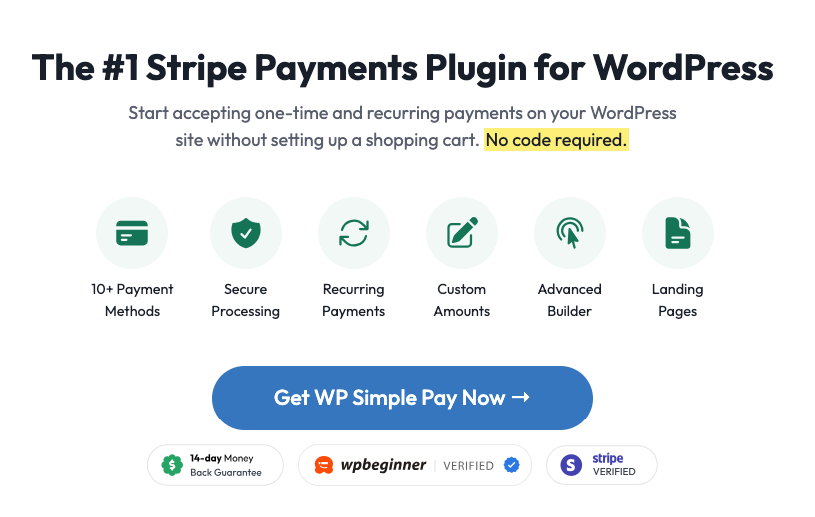
You can accept traditional credit and debit cards, ACH Direct Debit, digital wallets (Apple Pay / Google Pay / Microsoft Pay, Cash App), Alipay, Bacs Direct Debit, Buy Now, Pay Later, to name just a few.
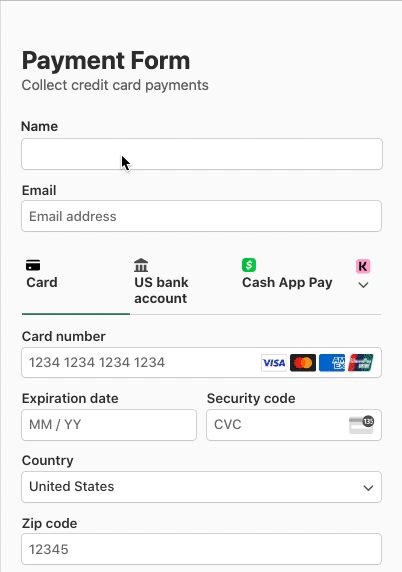
For the purpose of this tutorial, we’ll be creating the following payment form:
Step 1: Install WP Simple Pay to Offer Multiple Payments
To offer multiple payment methods and allow customers to select one, you’ll first need to install and activate WP Simple Pay on your site. To do so, go to the pricing page, choose a plan, and download the plugin on your computer.
Once you’ve done this, you can upload it to your WordPress site and install it.
For more details, see this step-by-step guide on how to install WP Simple Pay.
After activating the plugin, you’ll be directed to the setup wizard to connect your site with Stripe. Go ahead and click on Let’s Get Started.

If you didn’t see the setup wizard, simply head over to WP Simple Pay » Settings » Advanced tab and click the Launch Setup Wizard button.
2: Connect WordPress to Stripe
To connect your WordPress site to Stripe, click on Connect with Stripe.

Next up, enter the email address you use for your Stripe account and connect it to your site. If you don’t have a Stripe account, you can easily create one by entering your email address and completing the registration.
Upon completing this process, you’ll be shown a success page that says, “Setup Complete.” Next, click on Create a Payment Form.

Step 3: Create a Form with Multiple Payment Methods
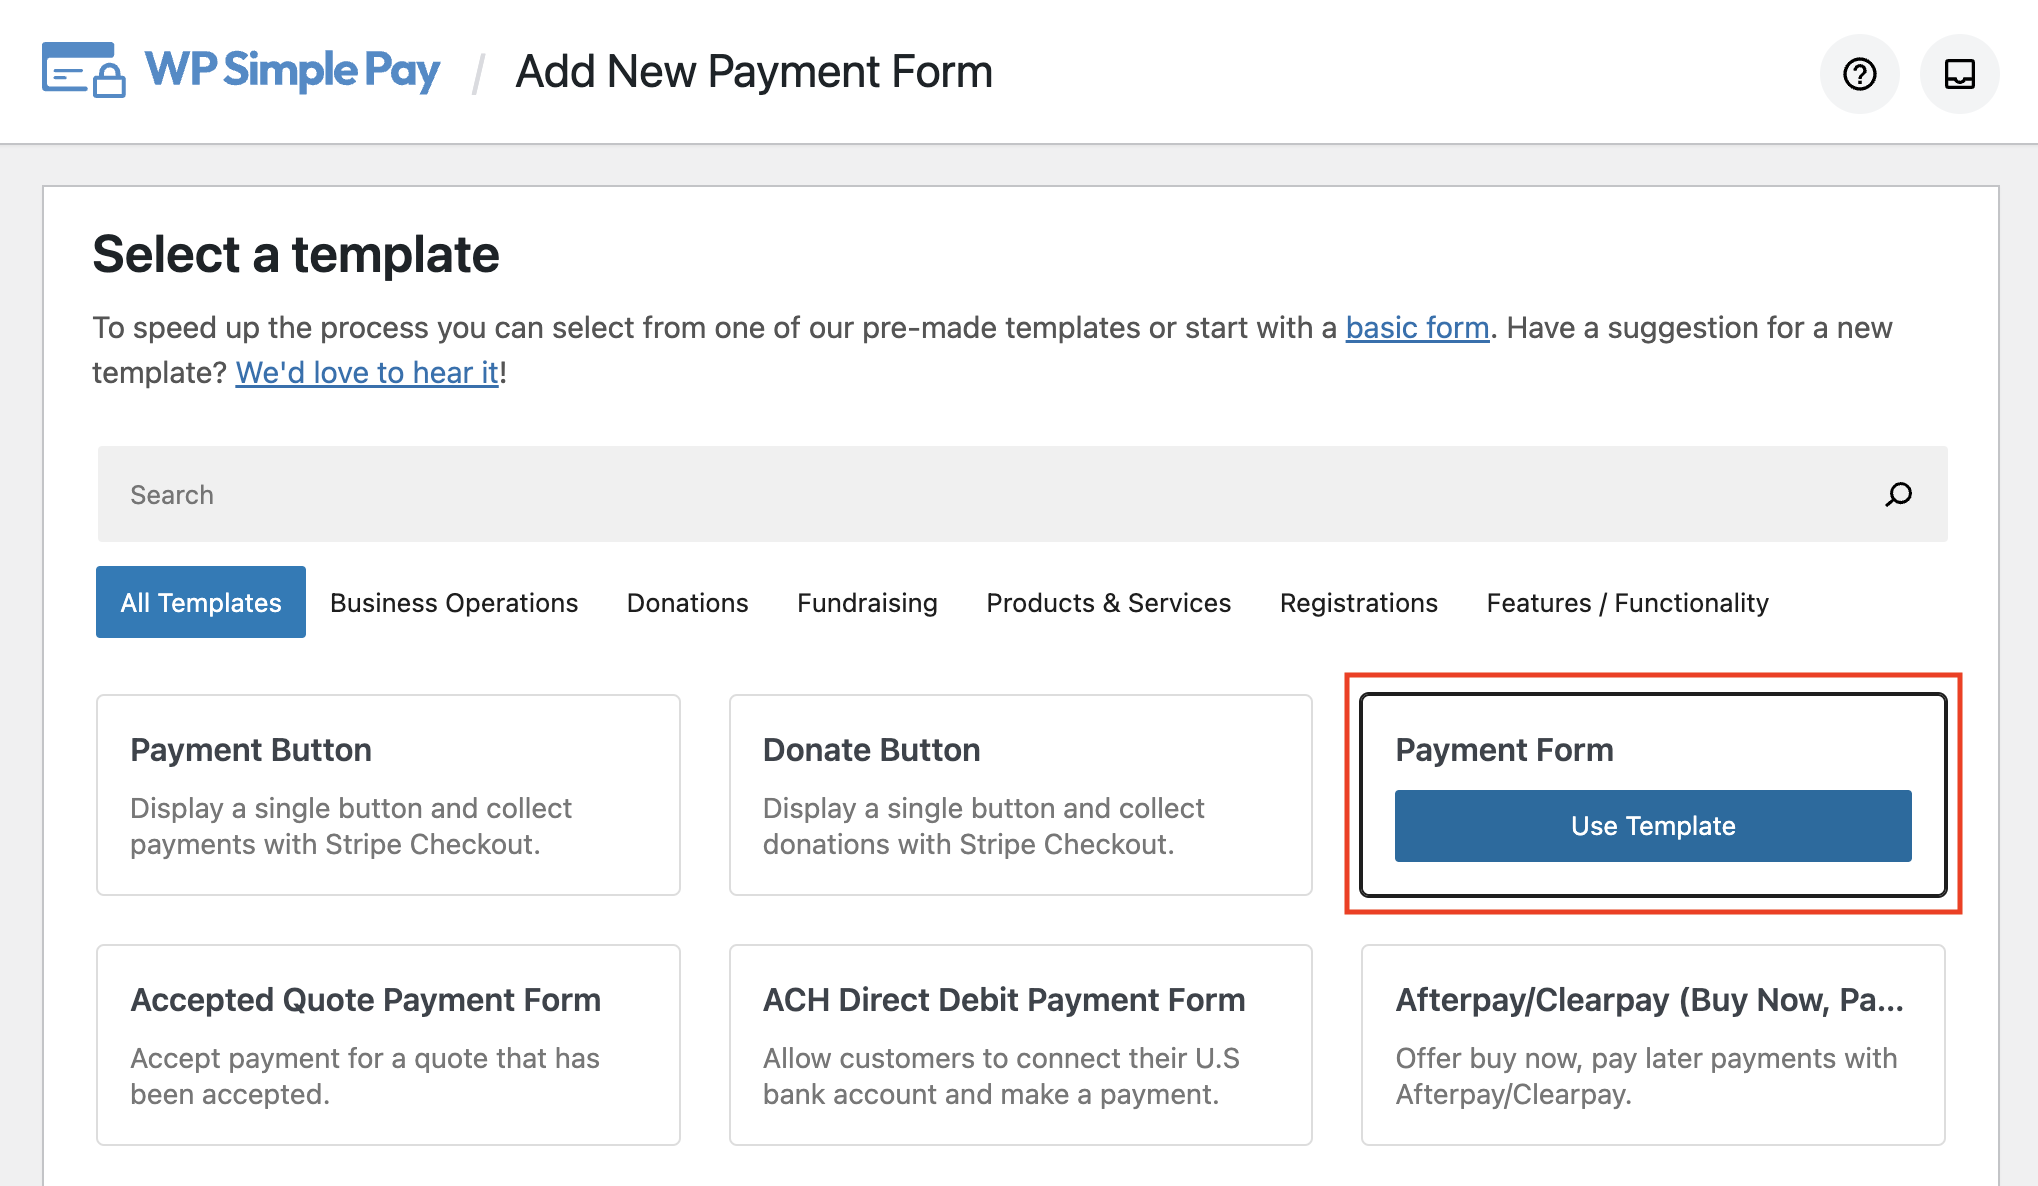
Upon clicking the Create a Payment Form button, you’ll be prompted to select from several pre-built form templates.
Let’s make it simple by choosing the basic Payment Form.
Once you choose your preferred template, you’ll be asked to configure the form. In the General tab, you can tweak the title, description, and a few other elements of your form.
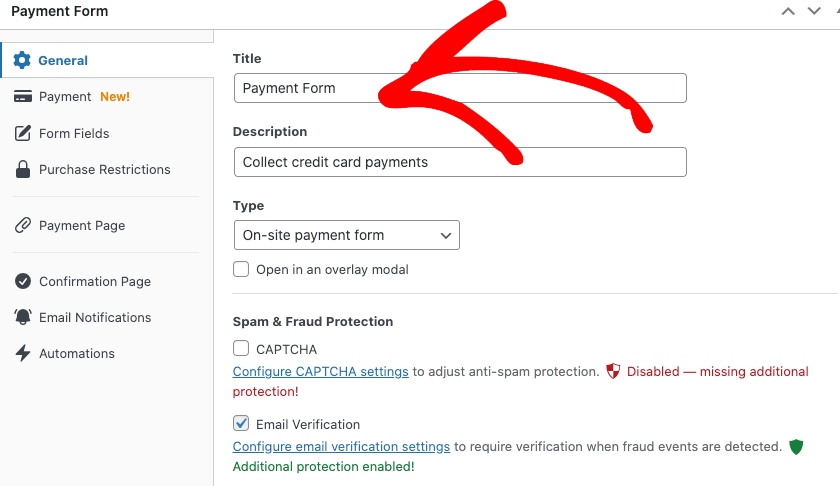
By default, the On-site payment form is chosen as your payment type. This ensures that customers can complete their transactions without leaving your site.
Next, let’s choose the Payment tab on the left to configure payment settings. From this page, you can add new prices, change the currency and amount, and select between one-time or subscription payments.
Unlike many Stripe payment plugins, WP Simple Pay allows you to offer multiple items in one transaction to help you increase average order value. To learn more, see our guide on how to enable multi-item purchases in one transaction.
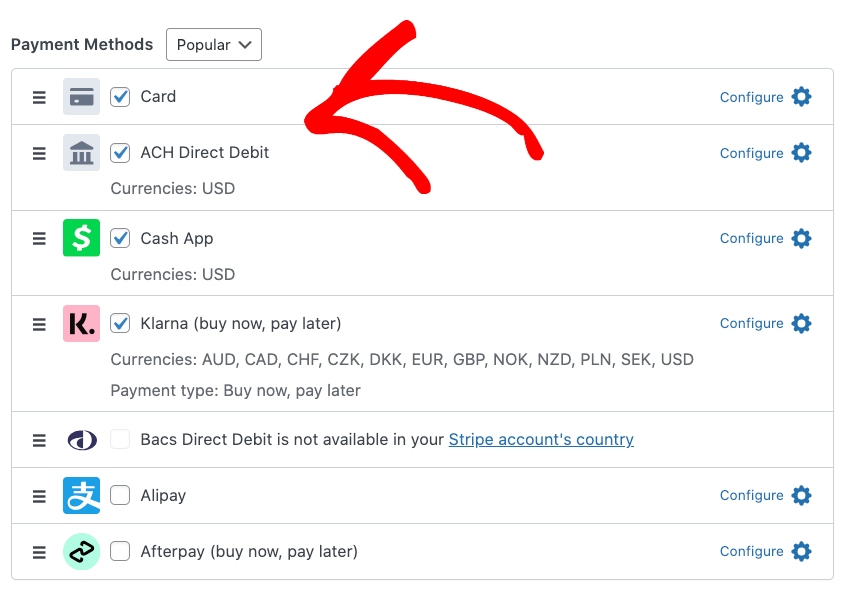
On the same page, you can also enable multiple payment methods that you want to offer via this particular form.
Simply select the payment methods you want to offer customers from the list. For this particular payment form, we’ve selected Card, ACH Direct Debit, Cash App, and Klarna.
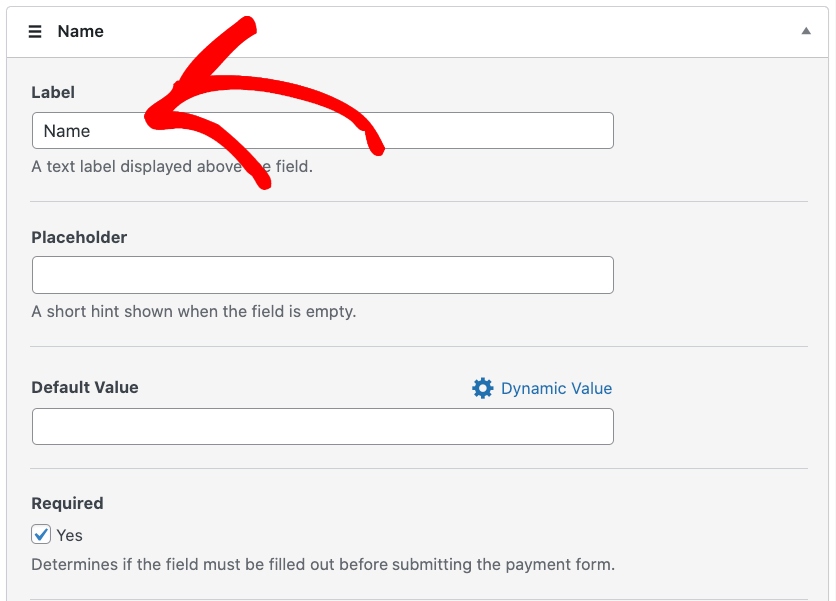
Next, from the Form Fields tab, you can easily add, edit, and remove fields using dropdowns, text fields, and checkboxes. For example, adding Name is as simple as selecting it from the list and clicking on Add Field.
Step 4: Publish Your Form on Your Site
There you have it! Your form is configured to let customers choose their preferred payment method during checkout.
Let’s go ahead and publish your form by clicking on the Publish button on the right-hand side.
To embed the form, go to the post or page where you want to publish it. Then click on the + icon to add the WP Simple Pay block. Choose the form you just created and click Publish or Update.

That’s it! We hope this article helped you learn how to allow your customers to choose a payment method in WordPress.
If you liked this article, you might also want to check out how to offer Buy Now, Pay Later payment plans in WordPress.
What are you waiting for? Get started with WP Simple Pay today!
To read more articles like this, follow us on Facebook and Twitter.
Disclosure: Our content is reader-supported. This means if you click on some of our links, then we may earn a commission. We only recommend products that we believe will add value to our readers.


Leave a Reply