How to Accept Freelance Fees via Stripe + WordPress
Last updated on
Are you a freelancer and looking for the best way to accept payments for your freelance services on your WordPress site?
For freelance web developers, writers, photographers, and more, accepting one-time or recurring payments from clients using Stripe + WordPress is a breeze.
In this article, we’ll show you how to easily accept freelance fees in WordPress so you can spend less time worrying about getting paid for your work, and more time doing what you do best.
Why Use Stripe as Your Payment Processor?
Stripe is the most popular payment processor in the world. It allows you to accept multiple payment methods directly on your site for one-time or subscription-based services.
Not only are Stripe’s processing fees lower than PayPal’s, but it is also a much more robust solution that lets you customize the entire payment experience because it is designed for online businesses.
Additionally, there are no upfront setup costs and creating an account is pretty straightforward.
How to Accept Freelance Fees in WordPress
Using a good Stripe payments plugin for WordPress, you can easily create off-site Stripe Checkout payment forms or on-site payment forms that allow your clients to complete their purchase without ever leaving your site.
WP Simple Pay is the #1 Stripe payments plugin for WordPress that lets you easily create payment forms using its advanced drag & drop payment form builder. The plugin does not require you to learn any code or set up a shopping cart.
Additionally, WP Simple Pay offers tons of payment form templates for you to create the perfect payment form for your freelance services in minutes.
Remove the additional 3% fee!
Most Stripe plugins charge an additional 3% fee for EVERY transaction
…not WP Simple Pay Pro!
Without further ado, let’s get started creating a payment form for your freelance fees.
Step 1: Download and Activate WP Simple Pay
To begin accepting freelance fees on your site using Stripe, the first thing you’ll need to do is download and activate WP Simple Pay.
First, head over to the pricing page and choose the best plan for your specific needs.
Once you’re finished purchasing the plugin, head over to your WordPress dashboard and upload the .zip file that you received in your purchase confirmation email. You can also find the file in your WP Simple Pay account.
If you need help installing WP Simple Pay, don’t worry! We’ve put together a detailed guide on how to install the plugin.
Once you’ve installed and activated the plugin, its setup wizard will prompt you to connect your Stripe account. If you don’t have a Stripe account yet, you can create one now.
Go ahead and click on Let’s Get Started.

If you didn’t see the setup wizard, simply head over to WP Simple Pay » Settings » Advanced tab and click the Launch Setup Wizard button.
2: Connect WordPress to Stripe
To connect your WordPress site to Stripe, click on Connect with Stripe.
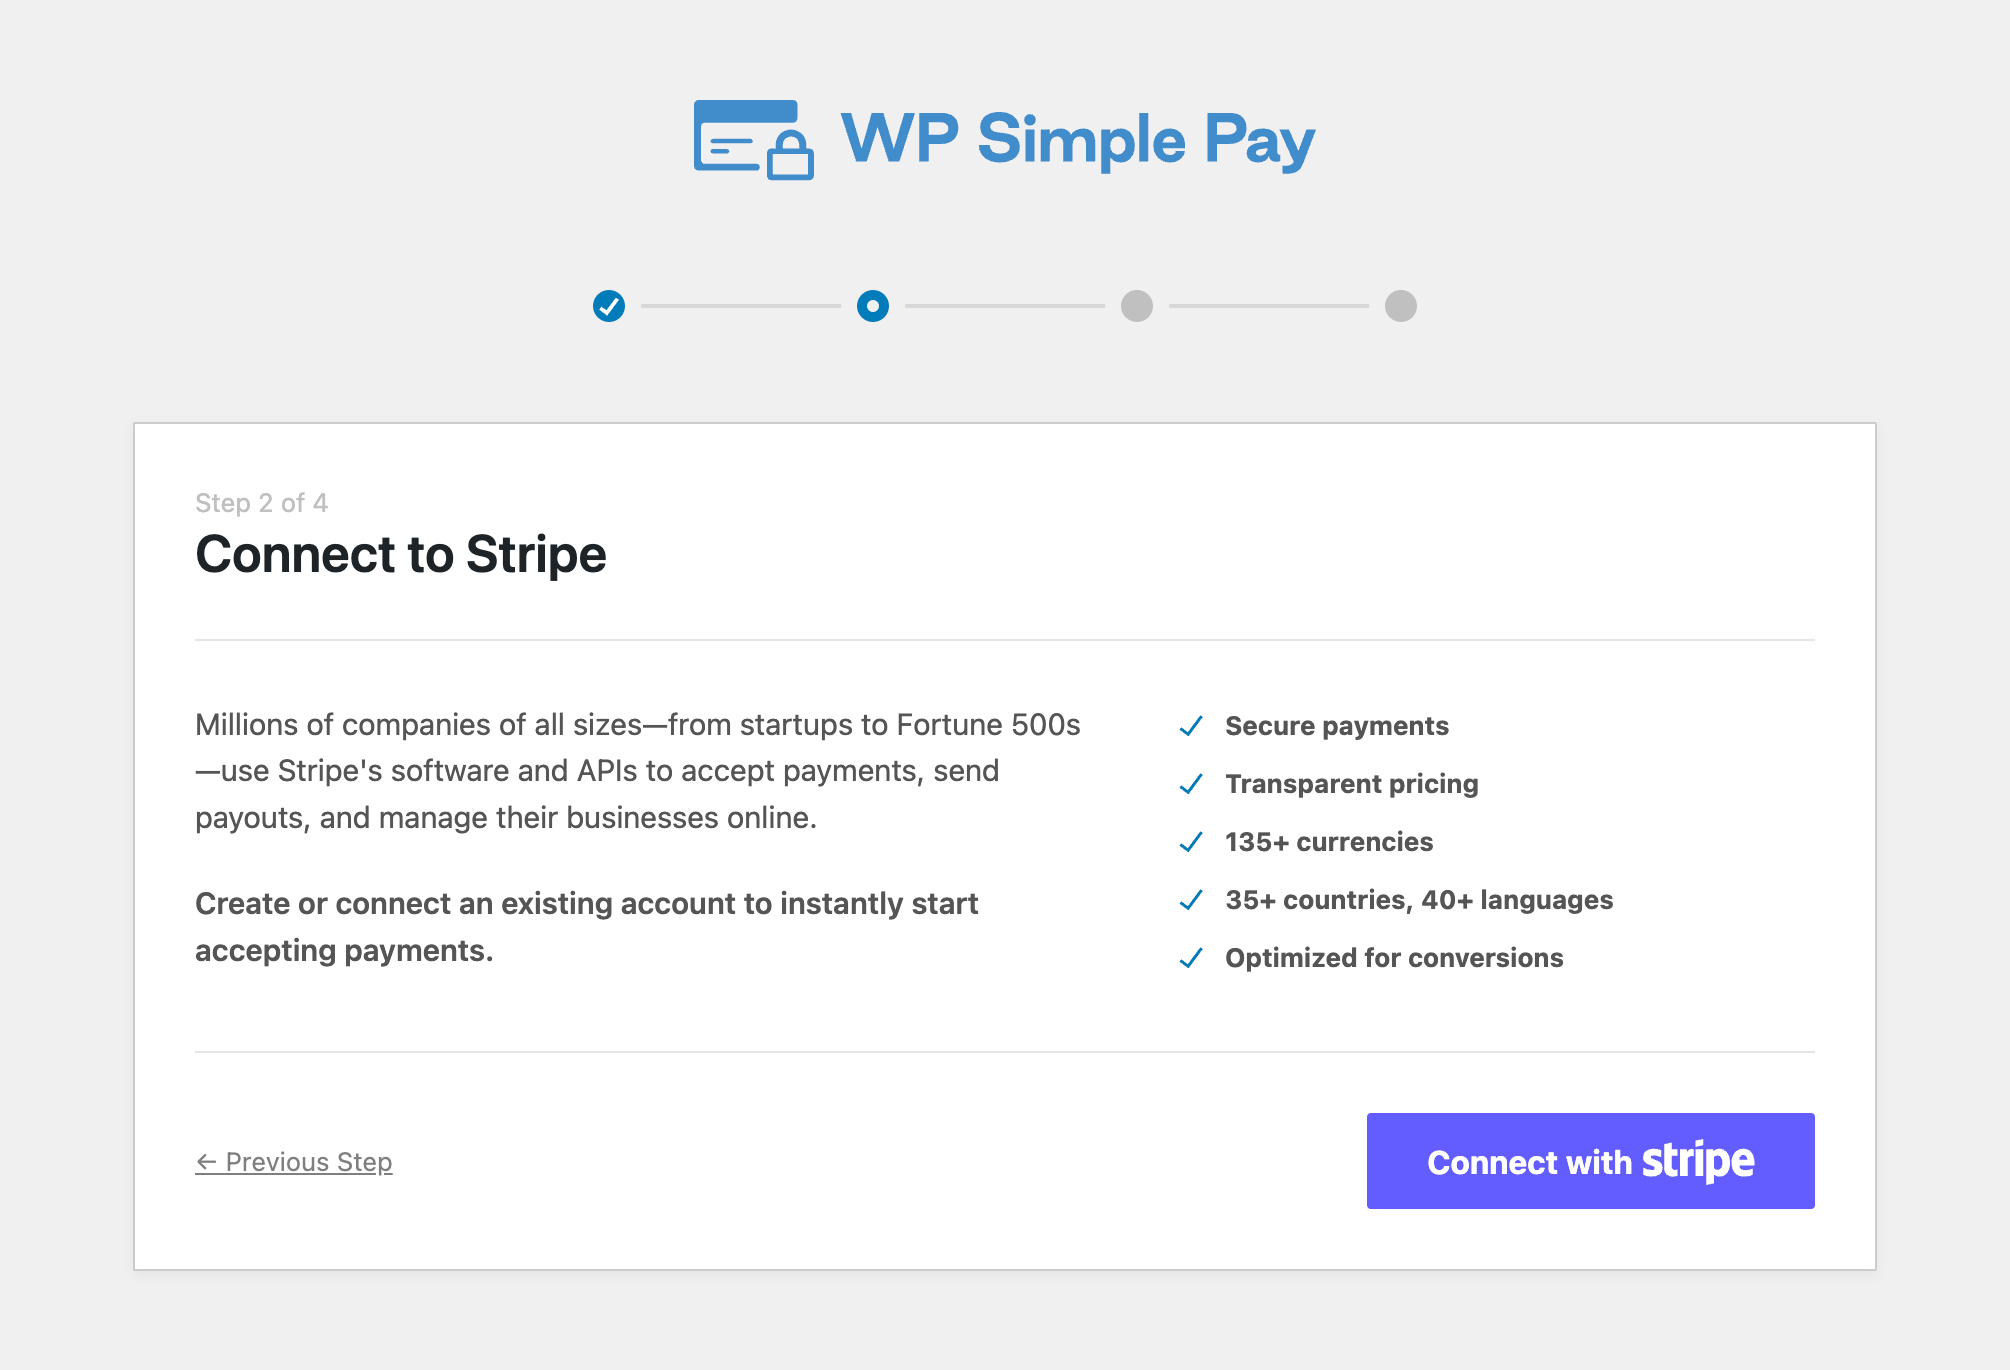
Next up, enter the email address you use for your Stripe account and connect it to your site. If you don’t have a Stripe account, you can easily create one by entering your email address and completing the registration.
Upon completing this process, you’ll be shown a success page that says, “Setup Complete.” Next, click on Create a Payment Form.
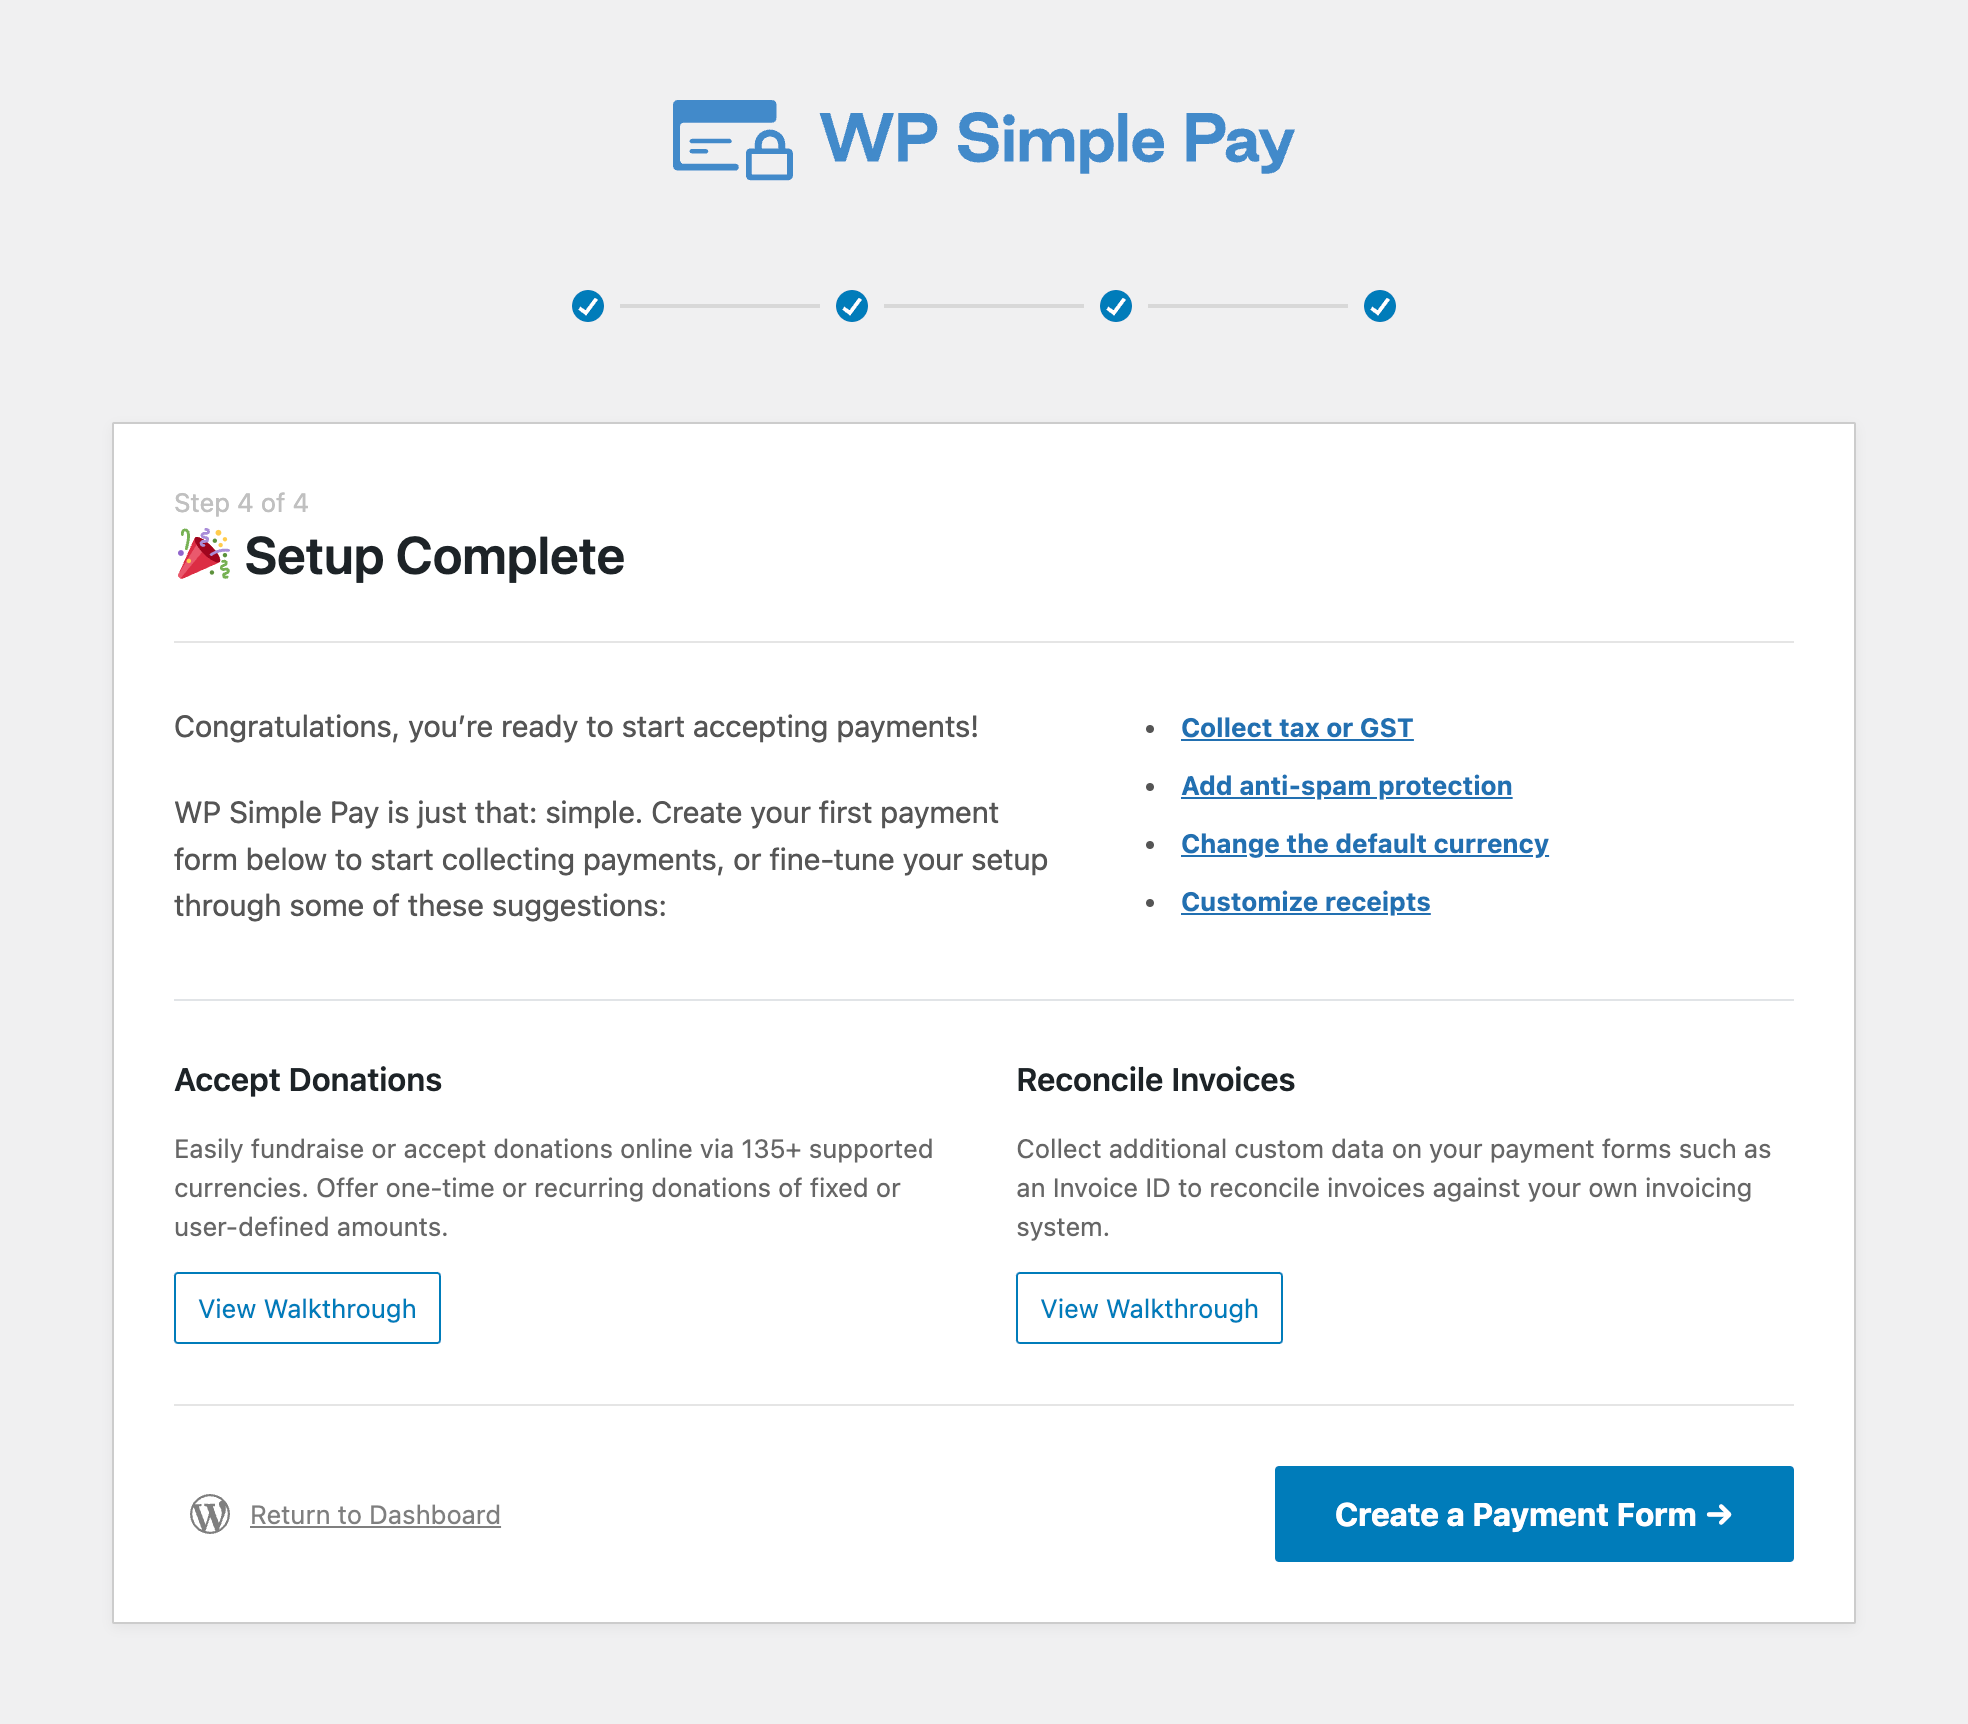
Step 3: Create a Freelance Fees Payment Form
So far, you’ve connected your Stripe account to WordPress. It’s now time to create a payment form that will allow you to accept freelance fees directly on your site as either one-time payments or a monthly subscription.
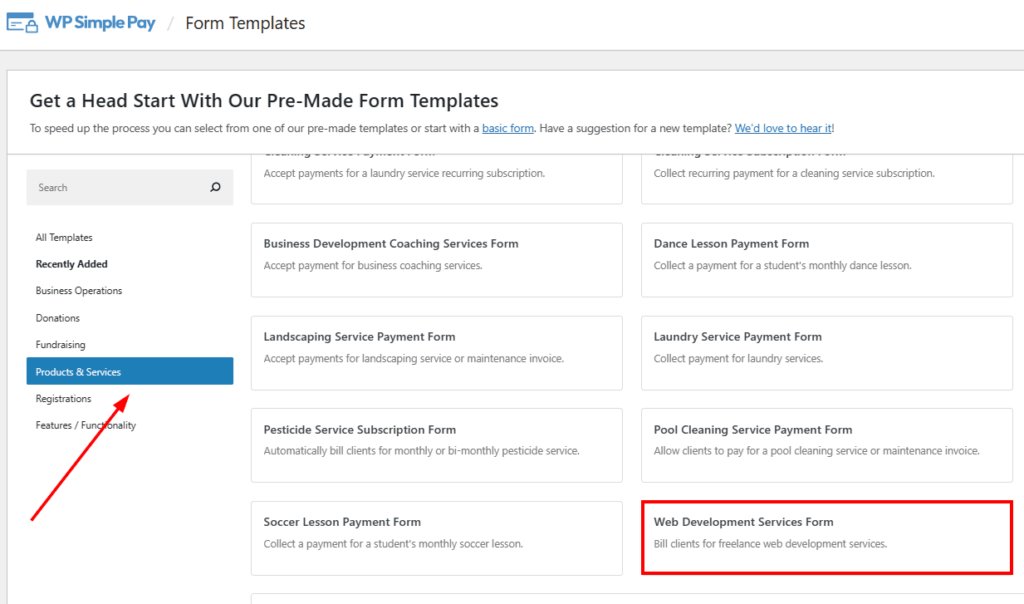
You should have ended up on the payment form template library page, where you can choose from several different templates. For the purpose of this tutorial, go ahead and choose the Web Development Services Form.
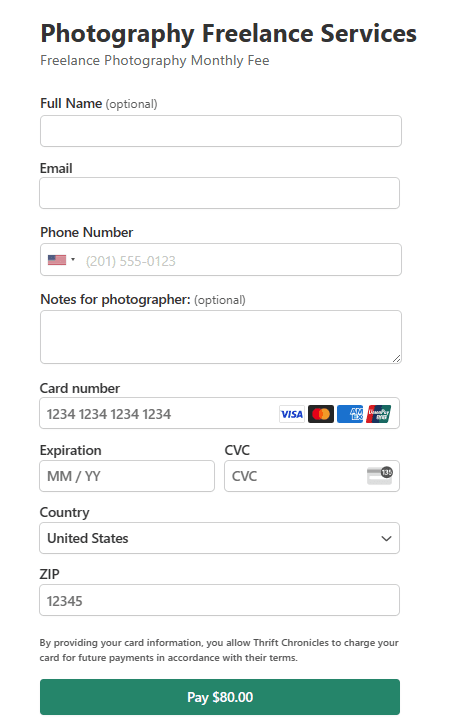
You’ll land on the General Tab, where you’ll need to add the title and description of your freelance services. For this example, I’ve added Photography Freelance Services.

You’ll notice that for the form Type, you can choose between an on-site form and an Off-site Stripe Checkout form that would redirect your clients to a page hosted by Stripe to complete the payment.
For the sake of this tutorial, let’s choose On-site payment form. You can learn more about the differences between form Types by taking a look at Payment Forms: Embedded vs. Overlay vs. Stripe Checkout.
Next, click on the Payment tab. Go ahead and add your price and choose between a one-time payment or a subscription.
The subscription option is a great way to automatically collect your freelance fees on a monthly basis. You can even offer a free trial to entice new clients as well as charge a setup fee if you wish.
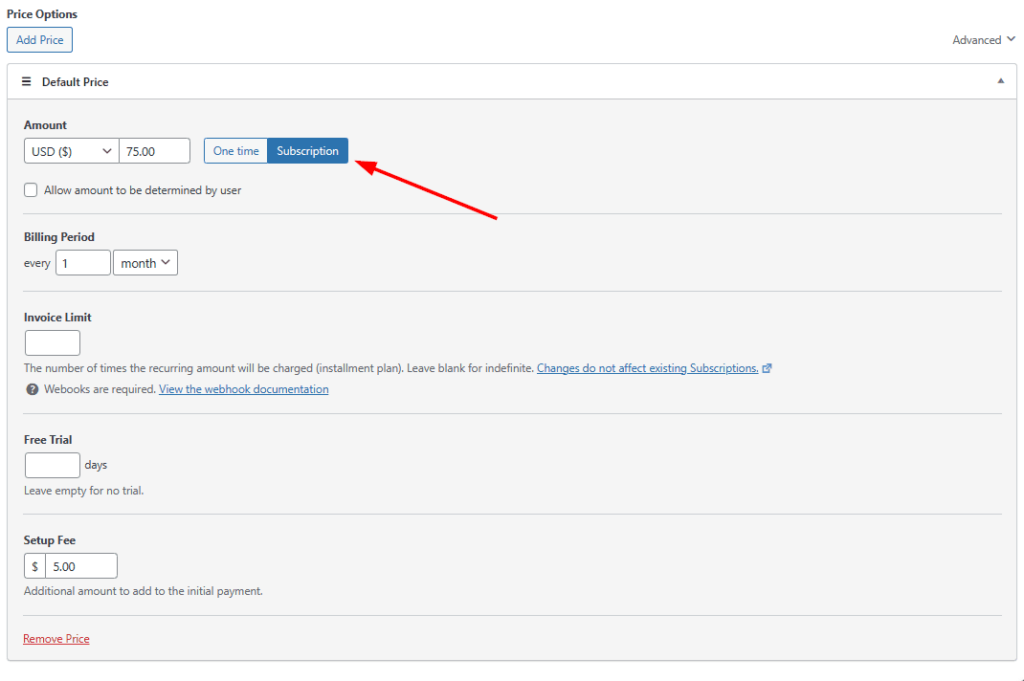
Once you’ve setup your subscription payment information, go ahead and click on the Form Fields tab.
Here is where you can add, edit, or remove custom fields to your form. In addition, you can rearrange the order of the fields to meet your needs.
Once you’re finished setting up your custom fields, click on Purchase Restrictions. This is where you can control the date and time of when your form will accept payments.
That’s it! Go ahead and save your changes and preview your form. If everything looks good, be sure to click on Publish.
Your completed payment form should look something like the one below:
Step 4: Embed Your Payment Form on a Page
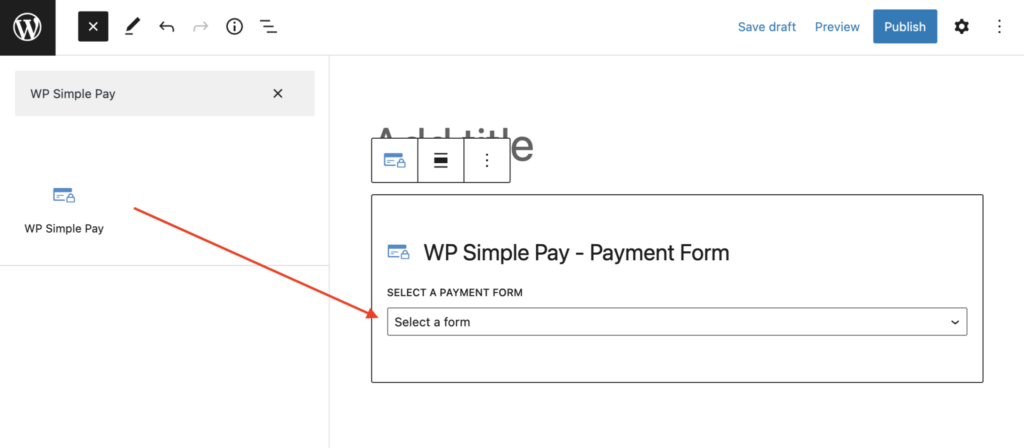
Now that you’ve finished creating your freelance services payment form, all you have left to do is embed it on a page or a post on your site.
Simply go to the page or post where you want your form to be and click on the + icon at the top left-hand side of the screen. Next, add the WP Simple Pay block and choose the form you just created.
There you have it! We hope this article has helped you learn how to easily accept freelance fees via Stripe + WordPress.
If you liked this article, you might also want to check out WP Simple Pay Lite vs. Pro: Is Pro Worth the Price?
What are you waiting for? Get started with WP Simple Pay today!
To read more articles like this, follow us on X.
Disclosure: Our content is reader-supported. This means if you click on some of our links, then we may earn a commission. We only recommend products that we believe will add value to our readers.



Leave a Reply