How to Send Push Notifications From Your WordPress Site
Last updated on

Do you want to send targeted push notifications from your WordPress site?
Pushing messages out to your customers is essential to retaining them by means of improved communication and engagement. In addition, push notifications can help boost conversions and site traffic, which ultimately leads to growing your business.
In this article, we’ll cover what push notifications are and how you can use them to engage with your subscribers, customers, or members, and ultimately make more sales on your site.
What Are Push Notifications?
Push notifications are short messages or alerts sent by websites to a user’s device. They can reach your subscribers even when the app or website is not actively in use on their device or computer.
Oftentimes, push notifications include a title, a short message, and an image.
When used effectively, push notifications can be used to:
- Send updates about new features or products
- Promote new content
- Notify customers about sales
- Send reminders about abandoned carts
- Keep customers up to date regarding order status
Why Send Push Notifications?
Whether your business offers tangible products, or services, sending push notifications is a cost-effective way to increase traffic, enhance engagement, improve customer communication, and more.
Let’s take a look at some of the reasons to send push notifications.
Real-Time Communication
Rather than sending e-newsletters and taking the chance of having your messages reach the spam folders of your recipients, push notifications allow you to send quick messages highlighting a sale, new content, landing pages, and checkout pages that are more likely to reach your subscribers.
Segmentation
With push notifications, you can send the right message to the right audience with segmentation features. As a result, conversion rates are likely to improve because the information is relevant to the users receiving the notification.
Cart Abandonment
Cart abandonment is a frequent hurdle for e-commerce sites. Push notifications let you send friendly reminders about incomplete checkouts to help motivate users to follow through with their purchases.
High Visibility
Because push notifications are displayed on your subscriber’s browser or device, they’re nearly impossible to miss. This helps increase click-through rates and bolster user engagement.
How to Send Push Notifications
Ready to learn how to send push notifications from your WordPress site?
Sending push notifications directly from the WordPress admin dashboard can be accomplished easily and without code using the right tool.
Step 1: Create a PushEngage Account
The easiest way to create a push notification is to use PushEngage, the market’s leading push notification software.
Simply visit the pricing page and choose between a free plan and a premium plan.
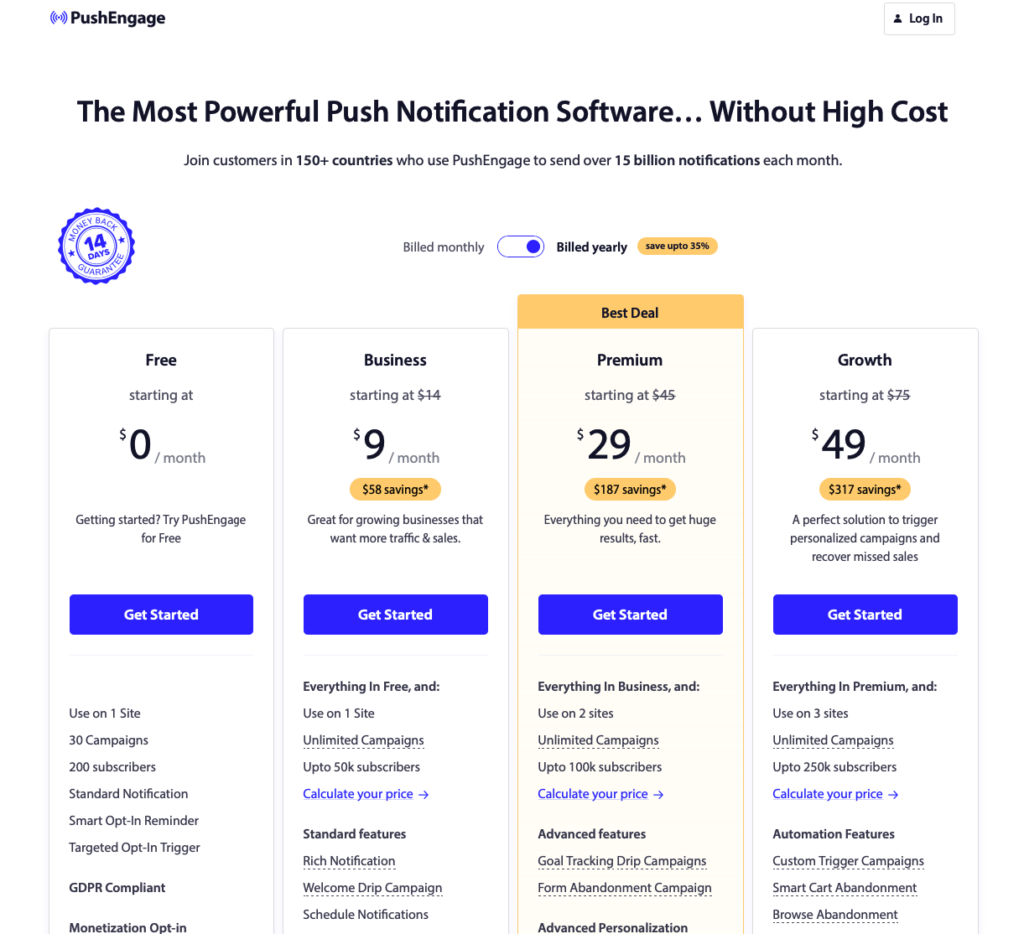
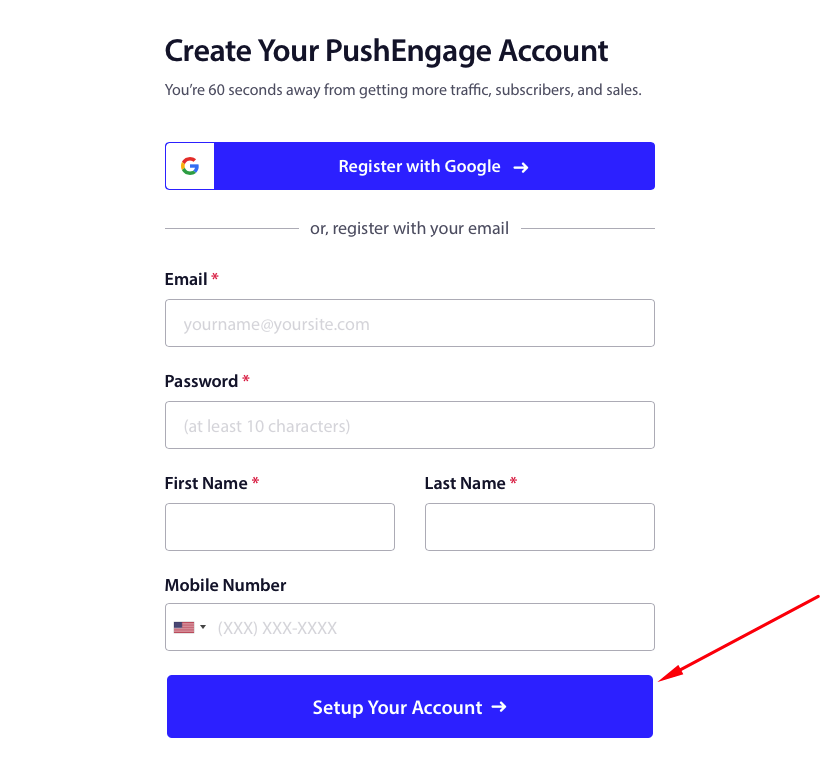
Next, click on the Get Started button and sign up for a PushEngage account.
Once you’ve finished entering your e-mail, password, and additional information, click on the Setup Your Account button.
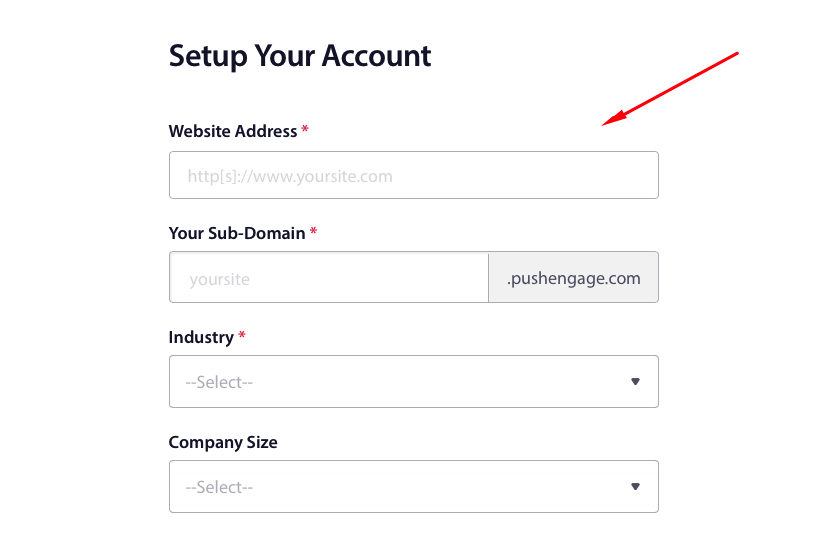
To set up your account, enter the requested information about your site and business.
Once your site has been connected to your account, you’ll be directed to the onboarding page. Here is where you’ll need to enter your site name, URL, icon, and time zone. Also, it’s a good idea to toggle the switch to Enable Geolocation.
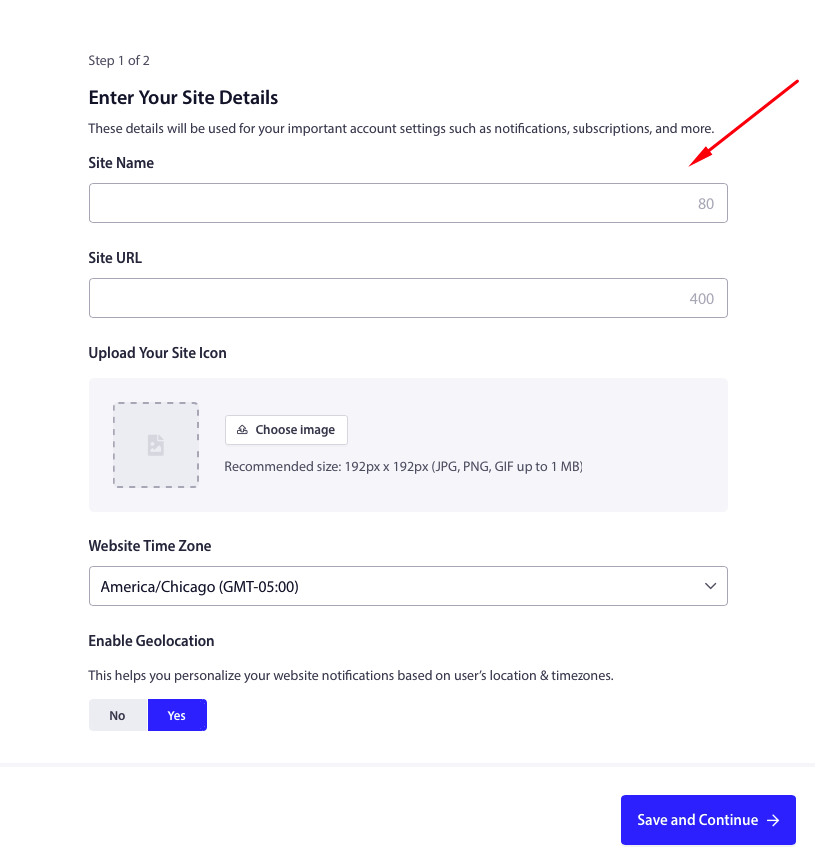
Next, go ahead and click on the Save and Continue button.
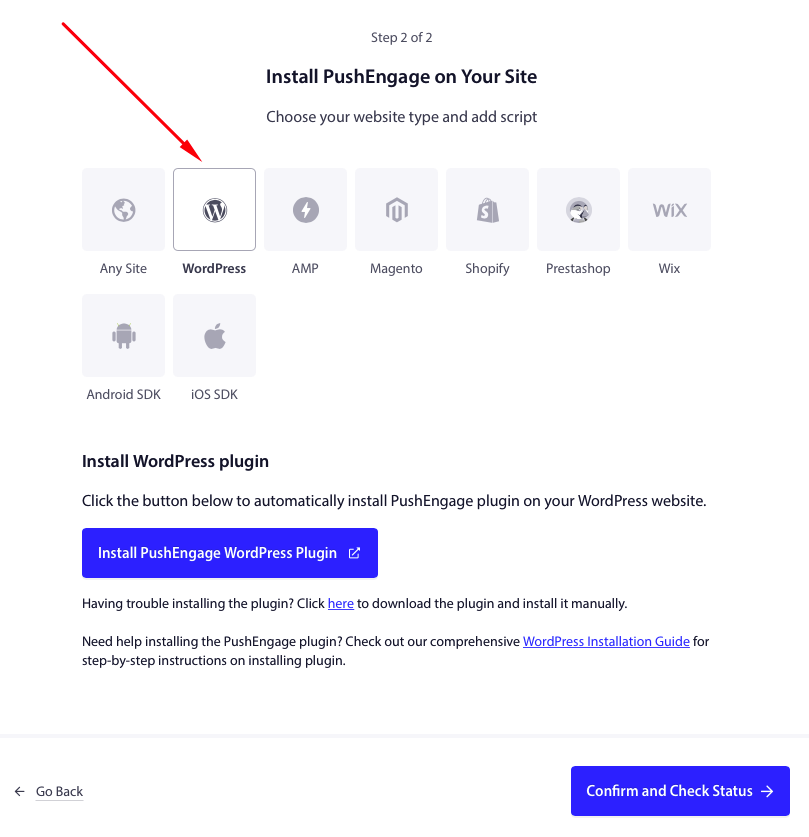
You’ll be asked to select WordPress as your website type and to install the PushEngage plugin on your site. Click on the Install PushEngage WordPress Plugin button.
Your WordPress admin will launch in a new tab. Select Install Now and Activate after a few seconds.
The next step will prompt you to claim your free account or connect an existing one. Simply choose your site from the dropdown menu in the modal window.
Next, click on the Let’s Get Started button.
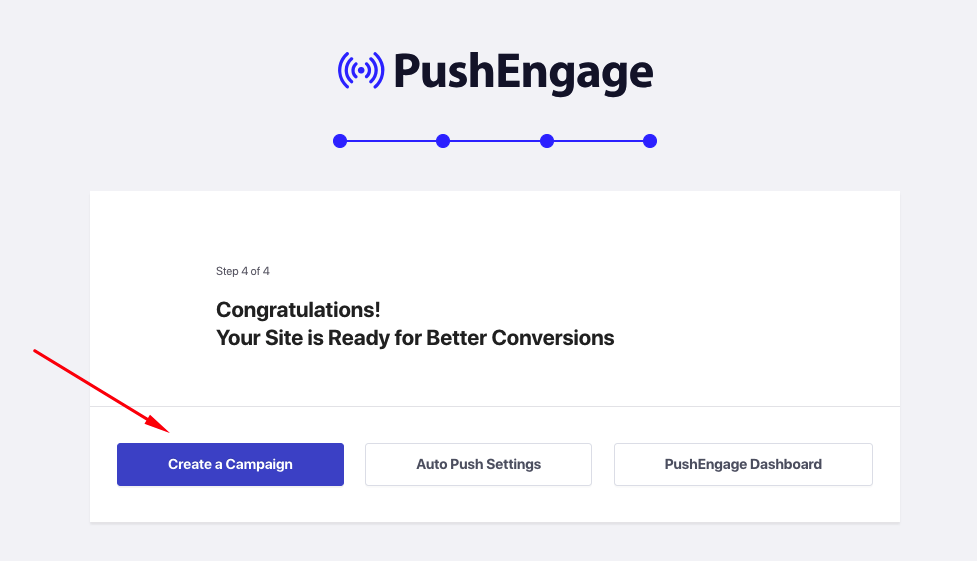
When it’s done installing the plugin and connecting your account, you’ll see a success message. Go ahead and click on the Create a Campaign button.
Step 2: Create a Push Notification
Now that you’ve finished setting up your PushEngage account and connecting the plugin to your WordPress site, it’s time to create your first push notification.
You should have been automatically directed to the Create New Push Broadcast page in your WordPress admin dashboard.
Note: You can also create a push notification from your PushEngage dashboard. For the purpose of this tutorial, we’re going to show you how to create a push notification directly from the WordPress admin dashboard.
First, enter your title, notification message, the URL where you want your visitors to go on your site, and an image or a logo. To help attract attention to your notification, you can add emojis to the title and message.
You’ll also notice that you can see a live preview of your notification on the right-hand side of the screen. It displays previews for Chrome, Firefox, iOS, and more.
To add an image, simply click on the Change image button, select your image, and upload it.
For the purpose of this tutorial, let’s create a Halloween Flash Sale notification.
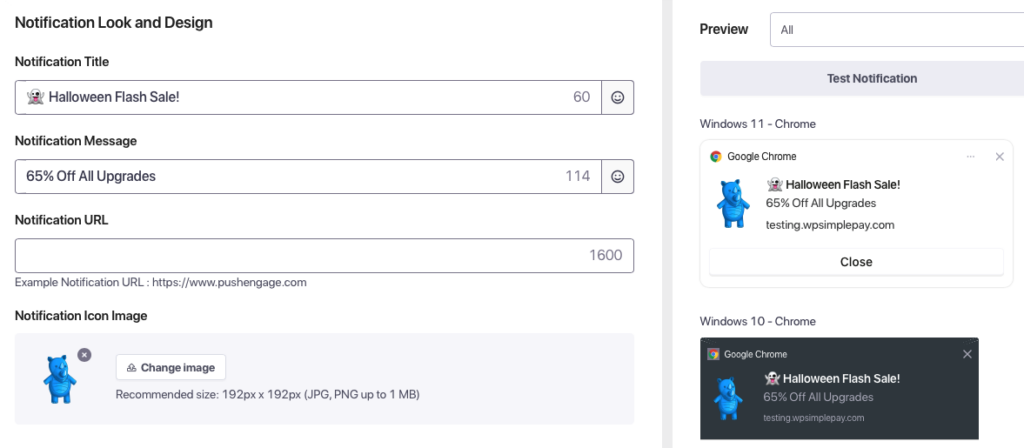
For the Notification Icon Image, you can make it appear larger by clicking on Change image.
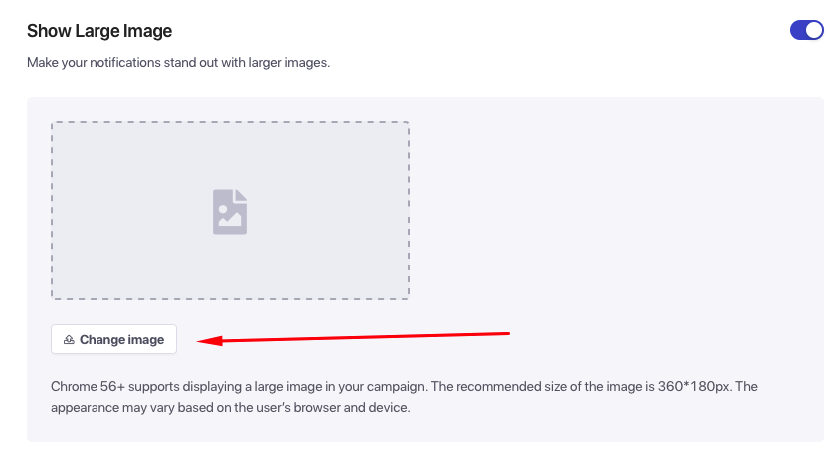
Be sure to resize your image to the recommended 360*180px to achieve the best possible image quality.
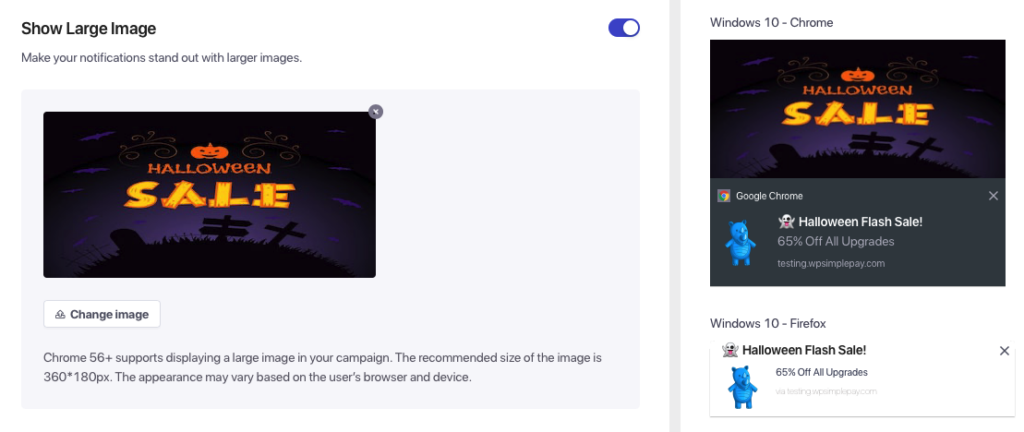
Next, set up your notification duration. This is simply how long the notification will remain active on your subscriber’s browser.
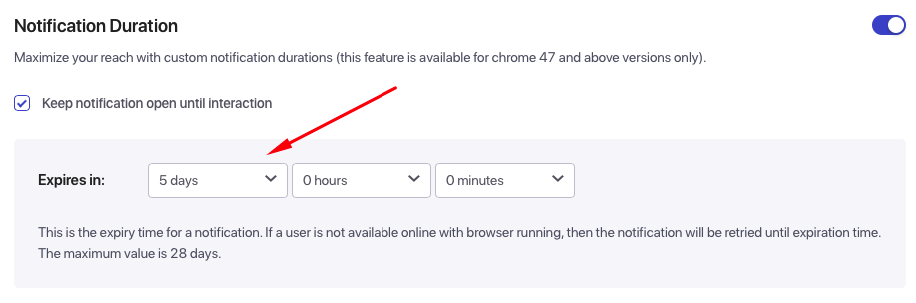
Now that you’ve created your push notification and set up its duration, click on the Save & Select Audience button.
While PushEngage allows you to send your notifications to segmented groups and custom audiences, you’ll need to purchase a premium plan to do so.
For the sake of this tutorial, let’s go ahead and choose Send to All Subscribers.
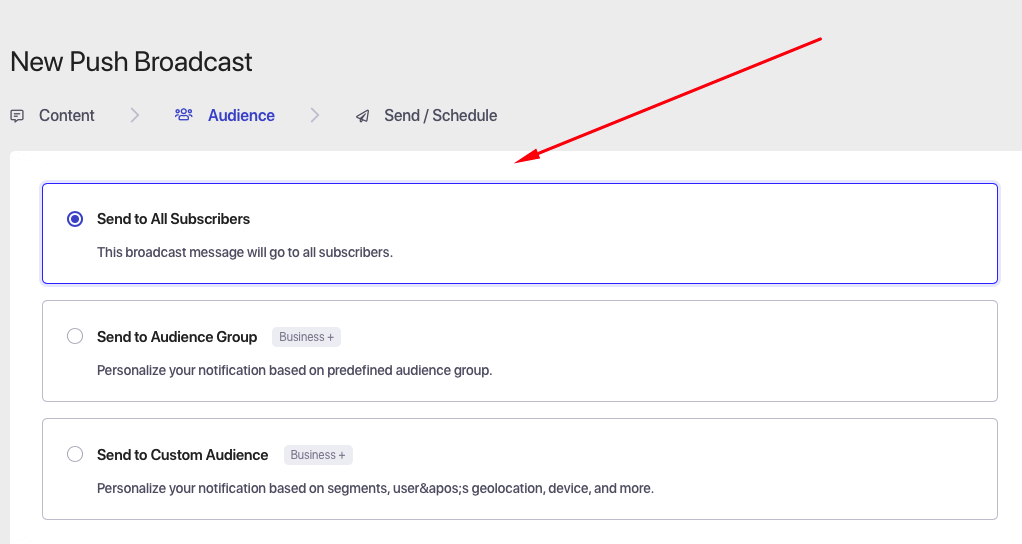
When you’re finished, click on the Send/Schedule button.
PushEngage lets you schedule when to send notifications. This feature allows you to set it up ahead of time and rely on the plugin to do the rest.
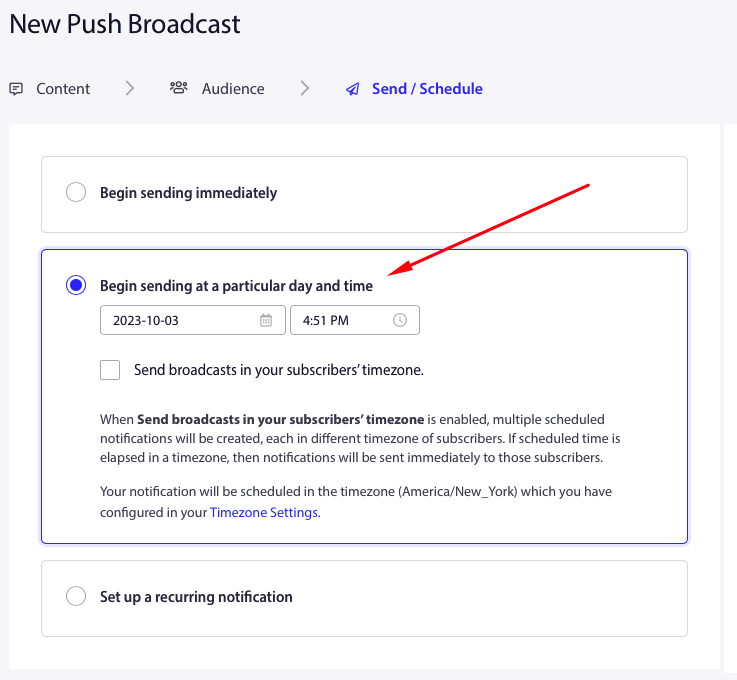
If you prefer to send your push notification immediately, simply select Begin sending immediately from the list of options.
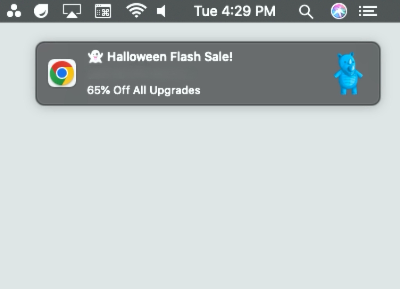
You can also click on the Test Notification button to see exactly how your push notification will appear on your screen. You always have the option to Save as Draft if you’re not ready to send or schedule just yet.
Here is an example of a test notification in Chrome:
Step 3: Configure PushEngage & WP Simple Pay
Now that you’ve learned how to create a push notification and schedule it in WordPress, let’s quickly cover one way you can configure PushEngage and WP Simple Pay settings. This will allow you to send notifications that drive traffic to specific checkout landing pages or perhaps a pricing page when it goes live on your site.
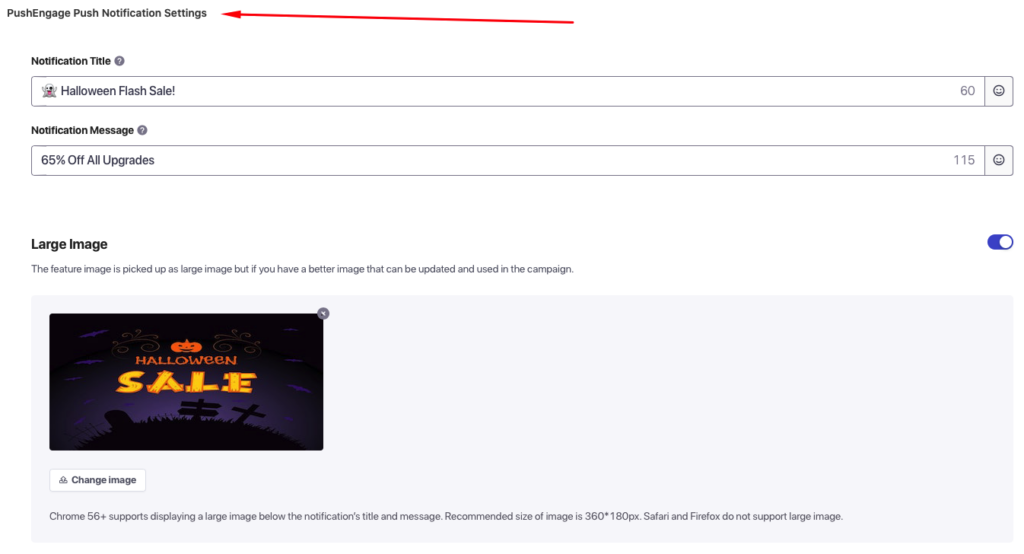
For example, once you’ve embedded a WP Simple Pay payment form on a page, scroll down on the page editor until you find PushEngage Push Notification Settings.
Next, enter the title and message for your notification and upload your image.
This will automatically push out your notification when the page is published.
PushEngage also offers automatic push notifications, which can be enabled directly from the WordPress admin dashboard. Simply navigate to PushEngage » Settings » Auto Push Settings.
For Post Types, you can add Post, Page, and Download. Be sure to select Post if it hasn’t already been added before saving your changes to ensure that push notifications are sent each time a new post is published.

That’s it! We hope this article has helped you learn why push notifications are a valuable component of your site’s marketing strategy and how to easily send them in WordPress.
If you liked this article, you might also want to check out our guide on how to create recent sale notification popups in WordPress.
What are you waiting for? Get started with WP Simple Pay today!
To read more articles like this, follow us on X.
Disclosure: Our content is reader-supported. This means if you click on some of our links, then we may earn a commission. We only recommend products that we believe will add value to our readers.


Leave a Reply