
How to Create a Branded Checkout Page in WordPress (Easy Way)
Last updated on
 Reviewed By:
 Spencer Finnell
Adding your brand’s colors and style to your checkout page builds trust with customers. Not only that, clearly identifying your brand throughout the payment process helps reduce checkout abandonment.
With the right tool, well-designed checkout pages don’t need to be complicated or even require website development skills.
In this article, we’ll show you the best way to design a checkout page for your WordPress website to help you increase conversions, and improve overall brand loyalty and recognition.
Creating a Branded Checkout Page in WordPress
What Is a Branded Checkout Page & Why Do You Need One?
Your checkout page is like the final handshake in a business deal. By simply adding your logo and design elements to your checkout page, you can improve how visitors feel about your brand. This ultimately impacts your conversions and the longevity of your business.
Think about walking into a store that suddenly changes its look at the cash register. That’s what happens when your branded website leads to a generic payment page.
With all that said, it’s not surprising that 80% of customers are more likely to purchase from brands offering engaging checkout experiences, while 66% will abandon their shopping carts when faced with a generic, one-size-fits-all approach.
Whether you offer products, services, registrations, subscriptions or you’re even asking for donations, providing visitors with an engaging payment experience that remains consistent to your brand and its message is key to fostering long-term customers.
Your customers or donors will feel safe completing payments on your website, which is especially important for high-value transactions.
Key Components of a Branded Payment Page
After setting up thousands of payment forms, we’ve pinpointed the exact elements that make customers feel at home. Let’s look at each piece that goes into a winning checkout design.
Colors That Match Your Brand
We always start with the right colors. Your payment page should use the same color scheme as your website. This means matching your buttons with your payment page.
Logo Placement and Size
Your logo belongs at the top of your payment form, clear and visible. We recommend using a logo that is 250 pixels wide to ensure that it works well on both desktop and mobile.
Custom Form Fields
Basic forms can feel cold and unfriendly. Forms that include personal touches like custom field labels and thank-you messages perform much better.
Payment Button Style
Your “Pay Now” button should stand out and match your brand. Usually using your main brand color with clear text get more clicks.
Quick Tip:
Keep your design simple. Too many fancy elements can distract customers from completing their purchase.
How to Easily Create a Branded Checkout Page
Now that we’ve covered the most important elements of a branded checkout page, let’s create one.
Here’s an easy step-by-step guide to creating a branded checkout page using WP Simple Pay, the most powerful and user-friendly Stripe payments plugin for WordPress.
The plugin is perfect for newcomers to WordPress because it lets you accept 10+ payment method options directly on your website.
The best part? You don’t need to build a shopping cart or install any additional plugins. You can also use it to send customized post-purchase email confirmations.
Even better, its Payment Page Mode feature makes it possible for you to create a branded page to host your payment form all without coding. Your payment page link is generated right on the page, and you can easily share it across the web.
In this Guide
- Install WP Simple Pay on your WordPress website
- Go to Simple Pay → Add New Payment Form in your dashboard
- Choose your payment form template
- Click on the Payment Page tab
- Check the box next to Enable a dedicated payment page
- Upload your logo to the media library
- Select your color scheme
Step 1: Install WP Simple Pay
To get started, visit the pricing page and choose the best plan for your needs.
Once you’ve purchased a plan, download the .zip file from the confirmation email or your WP Simple Pay account page.
Next, upload the file on your WordPress website and activate it.
For step-by-step instructions on how to install WP Simple Pay, see our full guide.
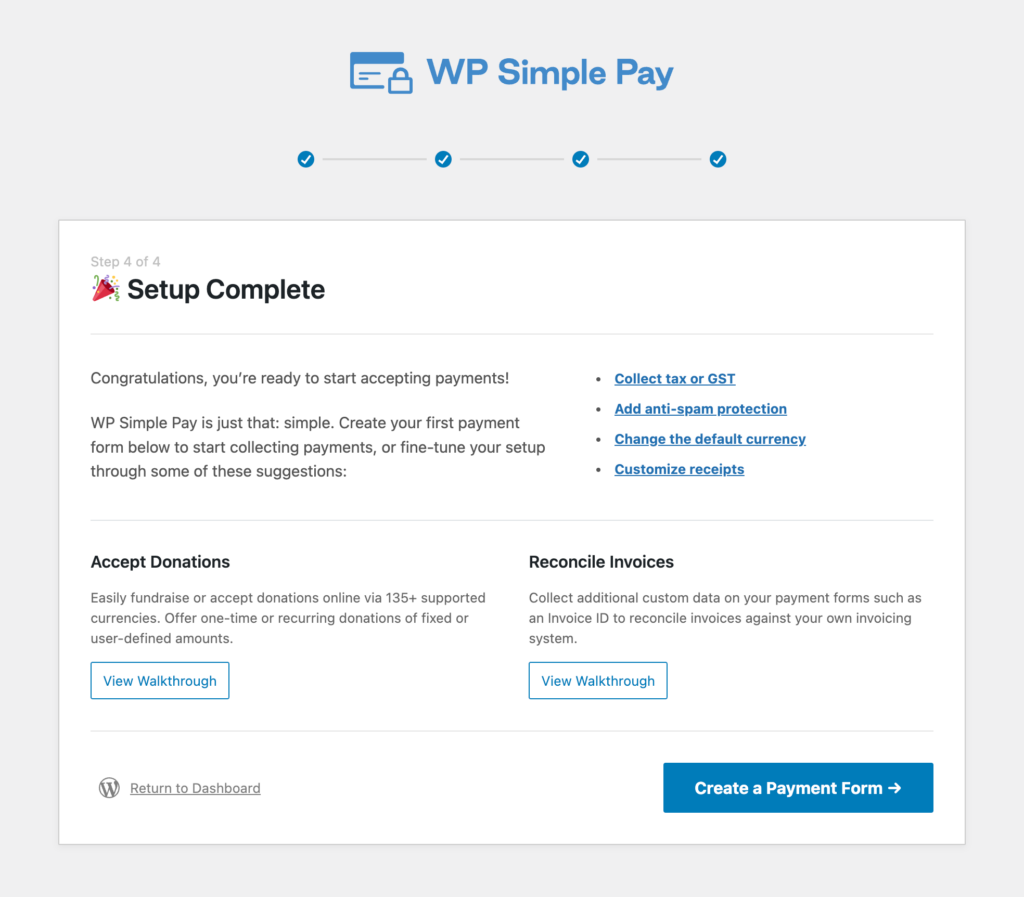
Once you’ve installed and activated the plugin, its advanced setup wizard will walk you through setting up your account and connecting your Stripe account. After you’ve successfully completed the setup process, a success page will appear.
Go ahead and click on Create a Payment Form.
You’ll notice there are tons of pre-built templates for you to select from. Once you’ve selected yours, you can use the drag-and-drop form builder to create an optimized checkout form for one-time and subscription payments.
The plugin makes it easy to add the form to your website or a blog post.
To learn more, see our full guide on how to add a payment form to a page in WordPress without code.
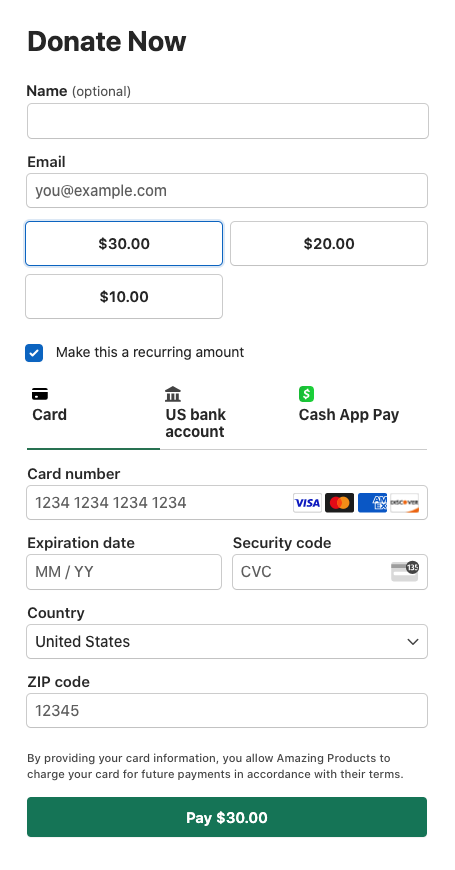
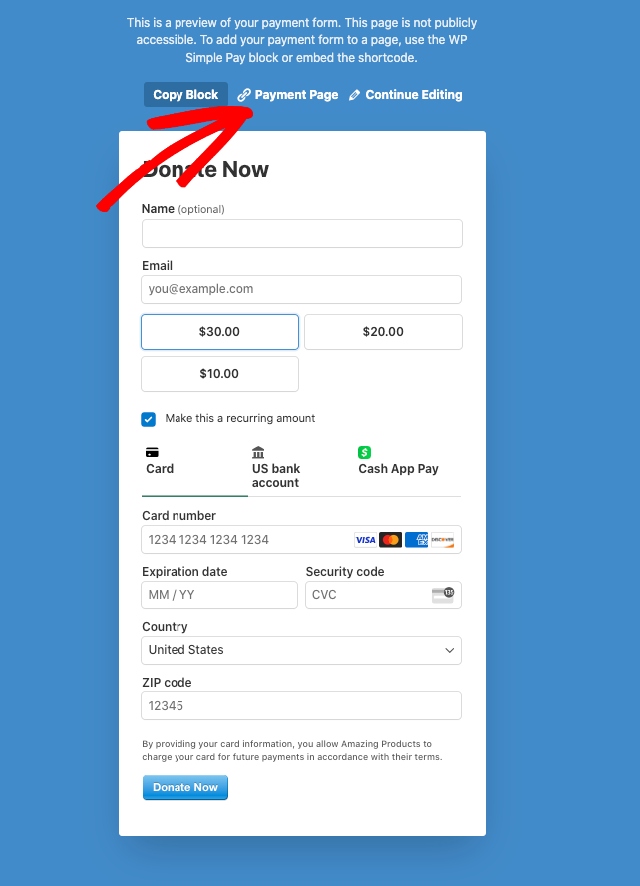
Once you’ve created your form, it should look something like this when you preview it:
Step 2: Design Your Payment Page
Once you’ve finished creating your payment form, click on the Payment Page tab. Then, check the box to enable a dedicated payment page.
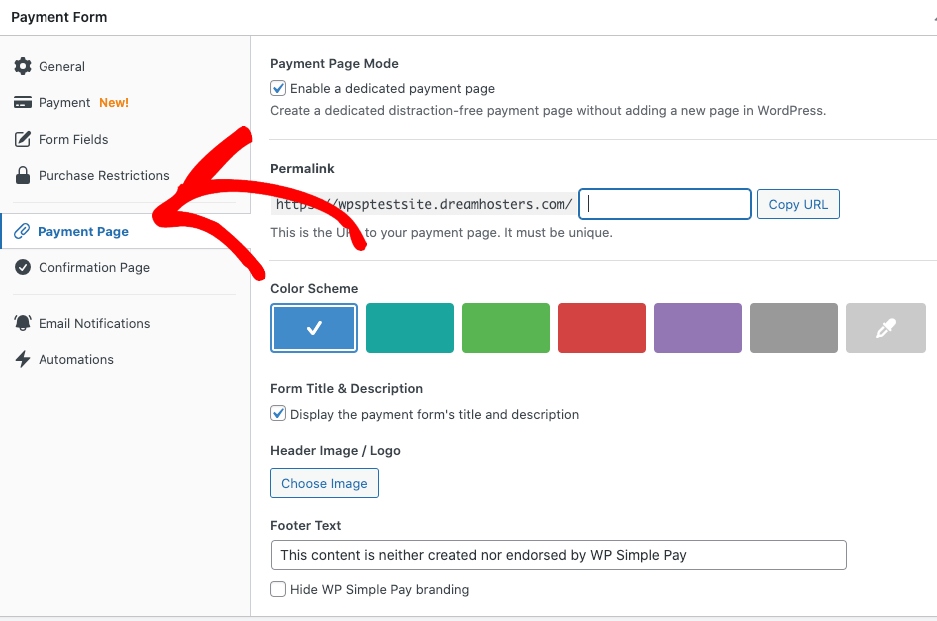
Pick colors that match your website. I like to use the eyedropper tool to get exact matches.
- Set your main button color ( Form Fields → Checkout Button → Payment Button Style)
- Enter your main button text (ie. Donate Now) ( Form Fields → Checkout Button → Complete Payment Text)
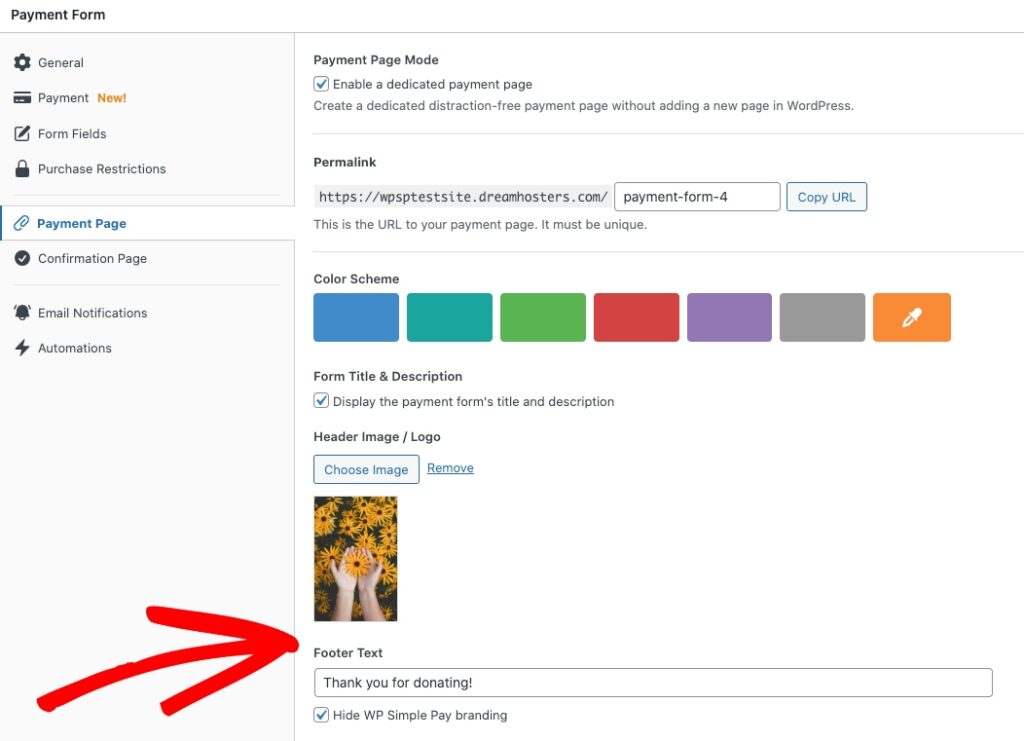
- Choose your form background color
- Add a customized message to your form
- Search for a stock image or upload your own
Step 3: Preview Your Payment Page
Once you’ve got your payment page design where you want it, you can use the plugin to preview it.
Simply go to the Publish section and click on the Preview button.
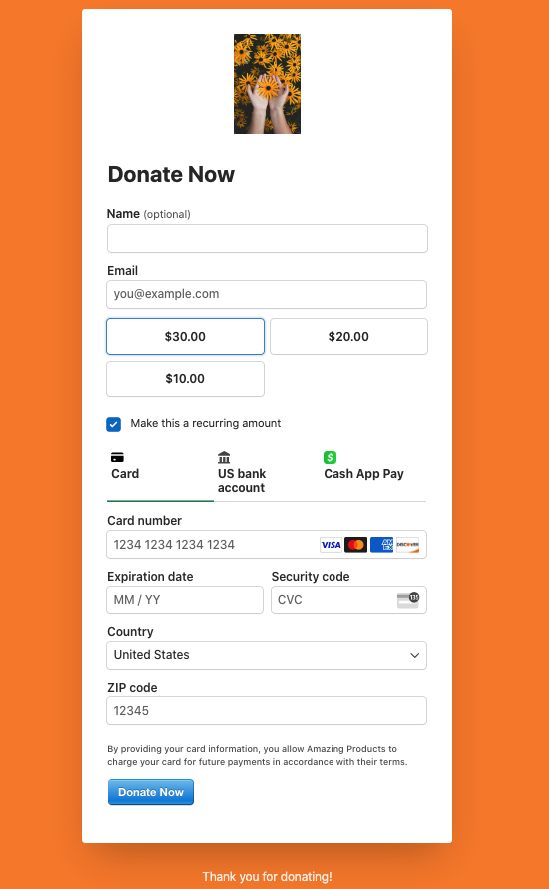
At first, the payment form you created will appear, where you’ll need to click on the Payment Page link.
The page you designed will be displayed. You’ll also notice that you can increase subscription signups using the automatic opt-in checkbox.
Branded Checkout Page FAQs
We’ve created a branded payment page for your WordPress website. Now, let’s answer some of the most common questions asked about branded payment pages.
Do branded checkouts really increase sales?
Yes! The overall checkout experience is improved and customers feel more safe checking out on a branded payment page.
How long does it take to set up a branded payment page in WordPress?
If you’re using WP Simple Pay to create payment forms for your WordPress website, creating a branded payment page takes a few minutes thanks to its advanced form builder that doesn’t require coding.
Can I use different designs on different payment forms?
Yes! You can create distraction free payment pages for each one of your payment forms easily using WP Simple Pay. Simply design it from the Payment Page tab in the form builder.
Many of our users create special forms for their products, events, or services. You might want a blue theme for your course payments and a green theme for your membership signups. Each form can have its own style while keeping your brand basics like your logo.
What if I update my brand color later?
Changing your brand colors takes just a few clicks. You can access your forms from the WordPress admin dashboard, pick your new colors, and save. Your changes show up right away. You can update your forms any time.
There you have it!
I hope this article has helped you learn how to create a branded payment page in WordPress.
If you liked this article, you might also want to check out our guide on how to monetize your WordPress blog.
What are you waiting for? Get started with WP Simple Pay today!
To read more articles like this, follow us on X.
Disclosure: Our content is reader-supported. This means if you click on some of our links, then we may earn a commission. We only recommend products that we believe will add value to our readers.


Leave a Reply