How to Add Cloudflare Turnstile to Stripe Forms in WordPress
Last updated on
Are your Stripe payment forms protected from fraudulent payments?
Enabling Cloudflare Turnstile on your Stripe forms is one of the best ways to protect your business from fraudulent payments.
In this article, we’ll show you how to enable Cloudflare Turnstile in WordPress, step by step.
Enable Cloudflare Turnstile on Payment Forms
Turnstile is a free CAPTCHA alternative provided by Cloudflare, a popular content delivery network service. Turnstile helps you stop fraudulent payments without bothering your visitors or having you worry about data privacy.
The best part is that it works even if you’re NOT a Cloudflare customer or sending traffic through the Cloudflare global network.
The easiest way to enable Turnstrile on your Stripe payment forms is with WP Simple Pay.
WP Simple Pay is the #1 Stripe payment plugin for WordPress. It now supports 3 different CAPTCHA services to protect your business from fraudulent payments.
- Google reCAPTCHA: It works invisibly on your website so you can fight spam bots without ever bothering your legitimate customers.
- hCaptcha: One of the best choices for users who want an anti-bot solution that protects users’ privacy.
- Cloudflare Turnstile: One of the best reCAPTCHA alternatives that focus on user privacy. Turnstile offers multiple CAPTCHA types: Managed, Non-interactive, and Invisible.
Step 1: Install WP Simple Pay on Your Site
To add Cloudflare Turnstile to your Stripe payment forms, you’ll need to install and activate WP Simple Pay on your site.
Remove the additional 3% fee!
Most Stripe plugins charge an additional 3% fee for EVERY transaction
…not WP Simple Pay Pro!
Just go to the pricing page, pick a plan, and create a WP Simple Pay account. Then download the plugin from your account and install it on your site by uploading it.
For a detailed guide, check out how to install WP Simple Pay.
After activating the plugin, go ahead and connect your Stripe account to your site by following the prompts in our setup wizard.
After successfully connecting your Stripe account, you’ll see a success message that says Setup complete.
Now you can protect your website from fraudulent payments by integrating your form into Cloudflare Turnstile.
Step 2: Sign Up for Cloudflare Turnstile
Next up, let’s connect WP Simple Pay with Turnstile.
To connect, navigate to WP Simple Pay » Settings and then under the General tab, click on Anti-Spam. Then, choose Cloudflare Turnstile and click on Sign Up for Cloudflare Turnstile (Free).

You’ll be prompted to register your site with Turnstile to enable the CAPTCHA.
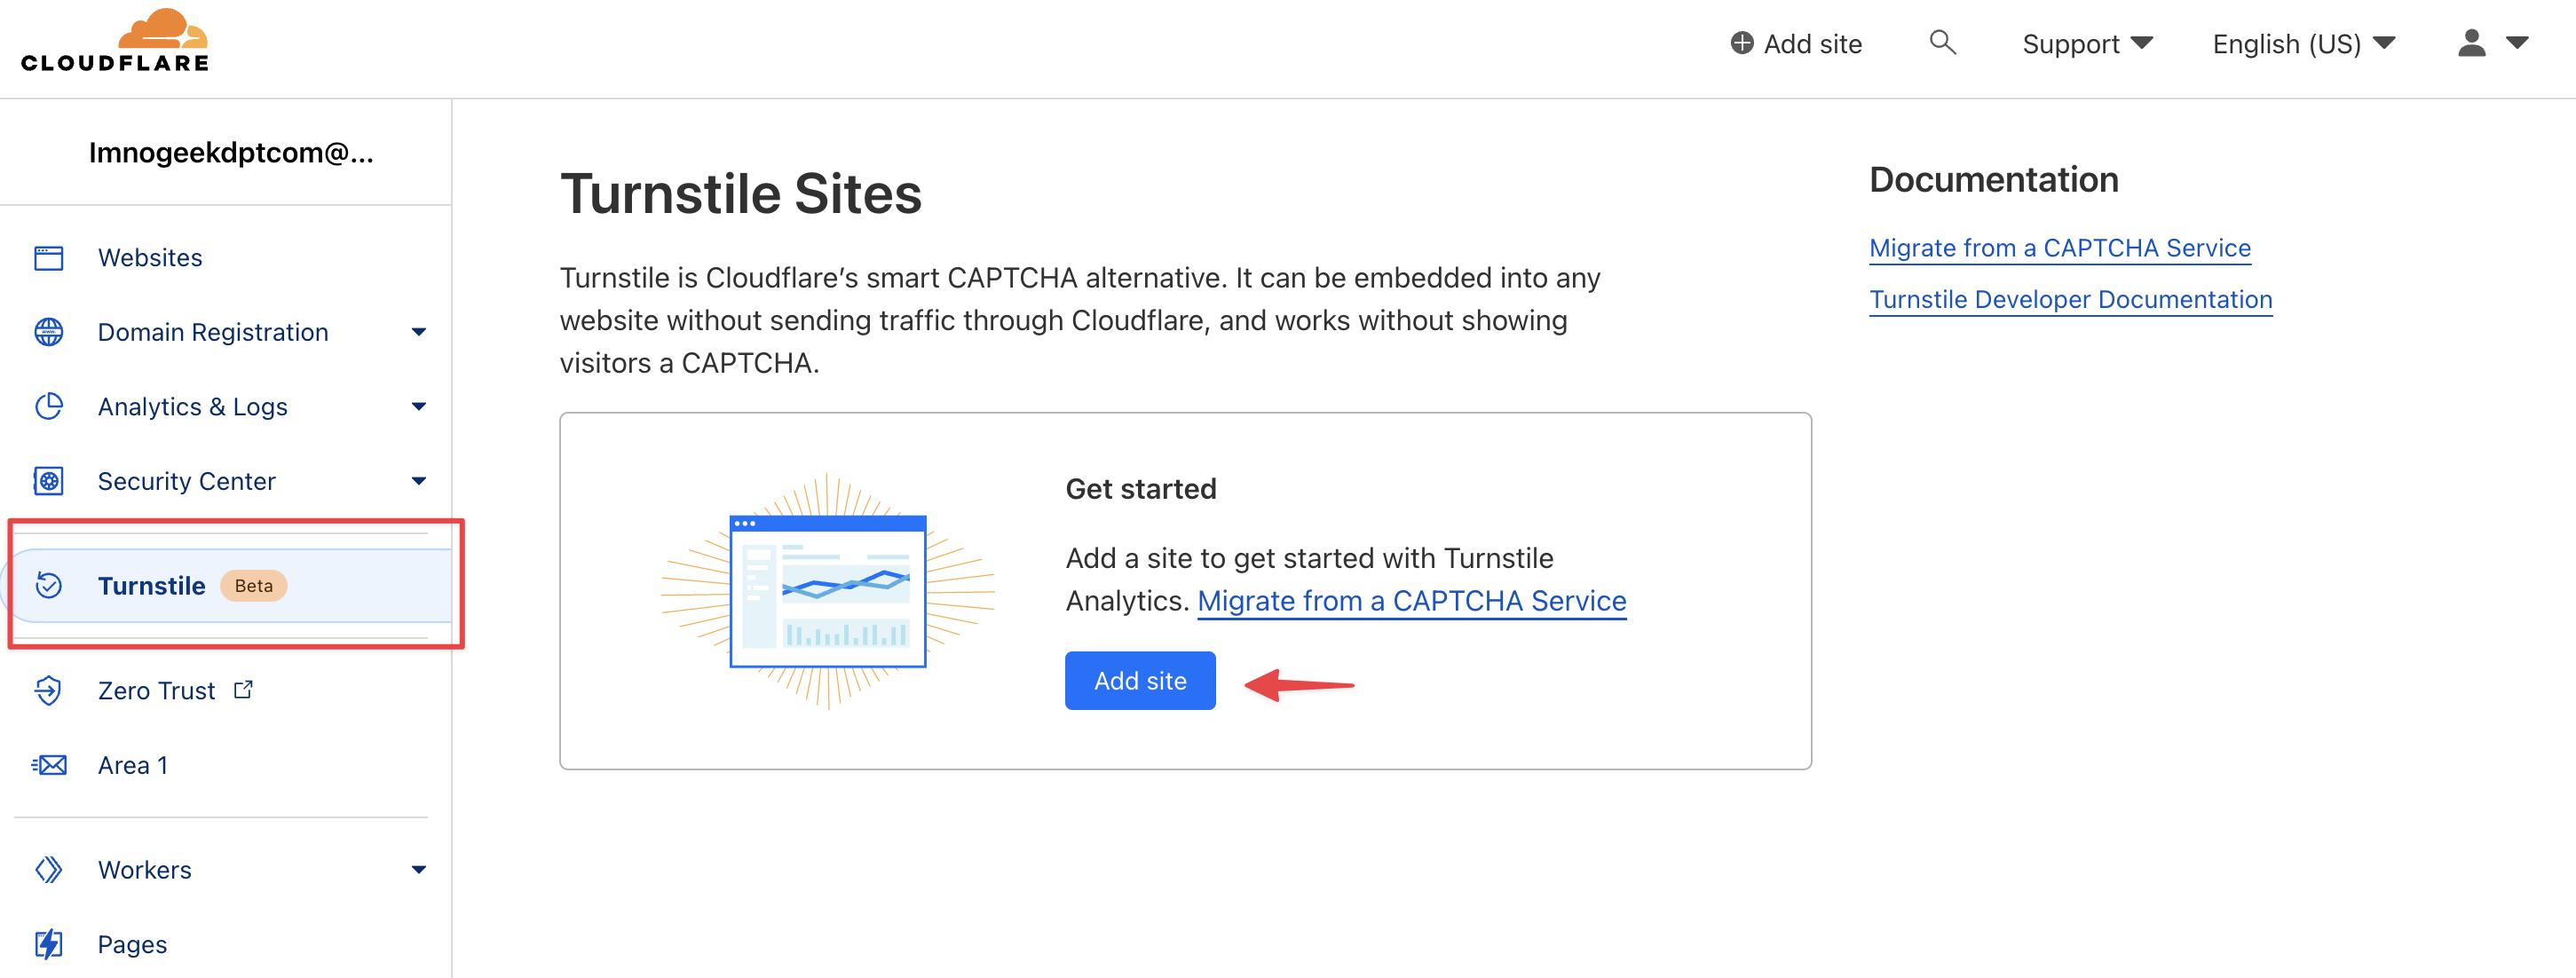
On the Cloudflare Turnstile site, you can create an account and then add your site to Turnstile.

Now specify the Site name, Domain and Widget Type, and then click the Create button.
Next, copy your Site Key and Secret Key from the Turnstile settings page and paste them on your Anti-spam settings on your WordPress dashboard. Then click the Save Changes button.
Step 3: Create a Payment Form on Your Site
Next up, let’s create a payment form on your site and start accepting payments. If the above steps are followed correctly, you’ll see Turnstile’s challenge on your Stripe payment forms.

If you haven’t created a payment form yet, go ahead and create a payment form by following this guide: how to create a Stripe payment form on your site.
There you have it!
We hope this article helped you learn how to add Cloudflare Turnstile to your Stripe payment forms in WordPress.
If you liked this article, you might also want to check out how to enable Google reCAPTCHA on your site.
What are you waiting for? Get started with WP Simple Pay today!
To read more articles like this, follow us on X.
Disclosure: Our content is reader-supported. This means if you click on some of our links, then we may earn a commission. We only recommend products that we believe will add value to our readers.


Leave a Reply