How to Use Social Proof to Maximize Black Friday Sales Success
Last updated on
Do you want to use social proof to maximize Black Friday sales?
Social proof can significantly improve conversion rates by letting potential customers know they can feel safe purchasing from you.
While there are several different ways to achieve effective social proof on your site, we’ll be showing you how to add a notification popup in WordPress to help you boost sales on Black Friday.
How Does Social Proof Help Boost Sales?
We’ve all seen them: the little notifications at the bottom of a web page that let us know someone has just purchased the very same product we were browsing. Often, they even reveal the buyer’s location.
There is no doubt that this raises a certain level of FOMO. This is because social proof is a psychological theory that states people make the decision to buy once they’ve seen that someone else has.
You can use social proof notifications to build trust in your products and motivate customers to make purchases. We mentioned before that there are a ton of different ways you can implement them on your site, depending on what you’re trying to motivate visitors to do.
Using Social Proof Notifications on Black Friday
The best way to add a social proof popup to your site is to use a a social proof notification plugin for WordPress.
For the purpose of this tutorial, we’ll use TrustPulse to implement a notification popup campaign on your site for your Black Friday sale. We’ve chosen this particular tool because it lets you easily add social proof notifications, including recent activity, on-fire, visitor count, and action messages to your site without coding.
The plugin also enables you to display real-time user activity and static messages to ensure that your nofitication messages are new and relevant. You can also choose what activity you want to track and where you want your popups displayed on your site.
Let’s go ahead and create a popup notification campaign you can use for your Black Friday sale. Feel free to customize it to meet your needs.
Step 1: Create a TrustPulse Account
The first thing you’ll need to do to create a recent sale notification for your site is to add TrustPulse to your WordPress site.
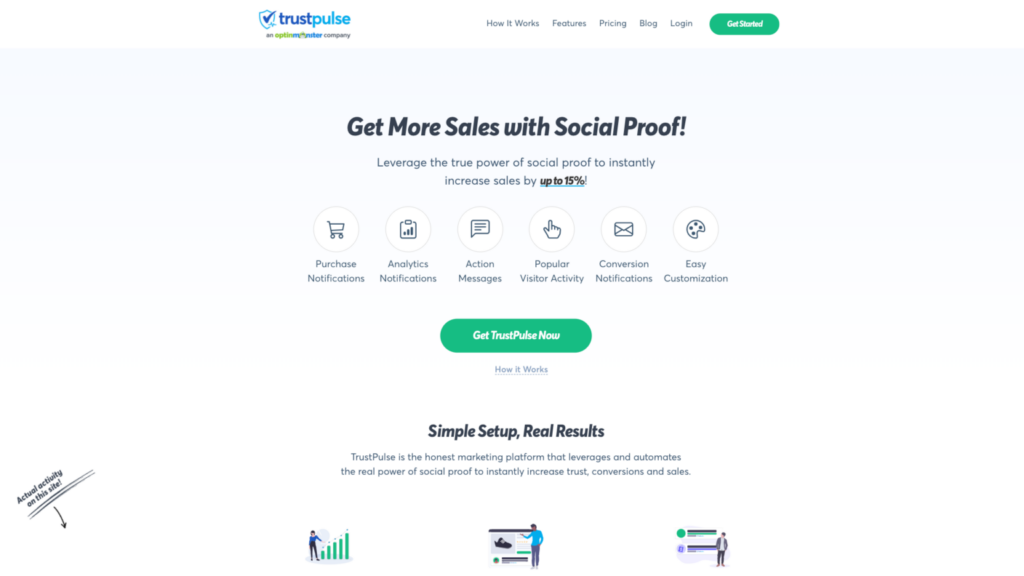
Go to the TrustPulse homepage and click on the Get Started button. Then, choose the best plan to meet your specific needs and finish the signup process.
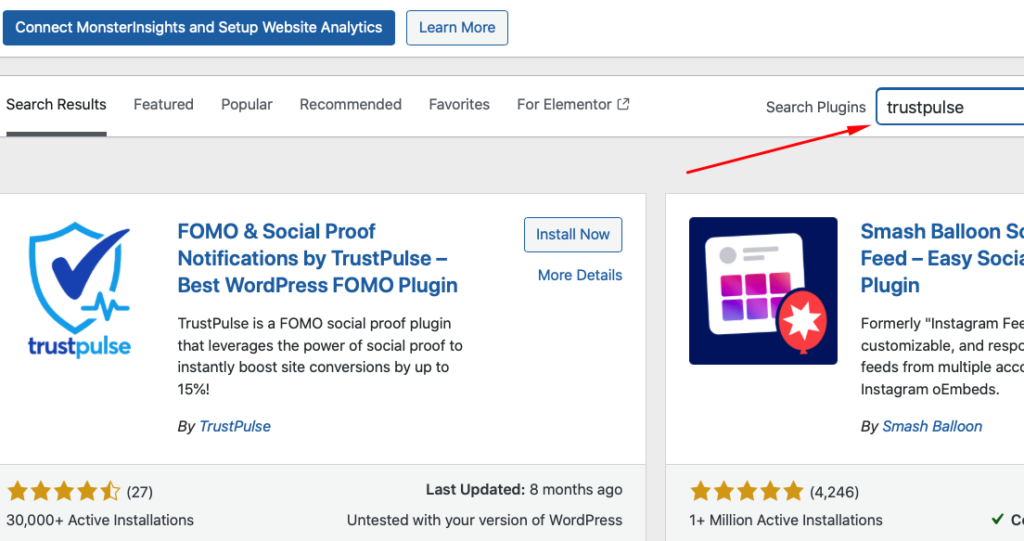
Next, log in to your WordPress dashboard and navigate to Plugins » Add New. Then, enter TrustPulse in the search bar and install and activate it.
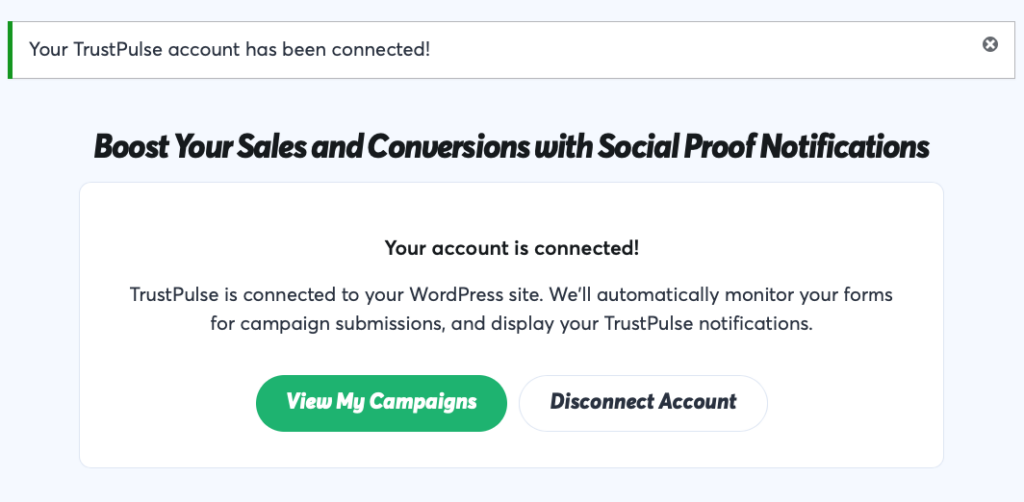
When you’ve finished activating the plugin, go to the TrustPulse tab in your WordPress admin dashboard to connect the account you just created.

Once you click on Connect Your Existing Account, you’ll be prompted to log in to your TrustPulse account.
Then, you’ll see a message letting you know that you’ve successfully connect your account.
Step 2: Create a New Campaign
To create a new social proof notification campaign, first click on View My Campaigns.
Then, click on Create Campaign.
You should now see a new page with a menu at the top that allows you to create your campaign step by step.
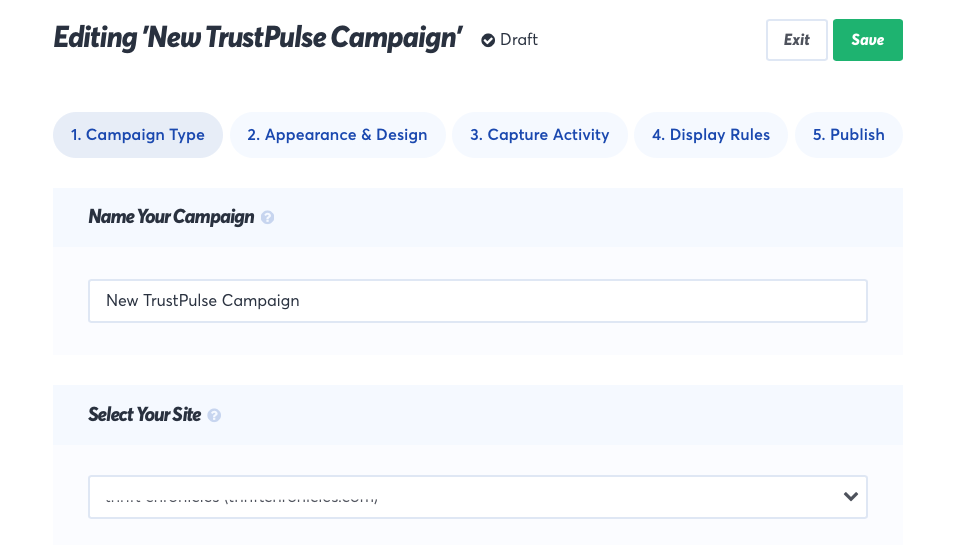
Go ahead and add a name to your campaign and ensure that your site is selected from the dropdown menu.
Then, scroll down until you see the four options you have for campaign types.
For this tutorial, let’s go ahead and choose Recent Activity.
You should now be in the Design & Apperance tab.
You’ll notice how easy the plugin makes it to customize your notifications. While it will automatically try to fetch the user’s name, a default title should be entered in case it isn’t able to.
You can also customize the style of the notification popup, including the message text, images, position, etc.

As you edit your notification, you can reference a live preview on the bottom left corner of the page.

Go ahead and click on Save and move on to the Capture Activity tab. Here is where you can choose what kind of activity you want to capture.
Go ahead and select AutoMagic, which will automatically trak activity from forms and clicks.
Be sure to choose to track activity on any page. You can always change this setting in the future. For Notification Settings, you can configure the timed delay, display duration, etc.

Step 3: Launch Your Social Proof Campaign
Now that you’ve created your social proof popup campaign, it’s time to launch it on your site!
Simply go to the Publish tab. Then, click on Launch your TrustPulse campaign.
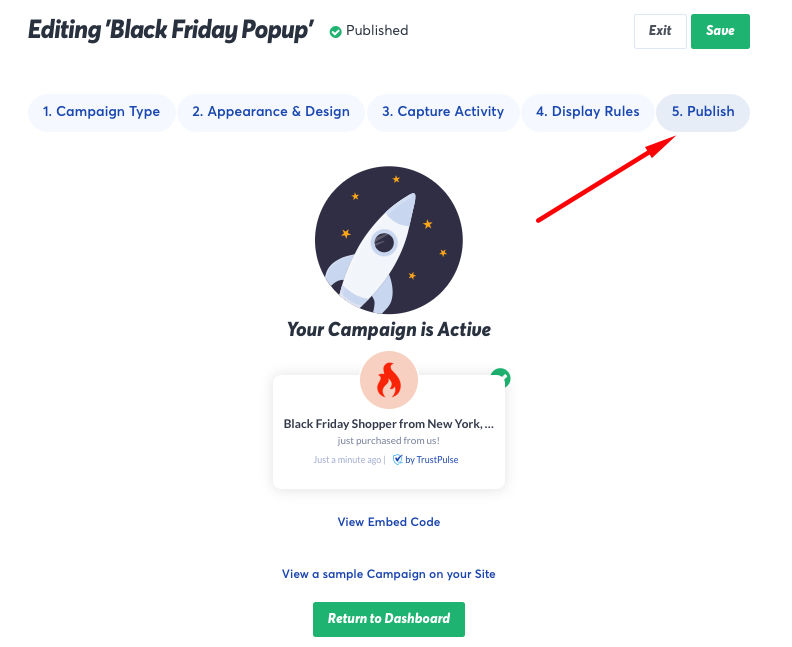
After you click on Launch your TrustPulse Campaign, a success message will appear letting you know that your campaign is now live on your site.
One of the best parts about TrustPulse is that you can have multiple sites and manage your campaigns all in one place.
You can also use it to create social proof notifications to encourage visitors to signup for your eNewsletters, make purchases, register for your event, and so much more.
If you liked this article, you might also want to check out our guide on how to create recent sale notification popups in WordPress.
What are you waiting for? Get started with WP Simple Pay today!
To read more articles like this, follow us on X.
Disclosure: Our content is reader-supported. This means if you click on some of our links, then we may earn a commission. We only recommend products that we believe will add value to our readers.


Leave a Reply