
[New] Introducing the Setup Wizard and Payment Form Block
Last updated on

At WP Simple Pay, we’re constantly improving our plugins to give you a better user experience.
If you’re just getting started with WP Simple Pay or adding additional payment forms, it’s now even easier and faster to complete set up and start accepting payments on your WordPress site.
We’re excited to announce that as of now, after activating the WP Simple Pay plugin for the first time, a new wizard will launch that will guide you through the initial setup process step-by-step.
In addition, you can now add payment forms to pages by simply adding a payment form block instead of copying and pasting shortcodes.
Both the setup wizard and payment form block are intended to simplify the setup process, so they’re pretty self-explanatory. But we’ll go through them step-by-step so you know what to expect.
Walkthrough of the Setup Wizard
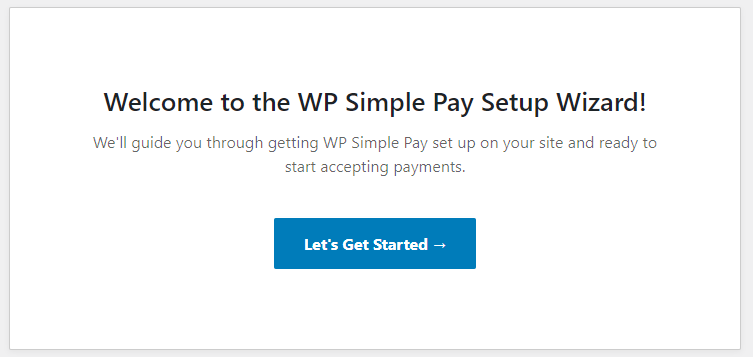
After you’ve installed and activated the WP Simple Pay plugin for the first time on your WordPress site, the new setup wizard should appear automatically.
If you’ve already installed and activated WP Simple Pay or the plugin was previously installed and removed from your site, the setup wizard will not appear automatically. However, you can still launch the setup wizard in your WordPress dashboard by visiting WP Simple Pay » Settings » General » Advanced and clicking Launch Setup Wizard. Although you can access all WP Simple Pay settings without the setup wizard, this allows you to go through it and double-check your settings using its step-by-step style.
Go ahead and click Let’s Get Started and let’s dive in…
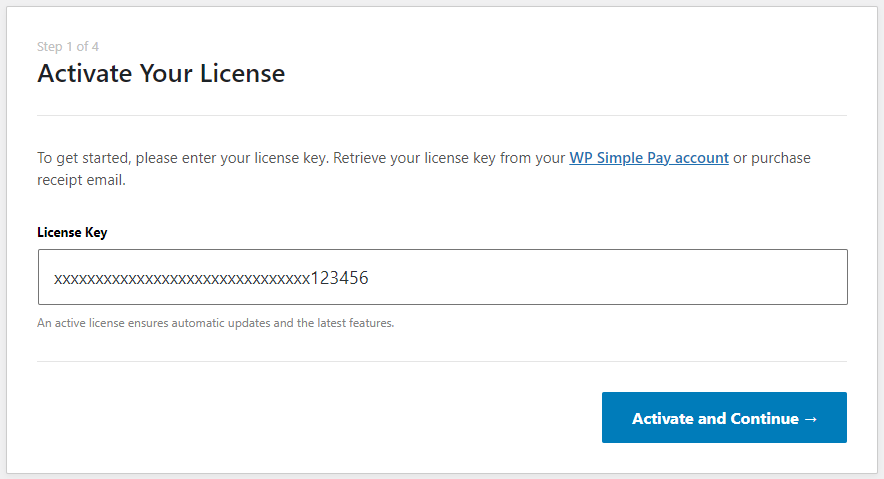
For Step 1, you’ll be prompted to enter your license key, which can be retrieved from your WP Simple Pay account or your purchase receipt email. Simply copy and paste it into the license key field, then click Activate and Continue. If you’re using the Lite version of WP Simple Pay, you’ll skip Step 1 as a license key is not required to run it.
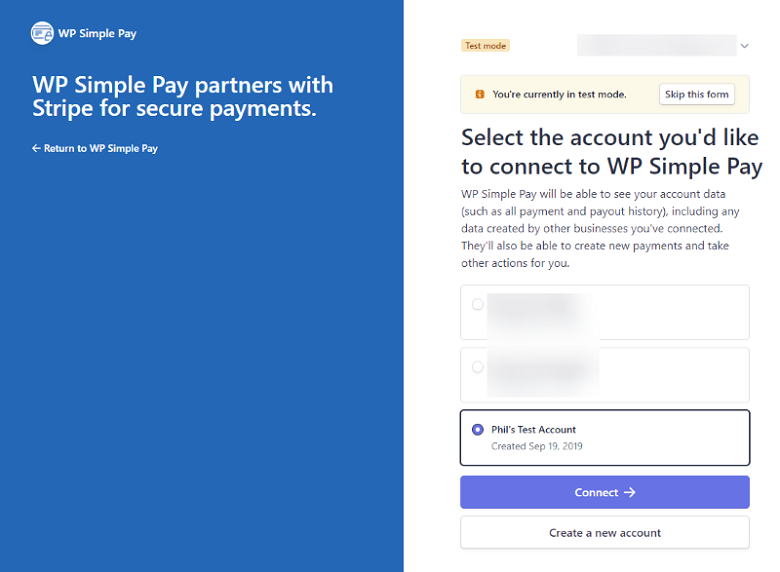
Step 2 is where you’ll need to connect WP Simple Pay to your Stripe account, whether it’s a new or existing one. If you don’t yet have a Stripe account, you’ll be prompted to create one during this step.
For those new to Stripe, they have some great getting started guides to get more details and view a screencast.
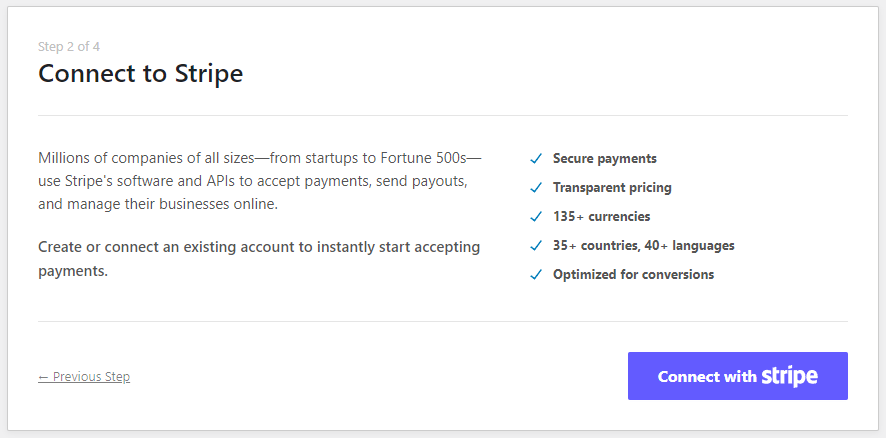
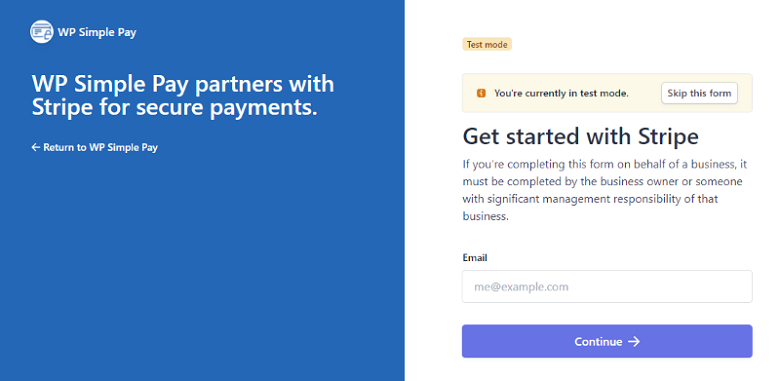
After clicking Connect with Stripe, you’ll be taken to one of the following authorization pages on stripe.com depending on if you’re logged into an existing Stripe account or not. Simply continue with connecting your Stripe account until you’re taken back to the setup wizard.
In Step 3, you’ll have the option to toggle on or off various email-related features in WP Simple Pay. These email features are not included in the Lite version of WP Simple Pay, but you can upgrade to Pro to start using them anytime.

From the final screen of the setup wizard, all that’s left is creating your first payment form! From here you can also view the various guides and walkthroughs available in our docs.

Introducing the Payment Form Block
You can now quickly add a WP Simple Pay payment form to a page by adding a payment form block instead of copying and pasting a shortcode into a shortcode block.
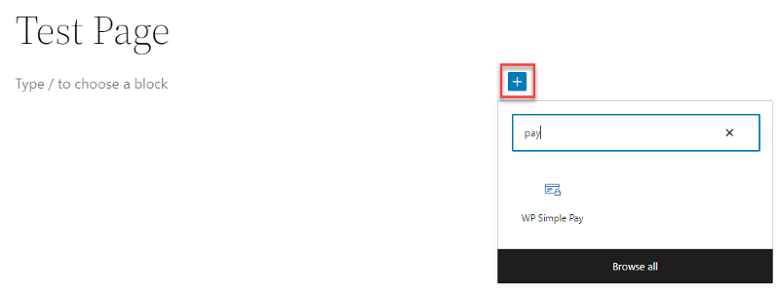
While editing a page, simply click the new block button (+) in the top left corner of the editor or on the right side of a block, then type “pay” in the search. You should see the “WP Simple Pay” payment form block, which you can click to add to the page.
Alternatively, you can type “/” to search, then type “pay” to search and add the block.
After the block is selected, you’ll need to select which payment form you want to add to the page from a dropdown.

Once you select a payment form, a visual representation of the form will be displayed.
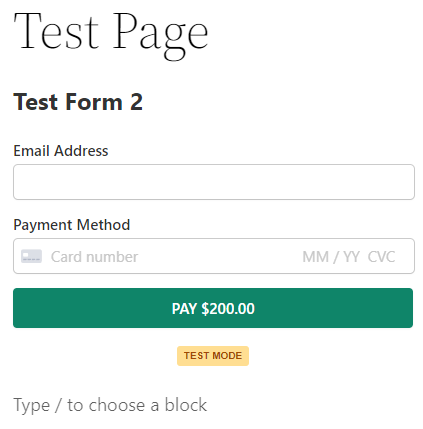
That’s it! Now you can continue editing the page as needed.
Try the New Update Today
Have any questions? You can reach our customer support team here and they’ll be happy to help you out.
We hope you find the new setup wizard and payment form block features easier and faster to configure and add payment forms to your WordPress site, especially if you’re new to WP Simple Pay.
If you’re not using WP Simple Pay Pro yet, just click here to get started today! It’s the best Stripe payments plugin available and we’re making it even better with each update. As always, a huge thank you for your continued support.
Disclosure: Our content is reader-supported. This means if you click on some of our links, then we may earn a commission. We only recommend products that we believe will add value to our readers.


Leave a Reply