
How to Take Your Payment Forms from Test Mode to Live Mode
In This Document
After you’ve gone through the Setup Wizard and created and tested your first form, you are ready to go live!
Connecting to Stripe In Live Mode
In the WP Simple Pay → Settings → Stripe → Account tab, you will need to set Payment Mode to Live Mode and then Save Changes.
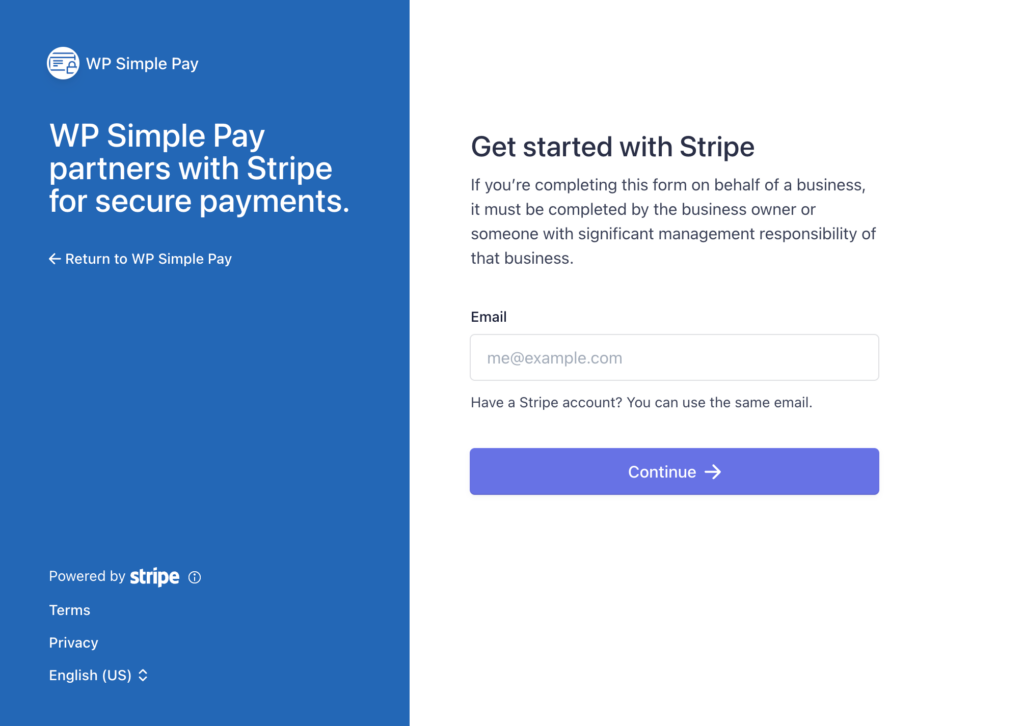
You will be presented with the screen below, and should click the Connect with Stripe button.

Now you will need to connect WP Simple Pay to Stripe like you did during your initial setup. This time, however, you will be connecting in Live Mode.
After a successful connection, you will be returned to WP Simple Pay and you should see in your Connection Status that “Your Stripe account is connected in live mode.”
Finally, we recommend visiting any pages on your site that contain live payment forms to make sure they’re functioning correctly.
Using Per Form Payment Mode Settings For Testing
Now that you are connected to Live Mode, you may be wondering how to test an individual payment form, while keeping the rest of your forms live and able to process real transactions.
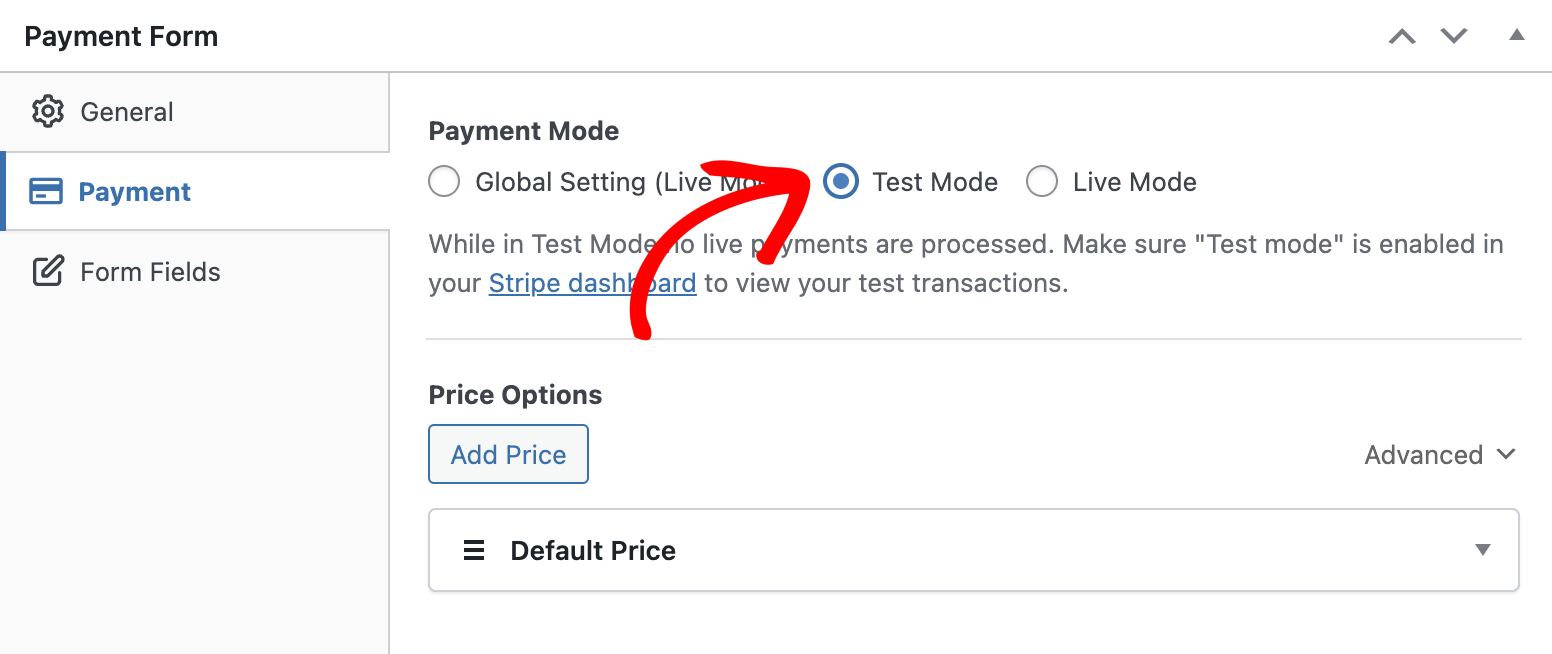
Each individual form can be assigned its own mode, making testing fast and convenient. You can find the Payment Mode setting in the Payment tab of the form builder.
With the global setting to Live Mode, you can quickly see which of your forms are in Test Mode by looking at the WP Simple Pay → Payment Forms listing
Still have questions? We’re here to help!
Last Modified: