How to Use the WP Simple Pay Setup Wizard
In This Document
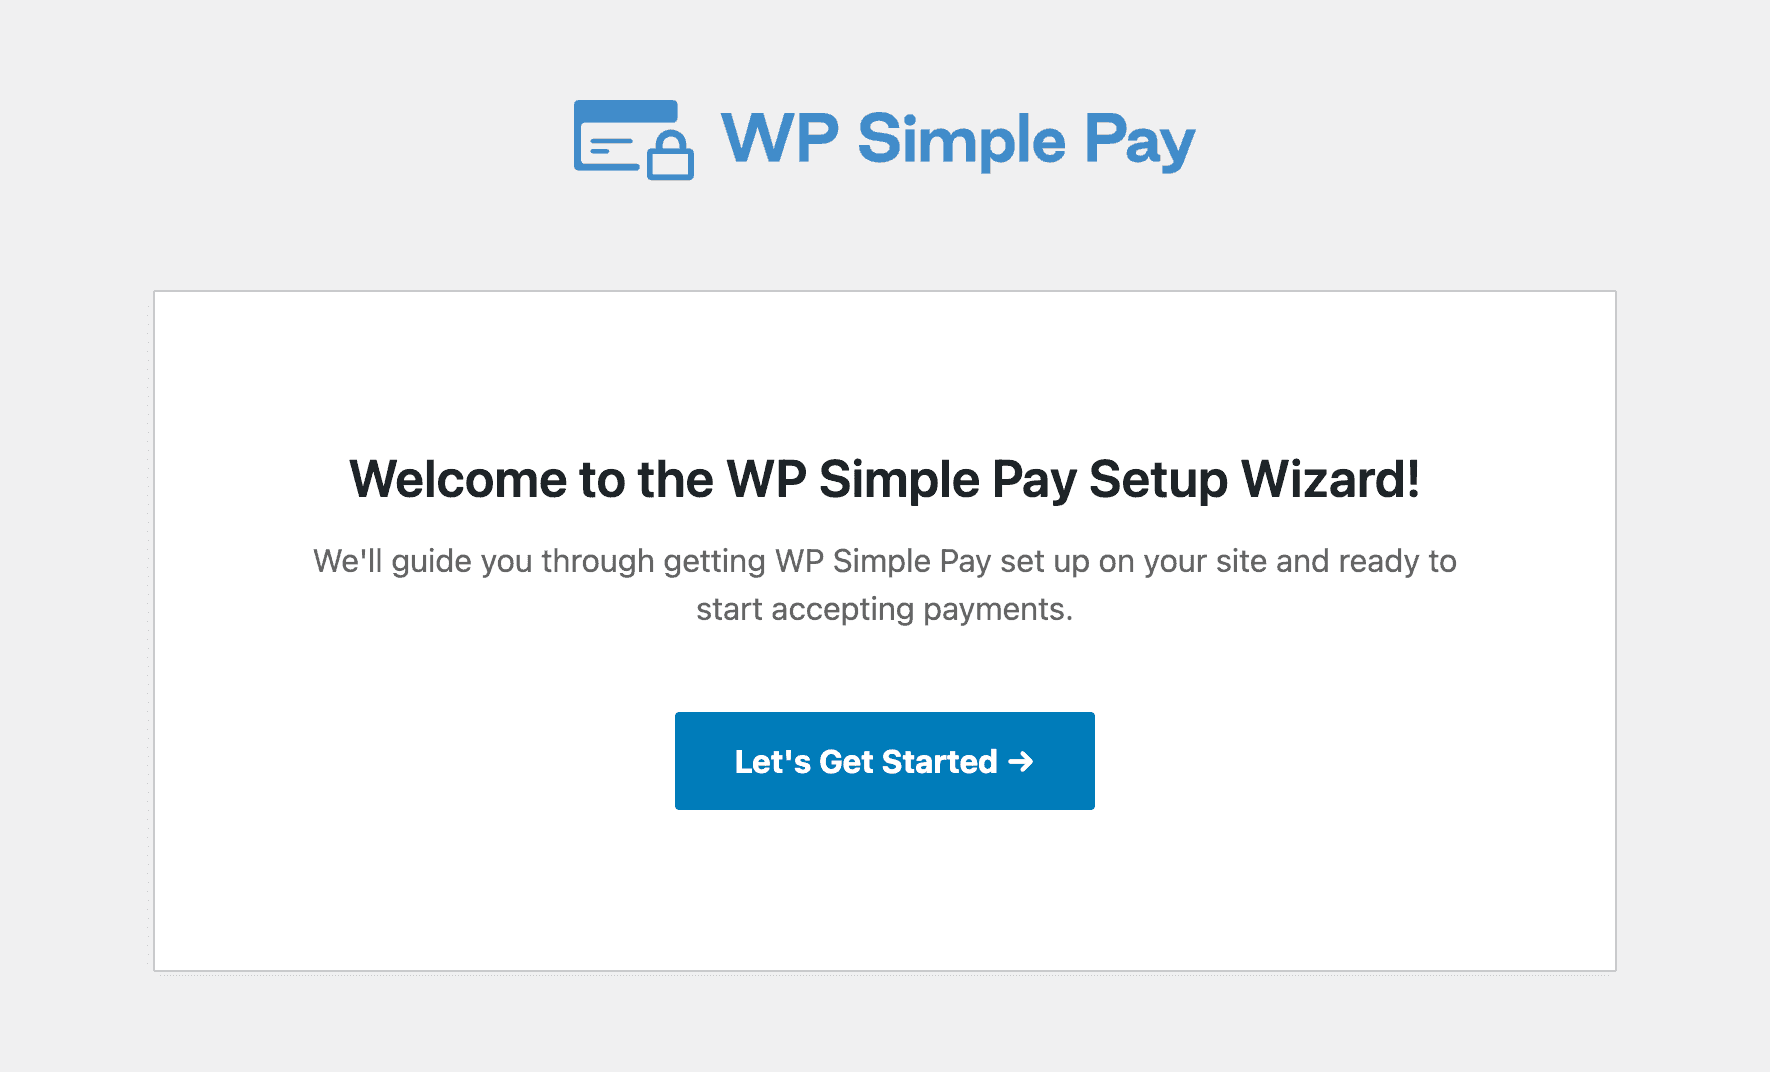
After you’ve installed and activated the WP Simple Pay plugin for the first time on your WordPress site, the new setup wizard should appear automatically.
Getting Started
If you’ve already installed and activated WP Simple Pay or the plugin was previously installed and removed from your site, the setup wizard will not appear automatically.
However, you can still launch the setup wizard in your WordPress dashboard by visiting WP Simple Pay → Settings → General → Advanced and clicking Launch Setup Wizard. Although you can access all WP Simple Pay settings without the setup wizard, this allows you to go through it and double-check your settings using its step-by-step style.
Go ahead and click Let’s Get Started.
Activate Your License
For Step 1, you’ll be prompted to enter your license key, which you can retrieve from your purchase receipt email or from the Licenses area of your WP Simple Pay account.
Copy and paste this value into the license key field, then click Activate and Continue.

Connect to Stripe
Step 2 is where you’ll need to connect WP Simple Pay to your Stripe account, whether new or existing. If you don’t yet have a Stripe account, you’ll be prompted to create one during this step.
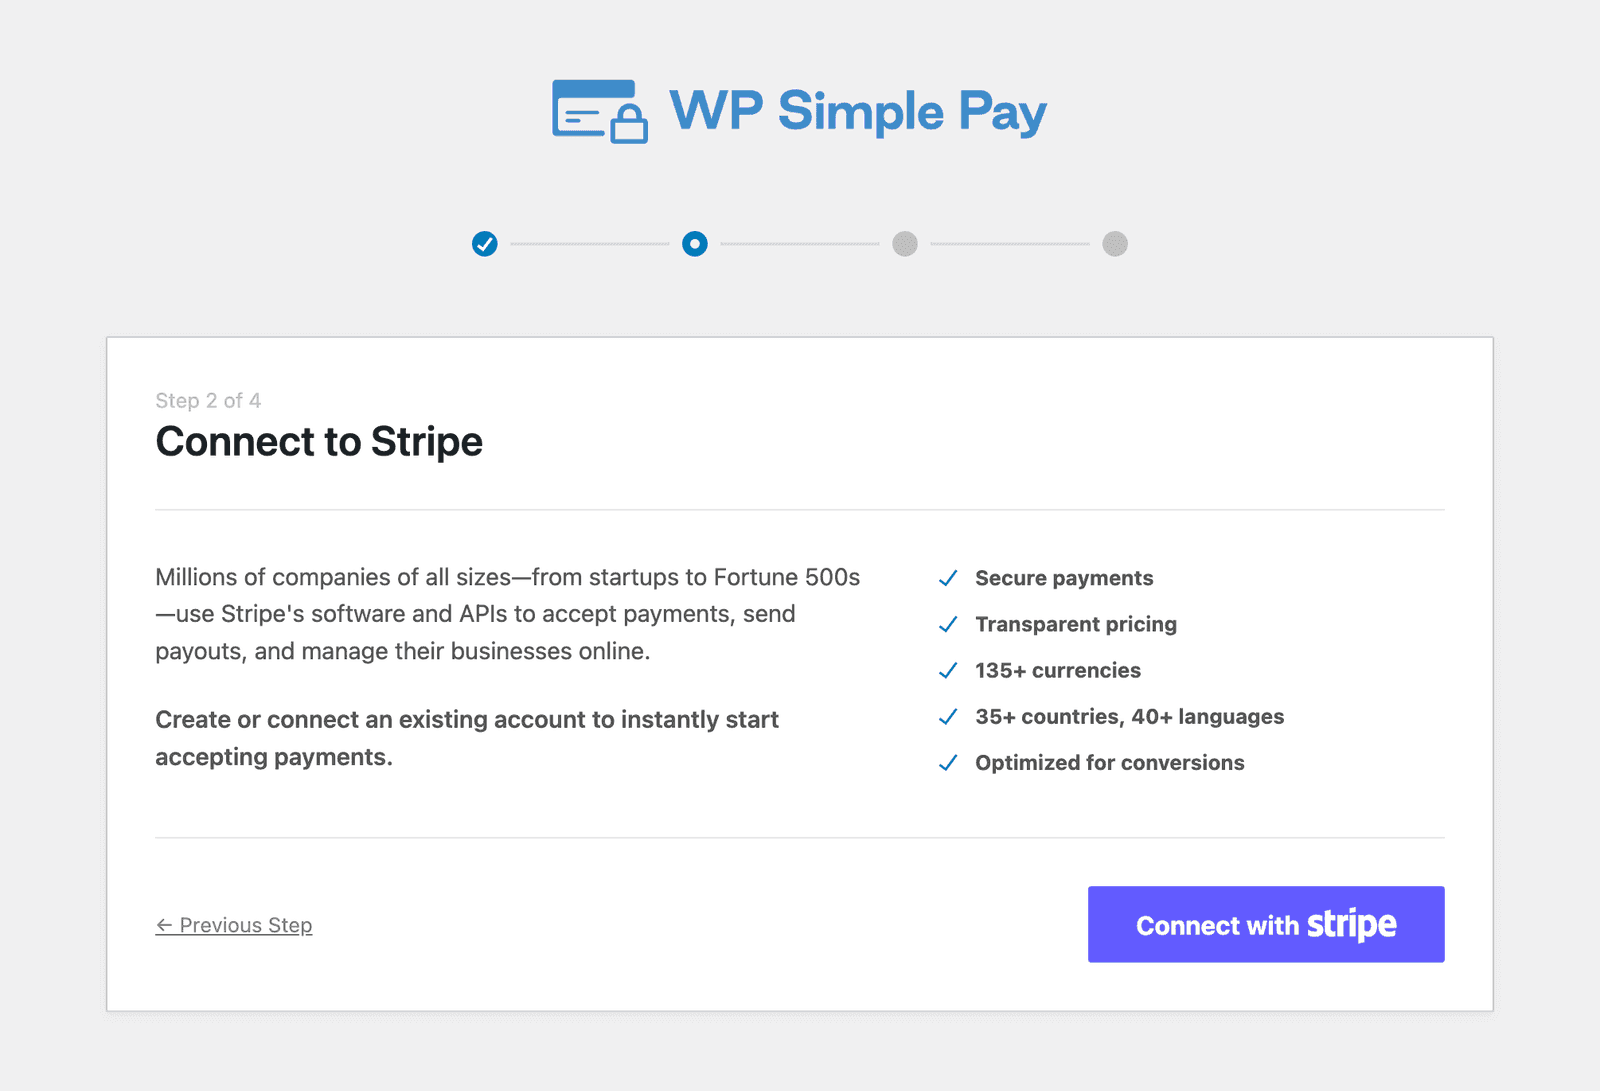
After clicking Connect with Stripe, you’ll be taken to the authorization page on stripe.com. Connect your Stripe account until you’re returned to the setup wizard.
At this point, you’ll be connecting to Stripe only in Test Mode. This is by design so you can create your first payment form and fully test it before publishing and taking live payments. We’ll walk you through going live in a later step. Read more about using Test Mode.
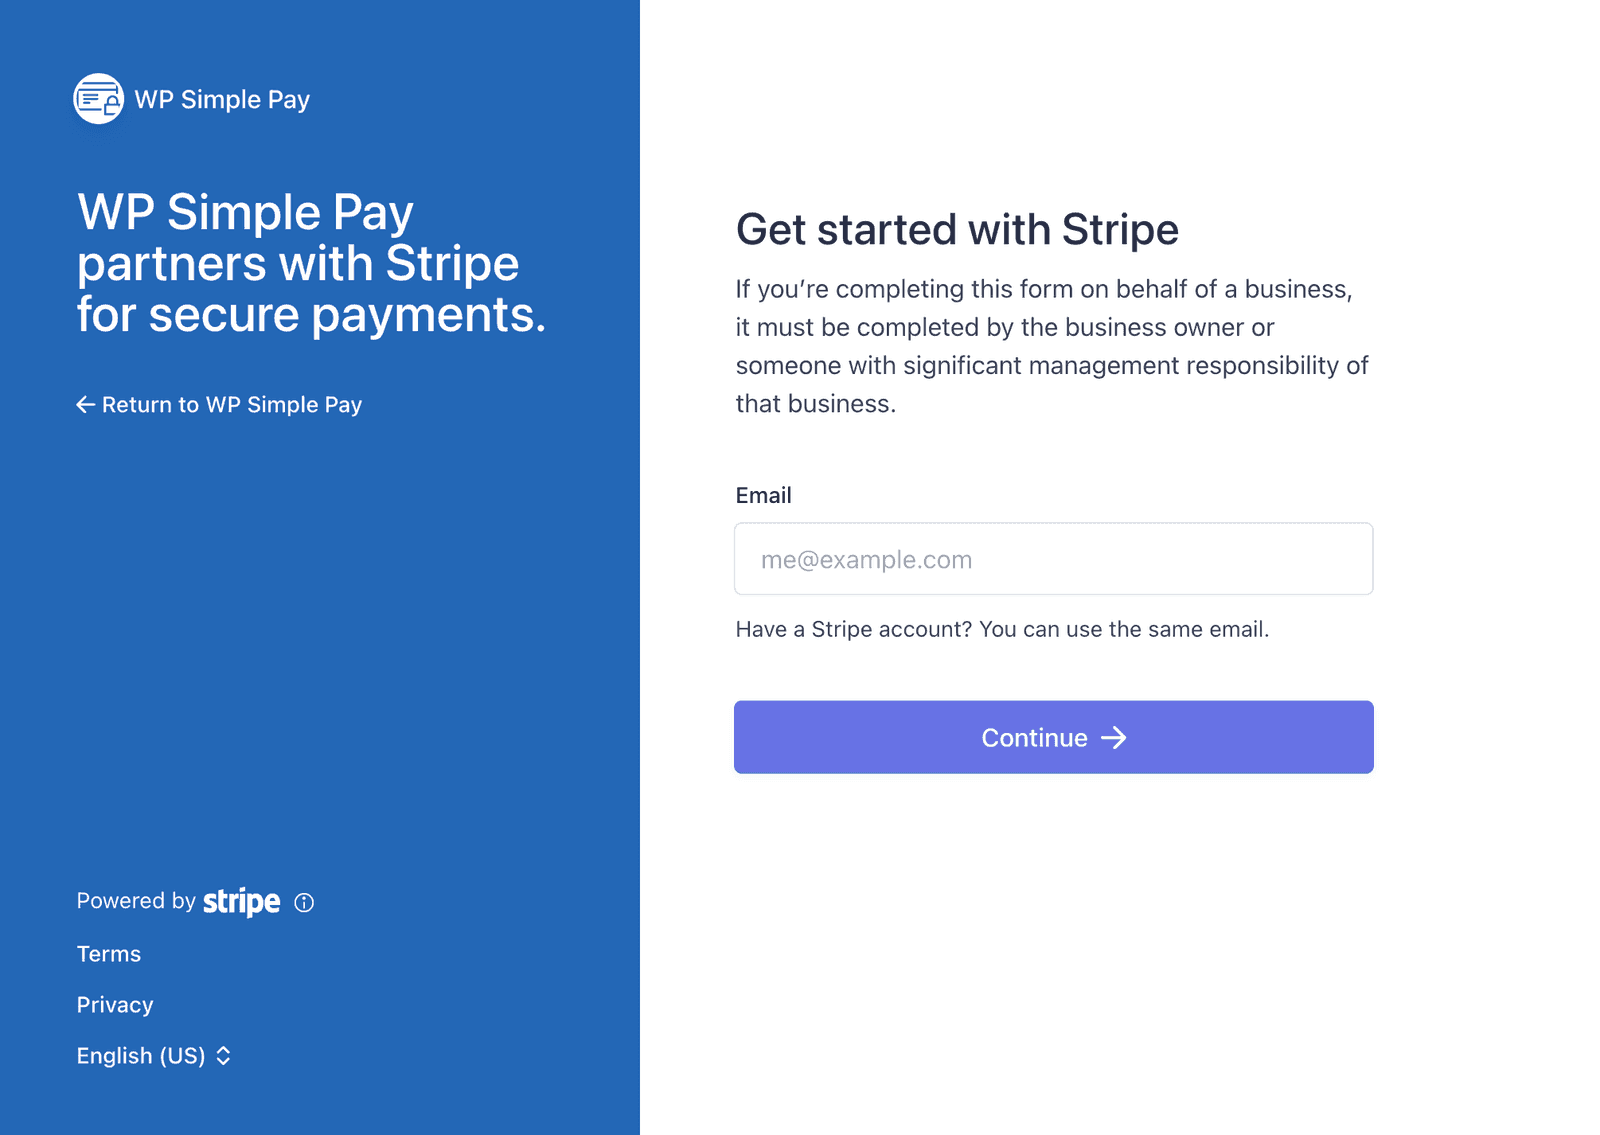
Not logged into Stripe
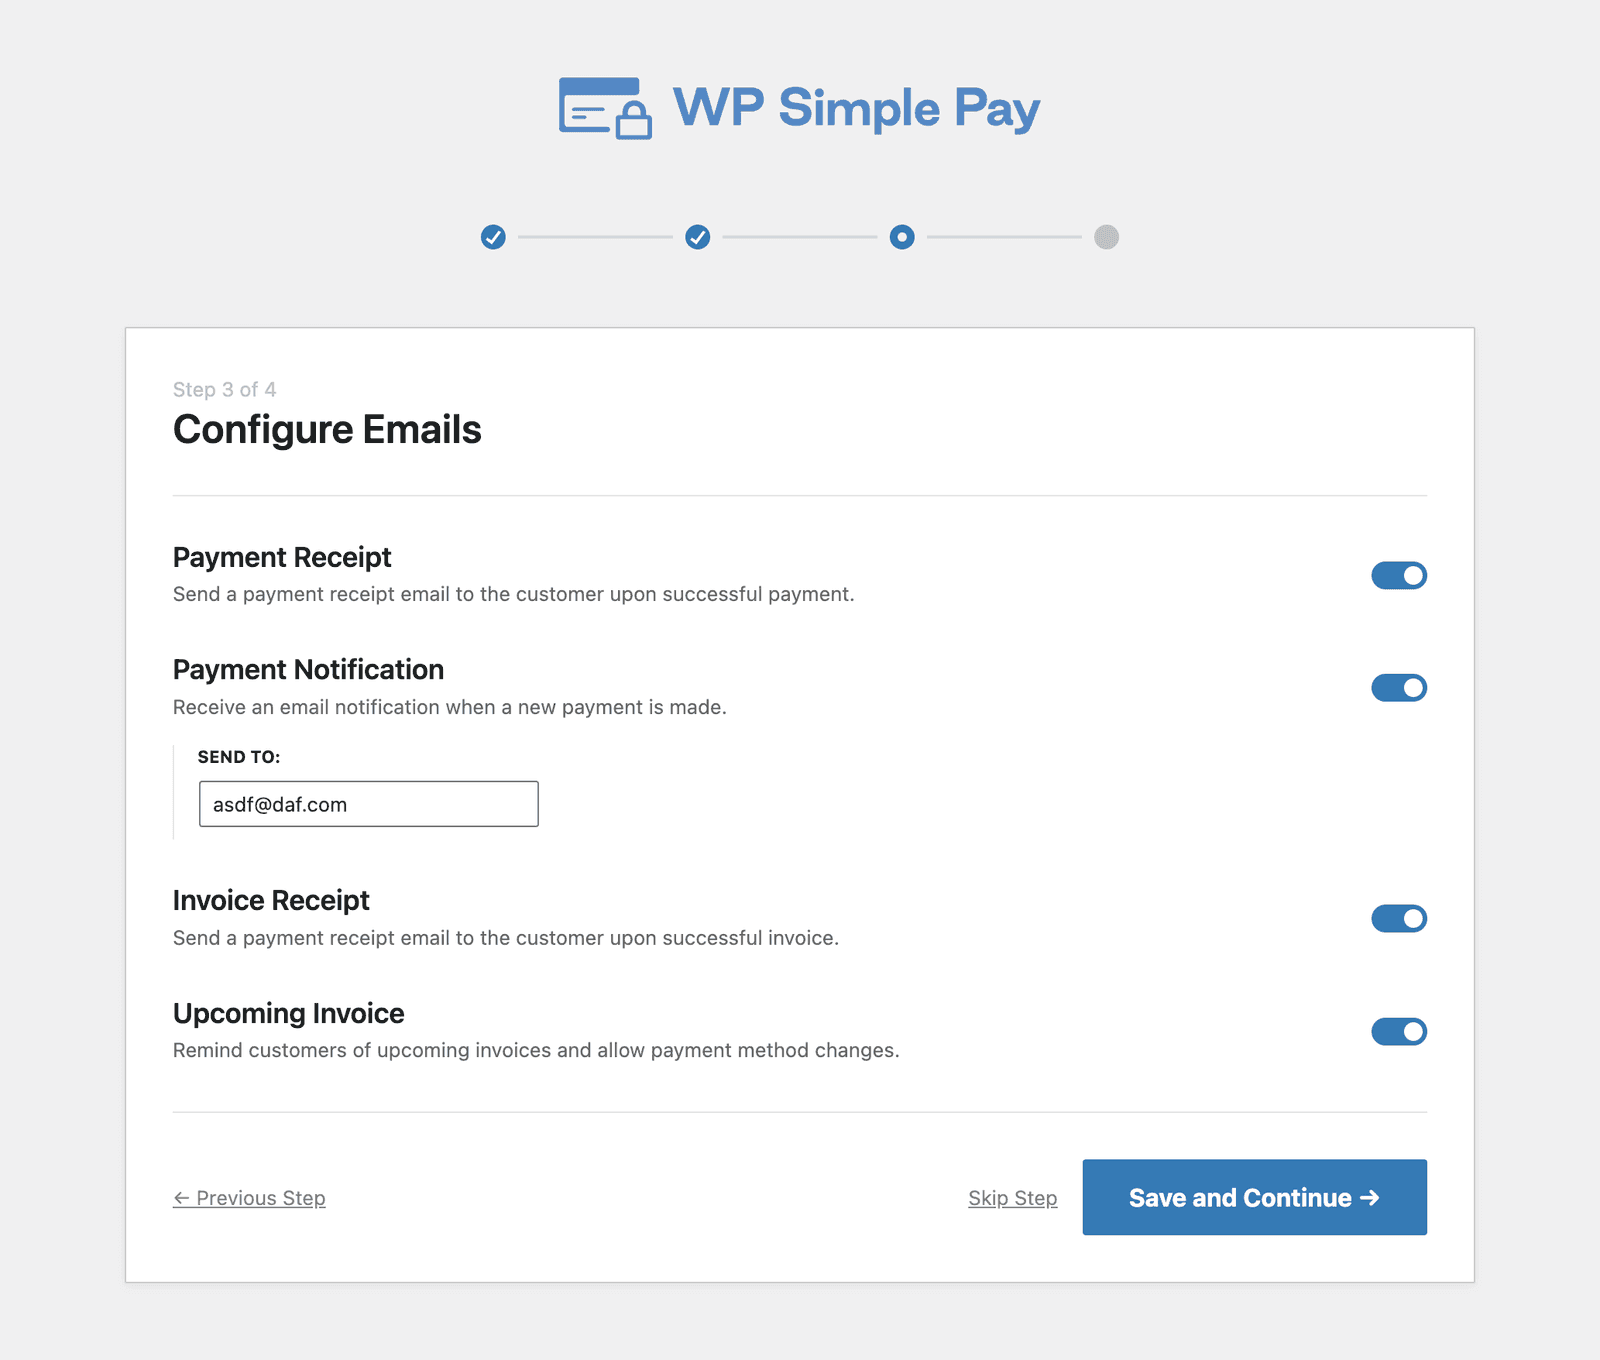
Configure Emails
In Step 3, you can toggle various email-related features in WP Simple Pay on or off.
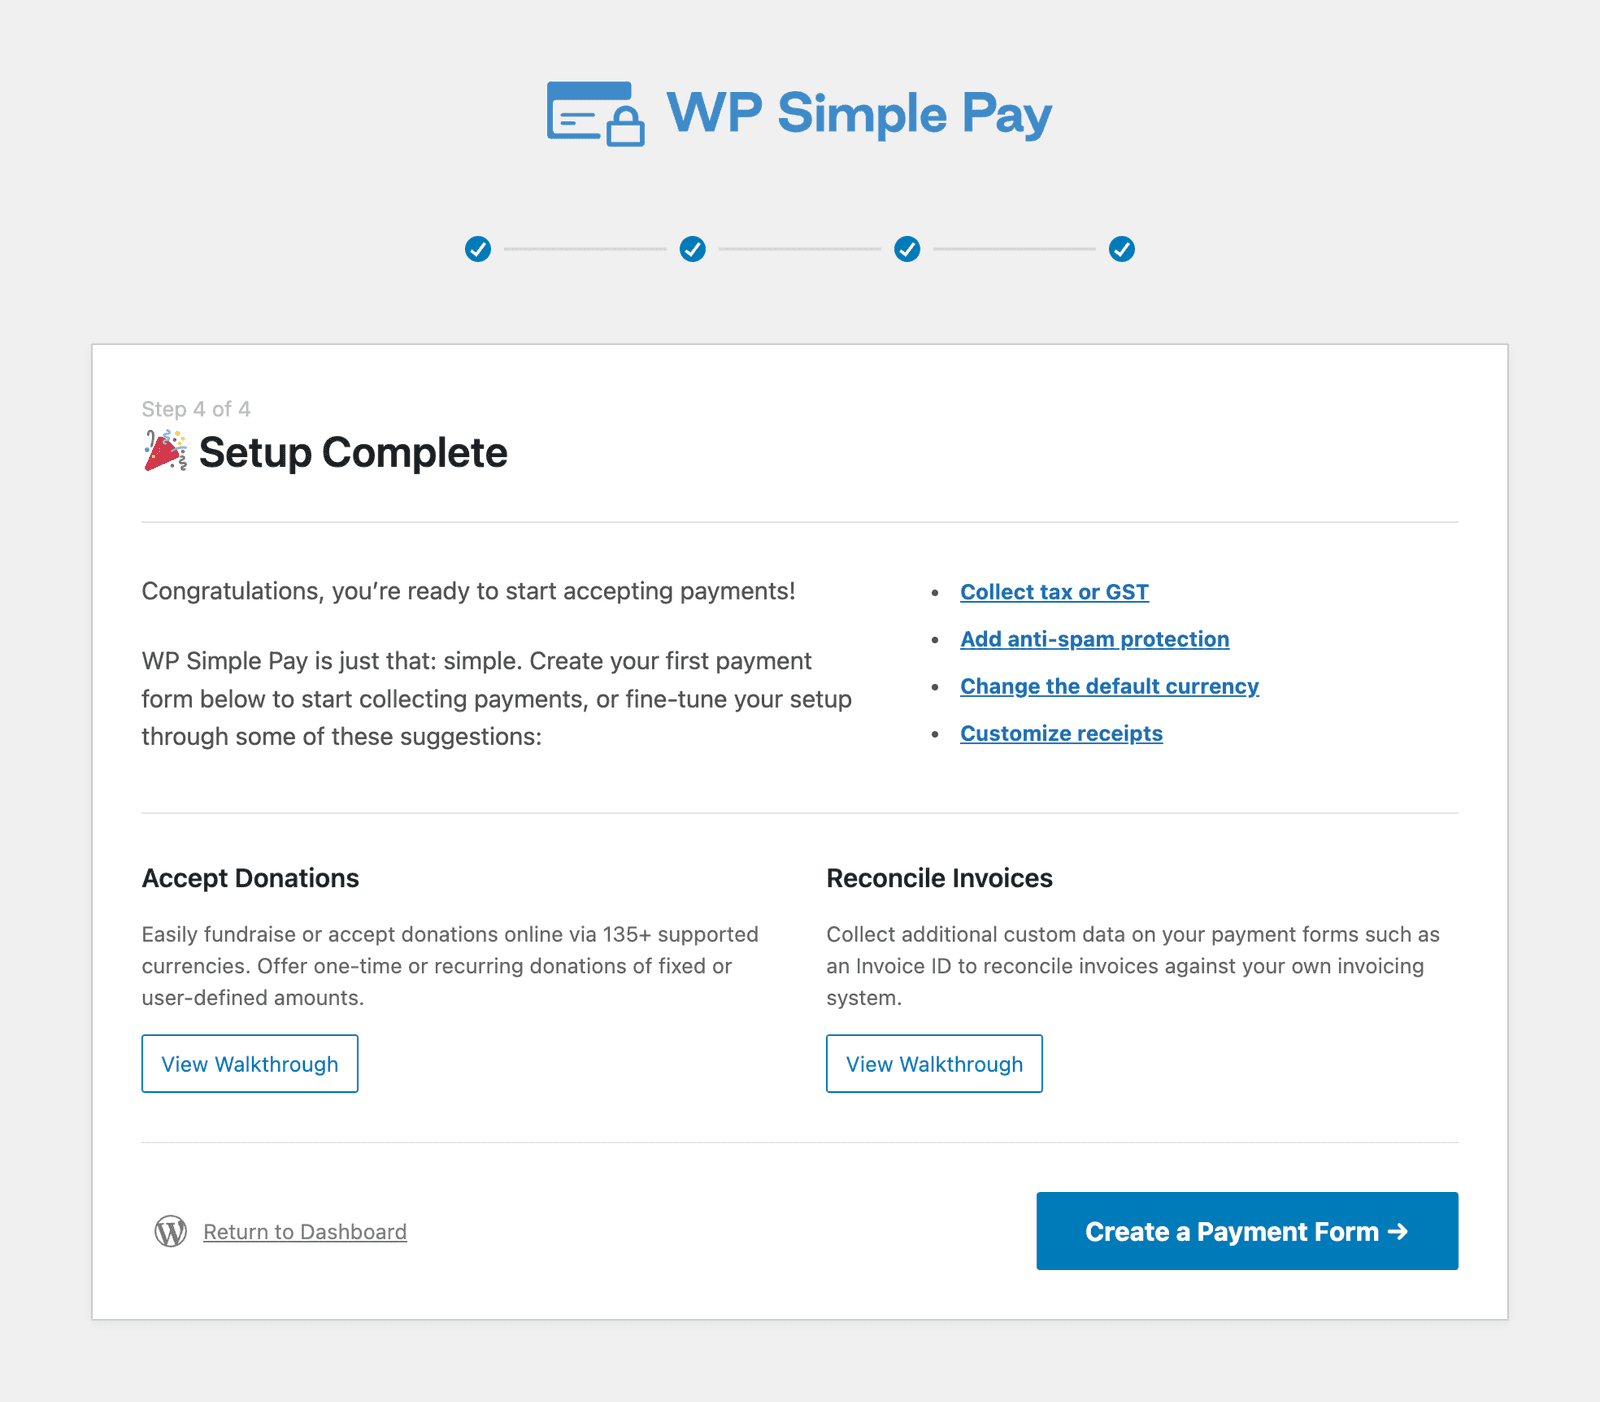
Setup Complete
From the final screen of the setup wizard, all that’s left is creating your first payment form! You can also view the various guides and walkthroughs available in our documentation.
Next Step: Creating Your First Payment Form →
Still have questions? We're here to help!
Last Modified: