How to Configure the Payment Confirmation Display
In This Document
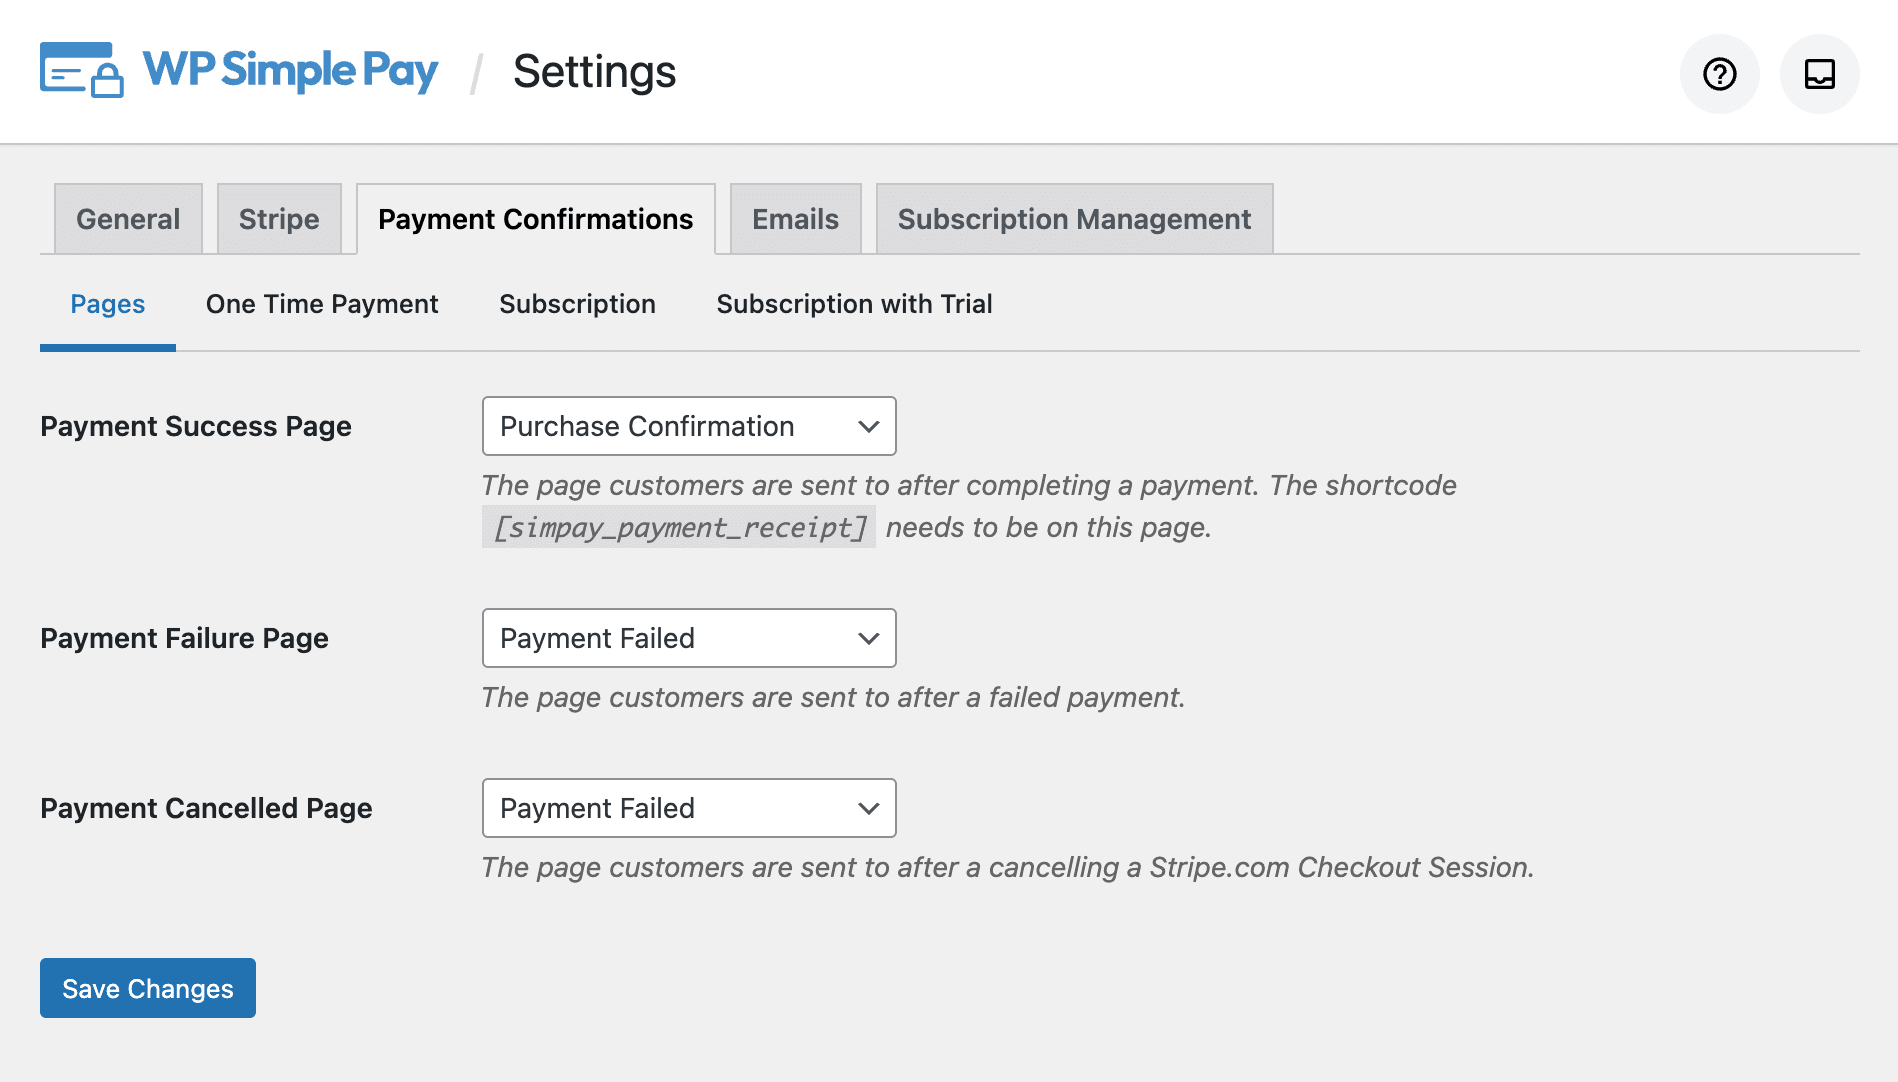
To configure what your users see after a successful payment, go to WP Simple Pay → Settings → Payment Confirmation.
In addition to these global payment confirmation messages, you can customize your payment flows even further by adding custom confirmation messages to be displayed when a payment has been completed using a specific payment form. More information can be found here.
Pages
Payment Success Page
The page customers are directed to after a successful payment. This page should contain the [simpay_payment_receipt] shortcode.
Payment Failure Page
The page customers are sent to after a failed payment.
Payment Cancelled Page
The page customers are sent to after cancelling an off-site Stripe Checkout payment.
Confirmation Messages
A confirmation message is what is shown after a successful payment is made — often a receipt. You can use Smart Tags to display dynamic information related to the payment, customer, or custom data.
One-Time Payment
The message is shown after a successful one-time payment.
Subscription Cancelled
The message is shown after a user has cancelled their subscription.
Subscription
The message is shown after the initial subscription payment.
Subscription with Trial
The message shown after a subscription with a free trial begins.
Built-In Smart Tag Reference
The following Smart Tags are built into WP Simple Pay to help you customize your payment confirmations.
**{form-title}
**The form’s item Title value.
**{form-description}
**The form’s Item Description value.
**{total-amount}
**The total price of the payment.
**{charge-date}
**The charge date returned from Stripe.
**{customer-name}
**The name from the Name form field
**{charge-id}
**The unique charge ID returned from Stripe.
**{tax-amount}
**The calculated tax amount based on the total and tax percentage setting
**{card-brand}
**The brand of card used. Visa, Amex, etc.
**{card-last4}
**The last four digits of the card used
**{recurring-amount}
**The recurring amount to be charged each period of the subscription. Applies to subscriptions without trials only.
**{max-charges}
**The max number of charges until the subscription ends if installment plans are setup. Applies to subscriptions without trials only.
**{trial-end-date}
**The day the plan’s free trial ends. Applies to subscriptions with trials only.
Custom Smart Tags
To output additional information related to payments or subscriptions, use the **{payment:*key*}**, and **{customer:*key*}** smart tags to access Stripe object data.
For example:
{[payment](https://docs.stripe.com/api/payment_intents/object):currency}{[subscription](https://docs.stripe.com/api/subscriptions/object):[latest_invoice](https://docs.stripe.com/api/invoices/object):number}{[customer](https://docs.stripe.com/api/customers/object):name}{`[customer](https://docs.stripe.com/api/customers/object)`:address:city}
Using these custom smart tags, you can create more personal and flexible payment confirmation pages, such as:
Thank you. Your payment of {total-amount} has been received. Please check your email for additional information.
{customer:address:line1} {customer:address:line2}
{customer:address:city}, {customer:address:state}
{customer:address:postal_code}, {customer:address:country}
You can also create smart tags using custom form field data. Find out how.
Still have questions? We're here to help!
Last Modified: