How to Integrate with Elementor Buttons & Pricing Tables
This document will show you how to get Elementor’s pricing table or single buttons to work together with WP Simple Pay’s Onsite overlay forms and Offsite Stripe Checkout pages.
On the page wish to add your WP Simple Pay form, drag in an Elementor Button, Call To Action, or Price Table element.
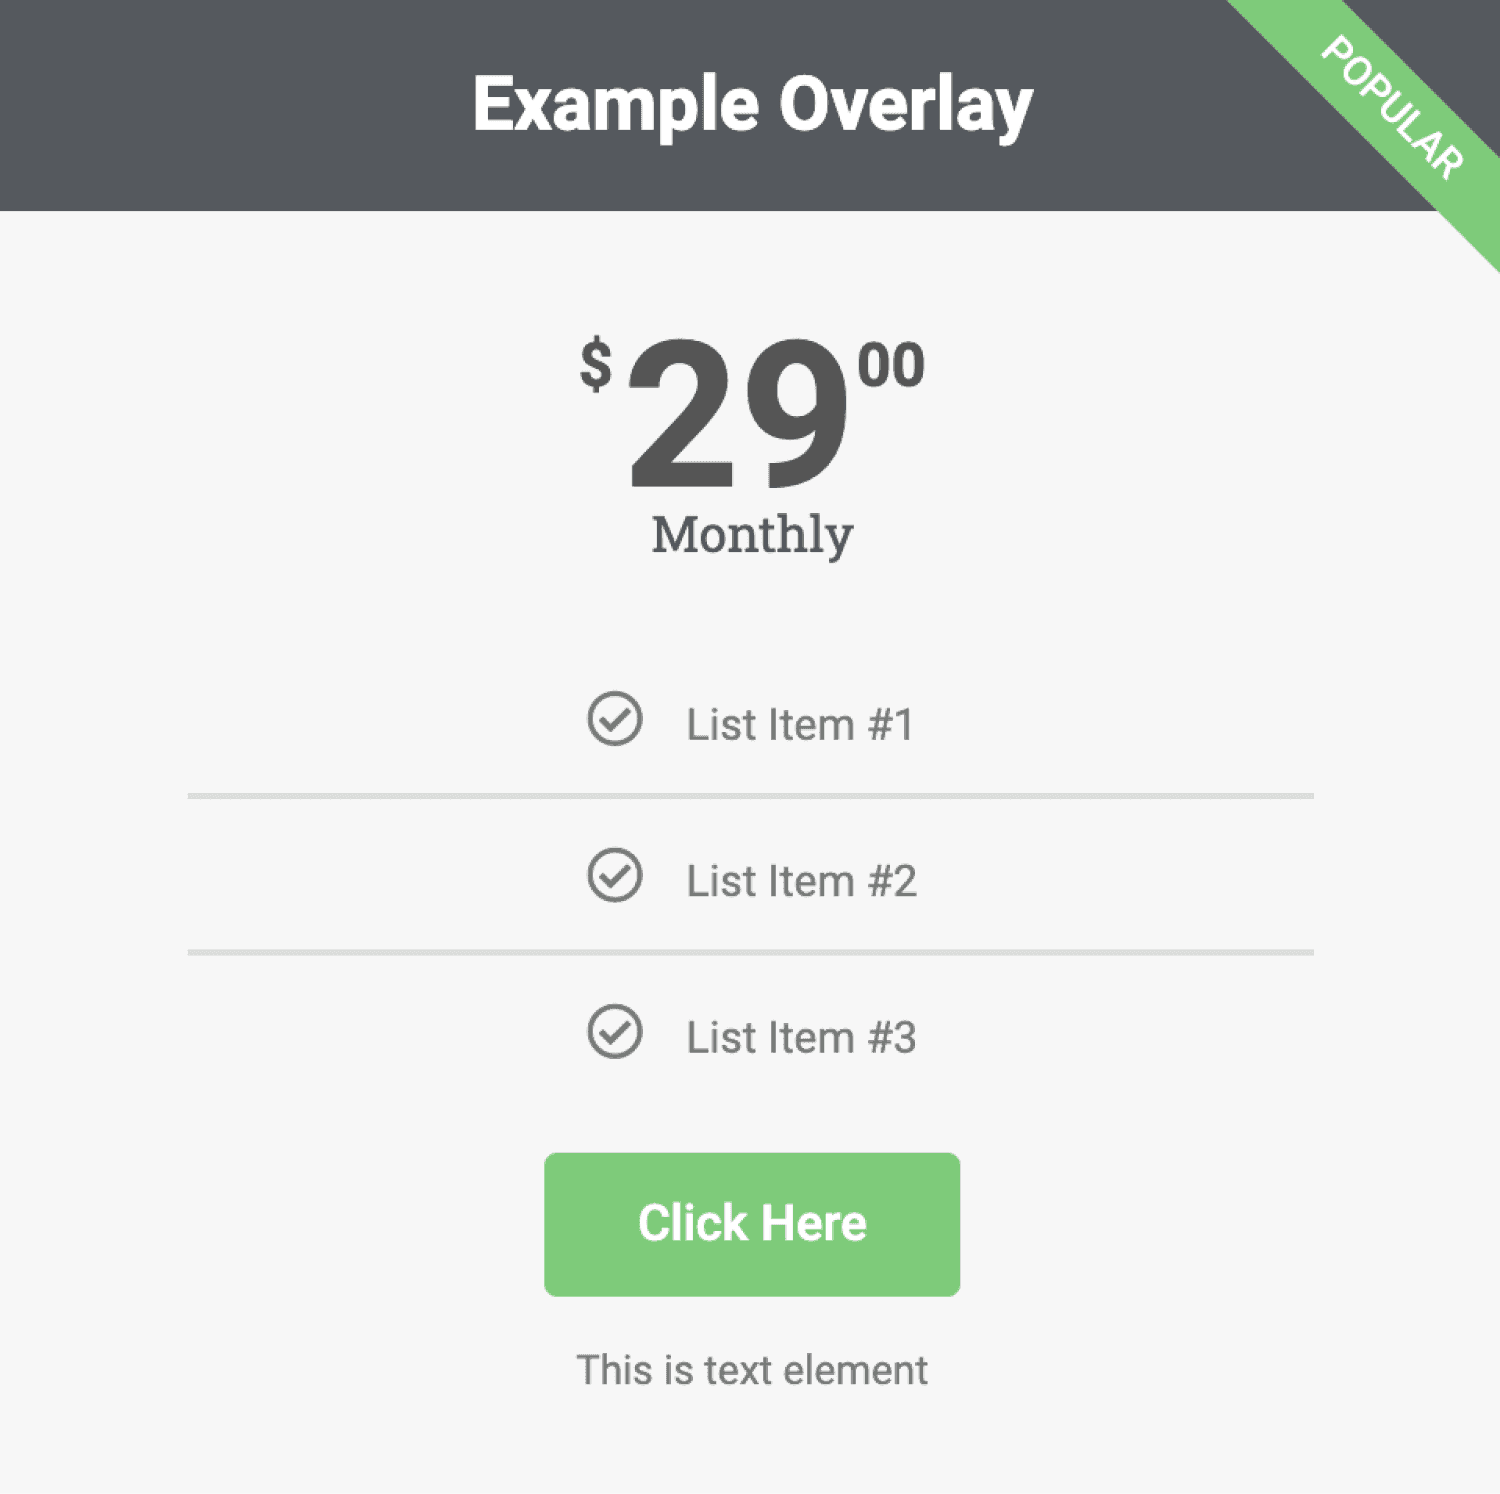
Click the appropriate button – labeled Click Here in the image above – which will open up the button settings panel.
In the settings panel, click on the down arrow to the left of the WP Simple Pay element, choose your payment form from the dropdown, and click Update.
When using the Stripe Checkout form type only forms without additional on-site custom fields are available for use.
Be sure to apply all of your changes by clicking the UPDATE button at the bottom of the page.
Everything is now in place, and the pricing table button or a single button will launch the Onsite overlay form or redirect to Offsite Stripe Checkout.
Repeat the process detailed above for each button in the pricing table if applicable.
Still have questions? We're here to help!
Last Modified: